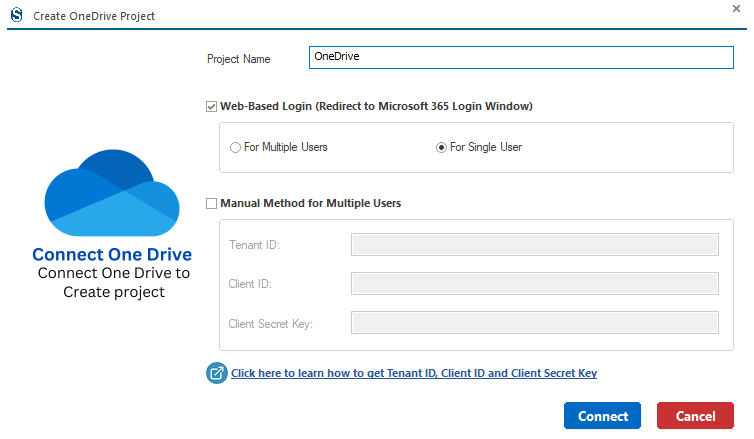
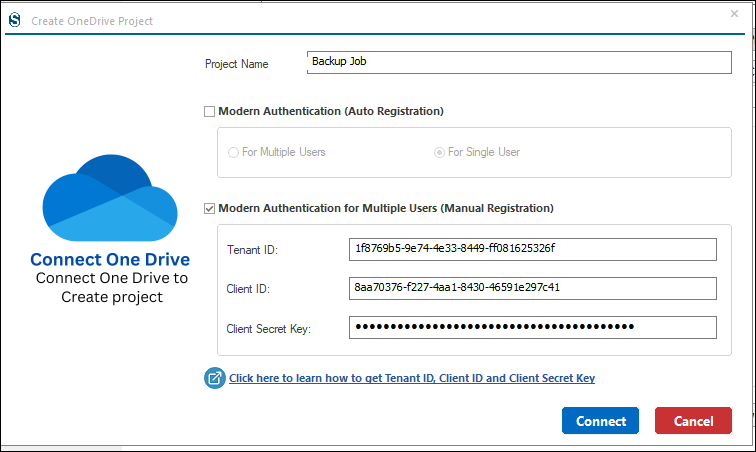
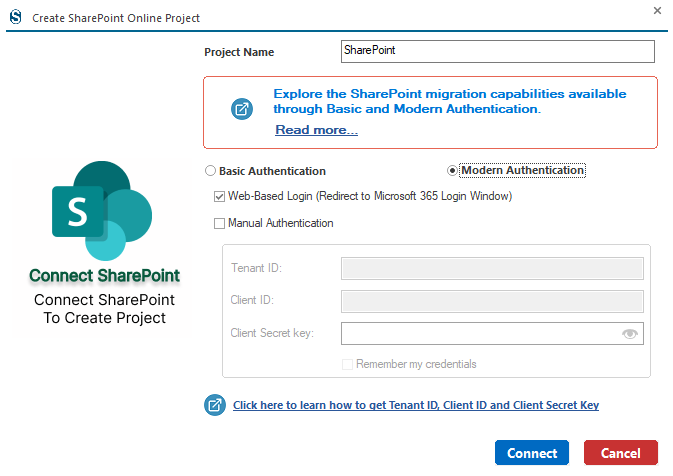
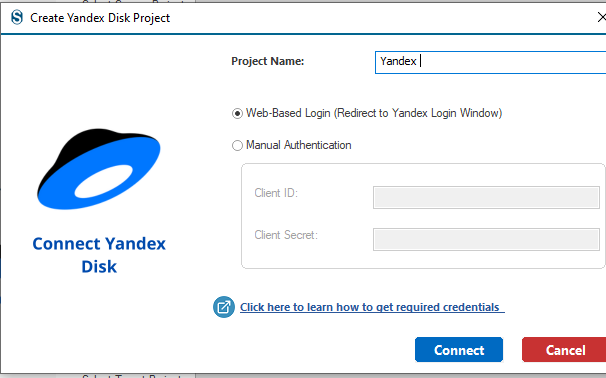
When you click Add Project, you’ll be presented with two connection options. In other words, you can connect OneDrive in two different ways: Web-Based Login(Redirect to Microsoft 365 Login Window) and Manual Method for Multiple Users.
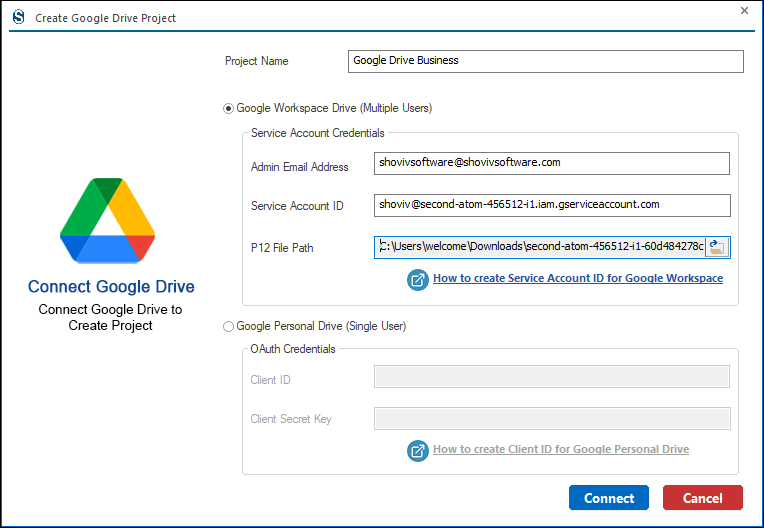
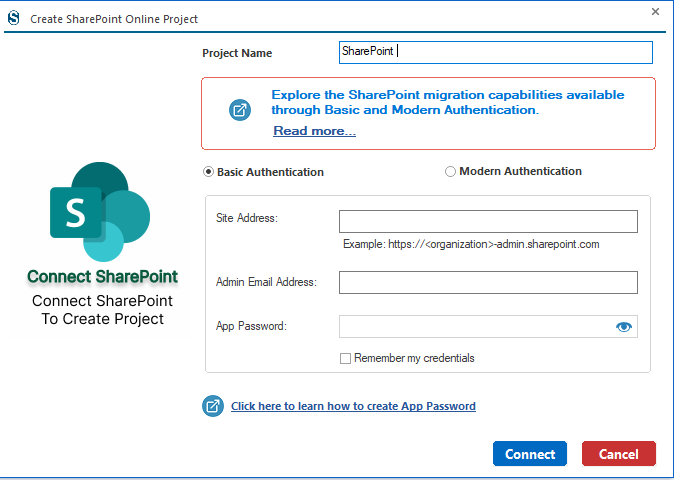
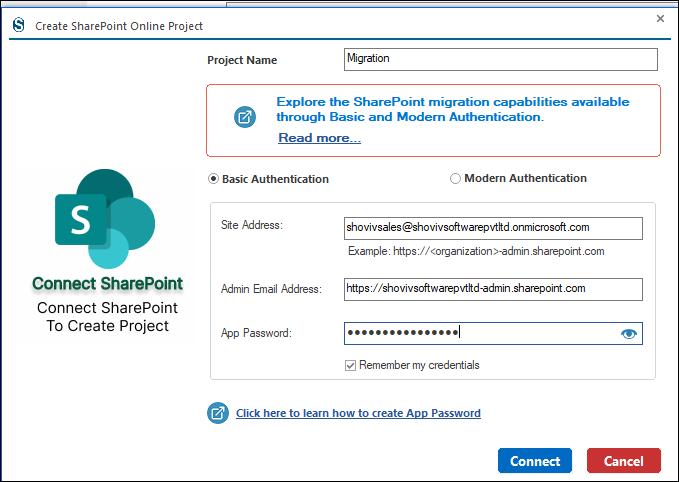
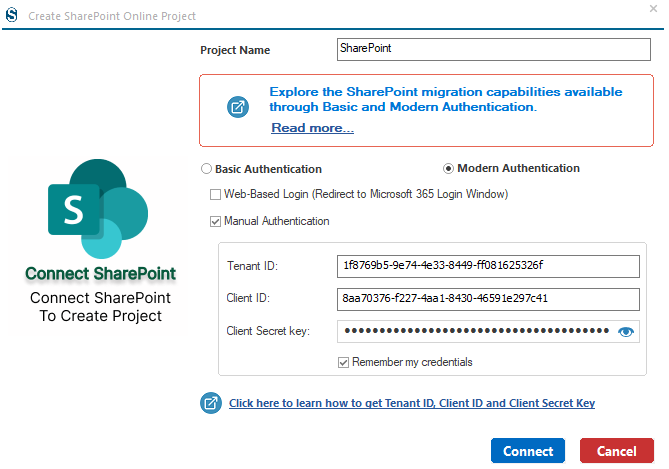
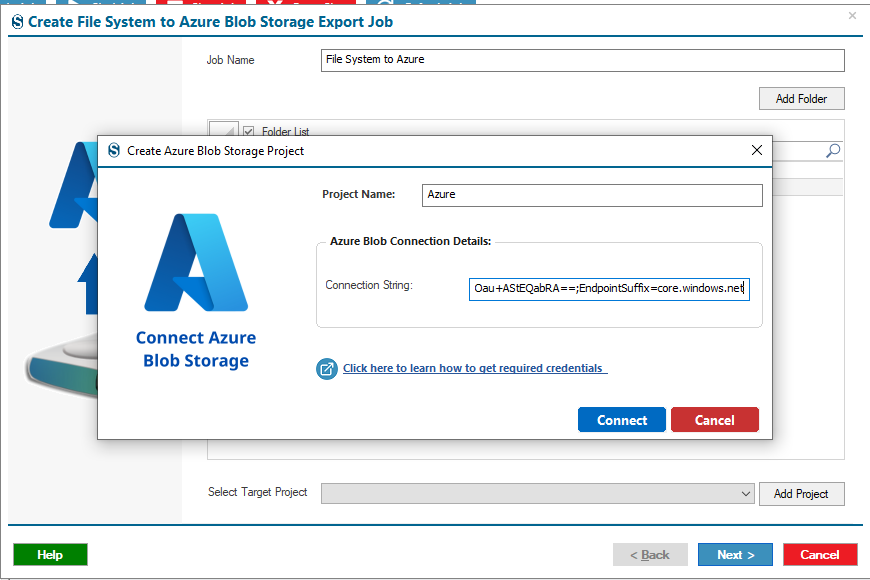
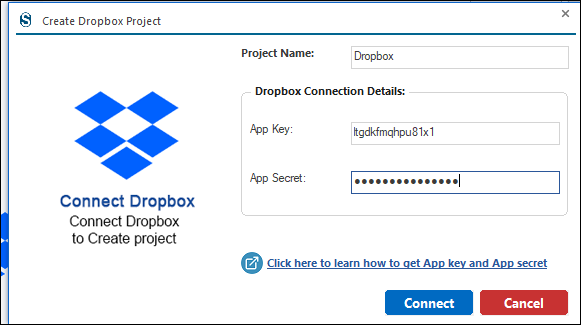
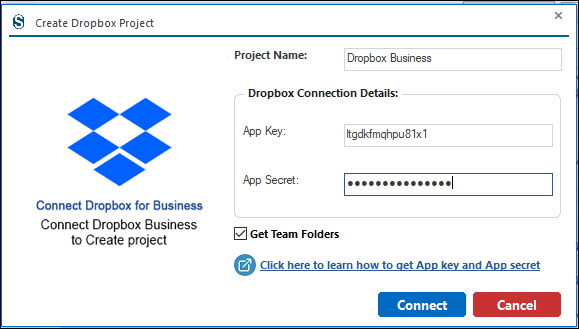
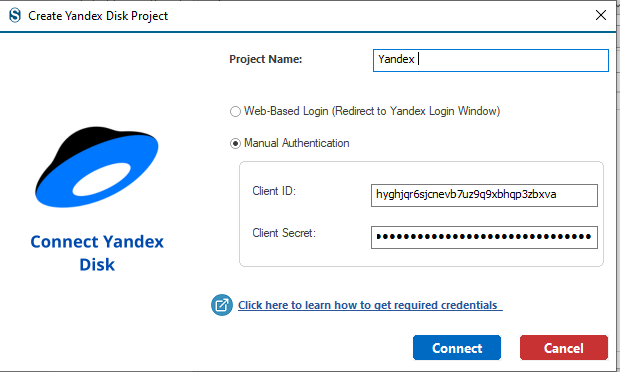
Step 1: Project Name: Enter a Project Name
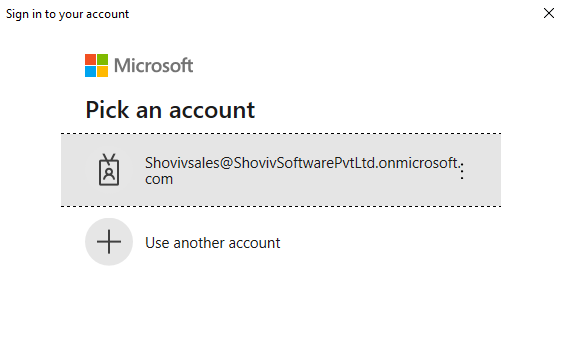
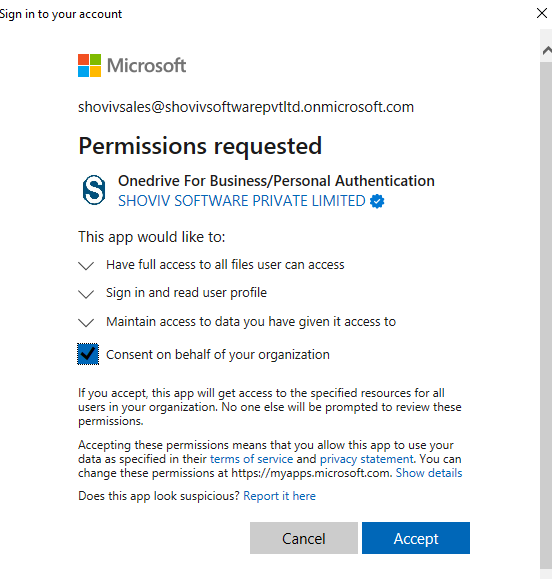
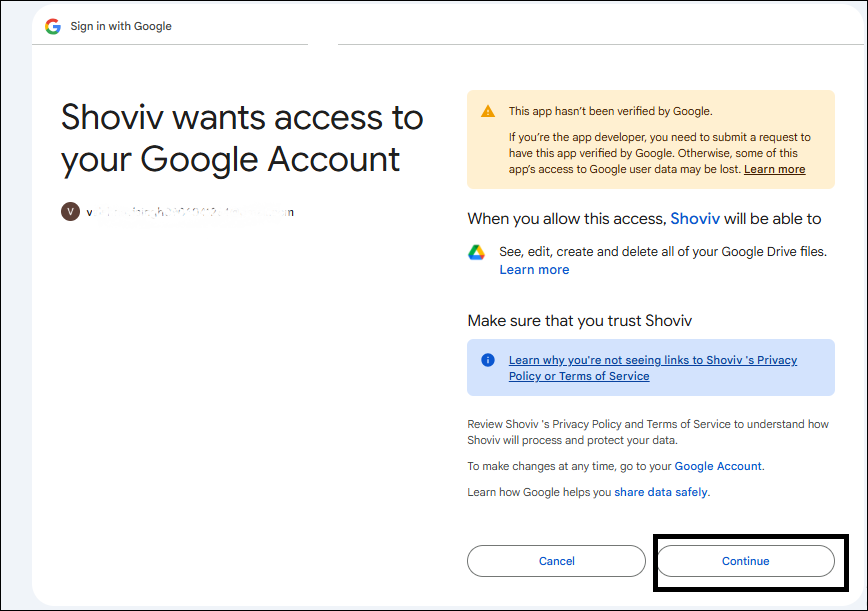
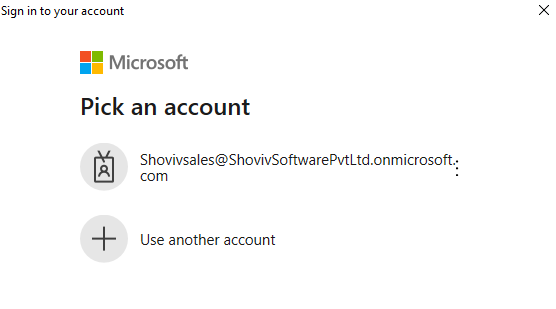
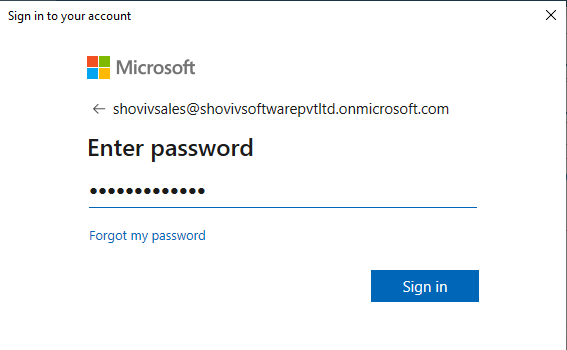
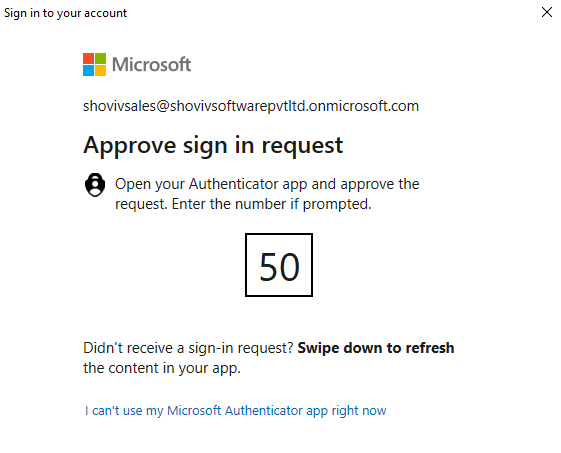
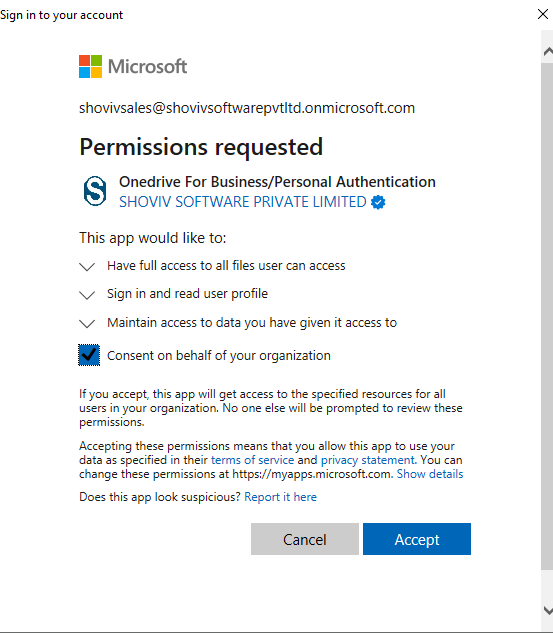
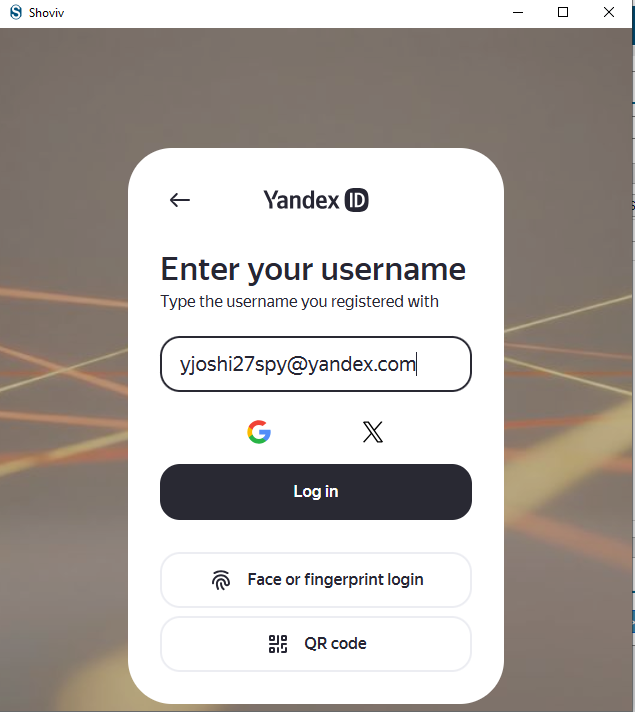
Web-Based Login(Redirect to Microsoft 365 Login Window)
- For Multiple Users:- multiple users in your organization to connect their own Microsoft OneDrive accounts, but it typically requires an administrator account to set it up first.
- For Single User:- to connect the OneDrive account for a single user.
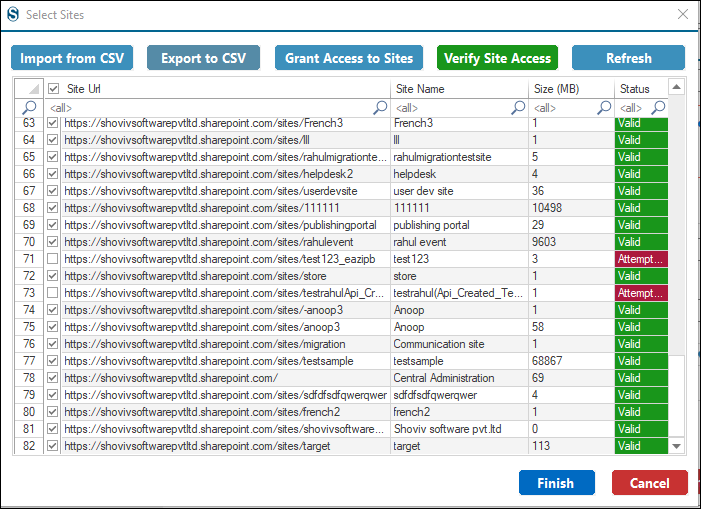
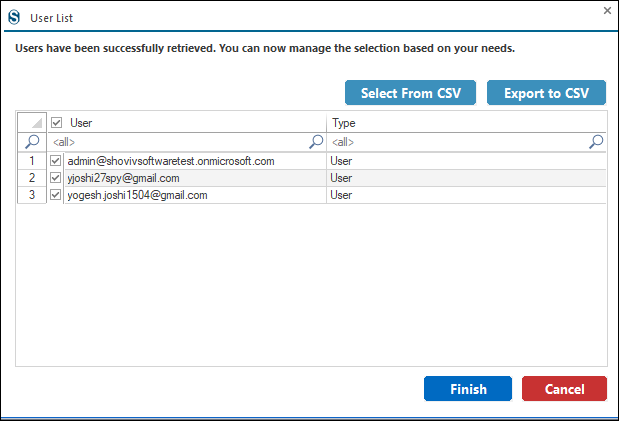
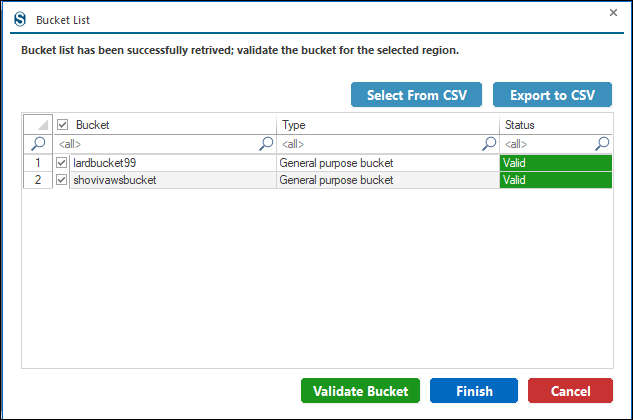
Click Connect to complete the connection.
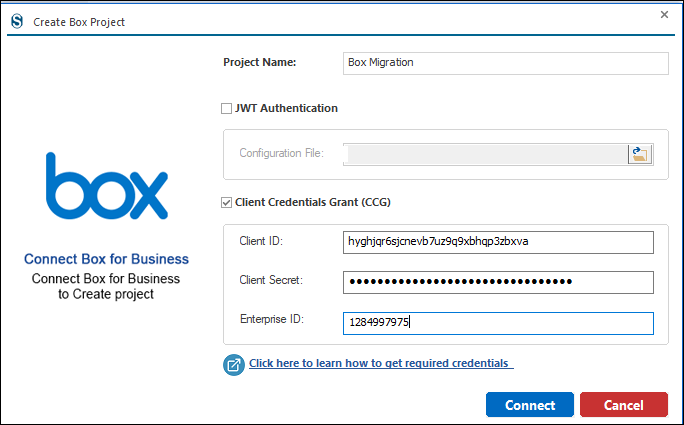
Manual Method for Multiple Users:-
- Tenant ID: Enter the Tenant ID available in the Overview section of Microsoft Entra ID (formerly Azure Active Directory).
- Client ID: Enter the Client ID (also known as the Application ID), which is available in the same Overview section below the Tenant ID.
- Client Secret Key: Enter the client secret value from the Certificates & Secrets section of the registered application.
If you want to know how to get Tenant ID, Client ID and Client Secret Key:-
https://www.shoviv.com/technical-guide/generate-client-id-and-client-secret-key-for-onedrive.html