Step 1: Open the Shoviv GroupWise Migration Suite and go with the Add GroupWise option.
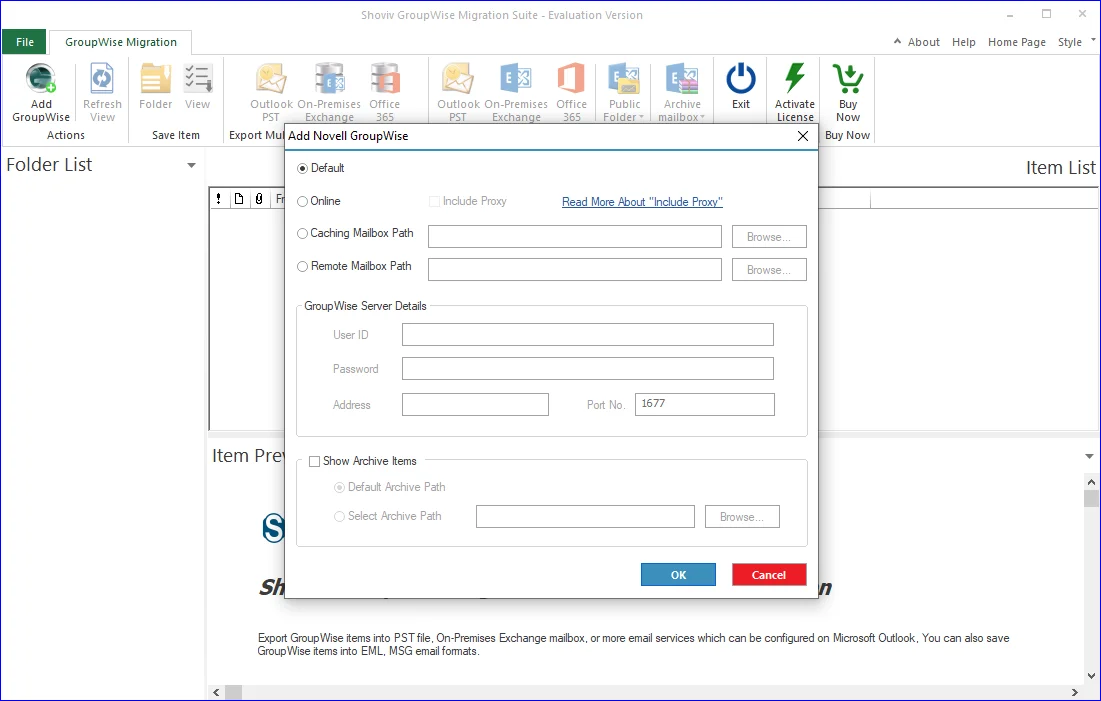
Step 2: There will be four options which you can use to connect the source GroupWise mailboxes. Pick any of them to proceed with adding the source mailbox.
- Default: With the help of this option, you can connect the currently opened user mailbox on the GroupWise client. (This option only allows the single GroupWise mailbox addition).
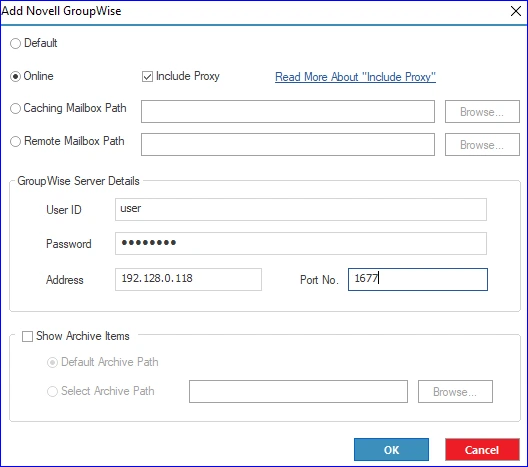
- Online: Select the Online option to connect the user mailbox who is online. You have to type the User ID, Password, Server Address and Port Numberand click the OK button.
- You must check the Include proxy option to add multiple GroupWise mailboxes. Follow the guie to know how to grant proxy: https://www.shoviv.com/how-to/how-to-grant-proxy-access-to-other-user-in-groupwise.php
- Caching Mailbox Path: You have to provide the User ID and Password to add the cached mailbox of the GroupWise user.
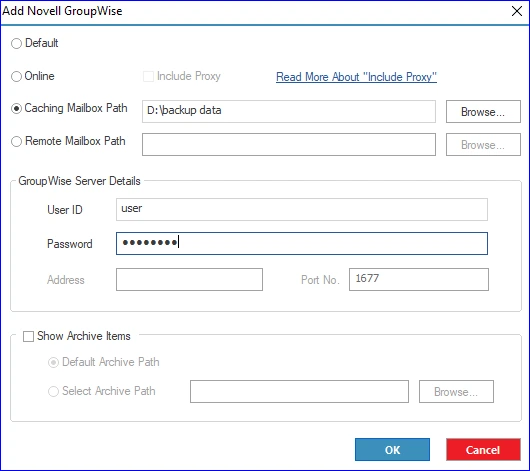
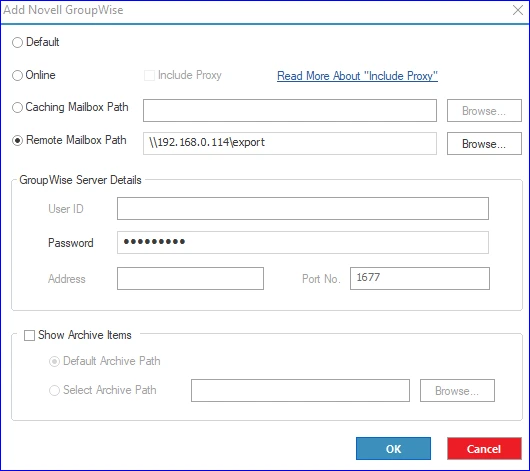
- Remote Mailbox Path: With this option, you can browse the remote mailbox data of GroupWise users by only providing the password.
Step 3: You have three ways to save GroupWise mailbox items to MSG/EML file format. You can use any of them according to your requirements.
- After adding the GroupWise mailbox, you can select the Folder option from the main menu to save all folder items to MSG/EML at once
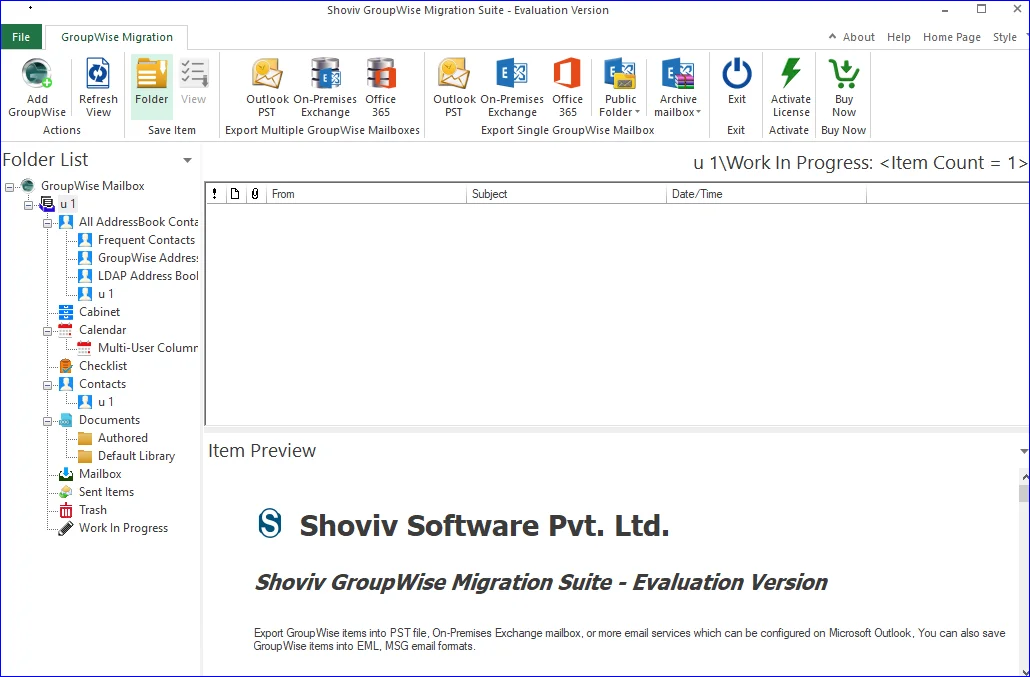
- Folder View: Right-click on a particular folder from the folder pane and select the Save Item option.
- Item View: Right-click on the desired item from the item preview pane and tap the Save Item option.
Step 4: After that, you have to check/uncheck the folders and subfolders of the GroupWise mailbox.
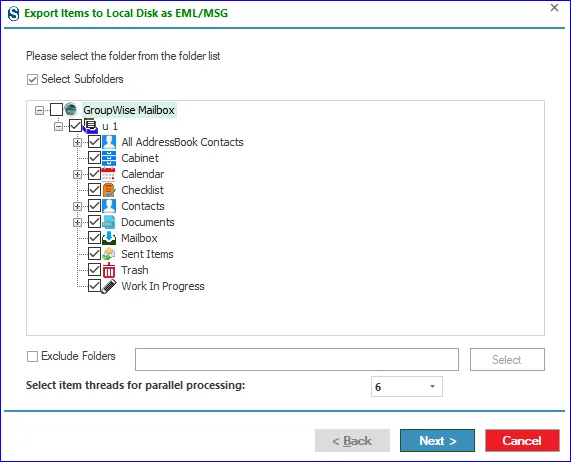
- You can also check the Exclude Folder and provide the Folder names you want to exclude. Then, click the Next button.
Step 5: Now, you have to navigate to the Select Target section, click the Browse button and select the target folder where you want to save the resultant MSG/EML files.

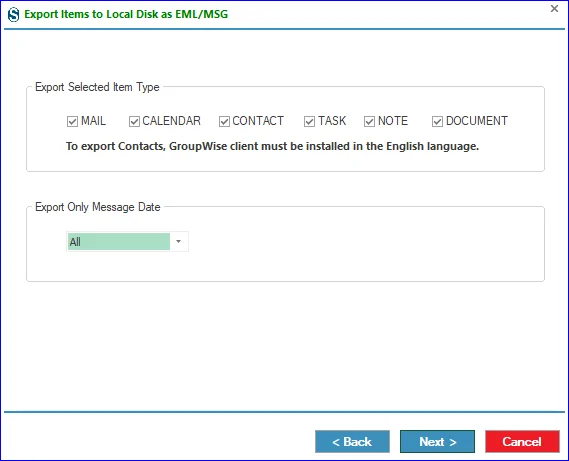
Step 6: Then, you can apply the Item Type and Message Date filters to include/exclude mailbox folder items. Continue with the Next button.
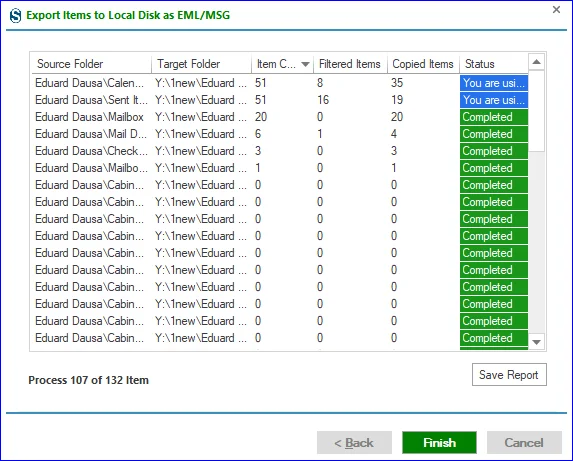
Step 7: This wizard will begin saving the GroupWise mailbox data to the MSG/EML file format. After completing the process, click the Finish button. (You can also save the report for future reference using the Save Report button.)