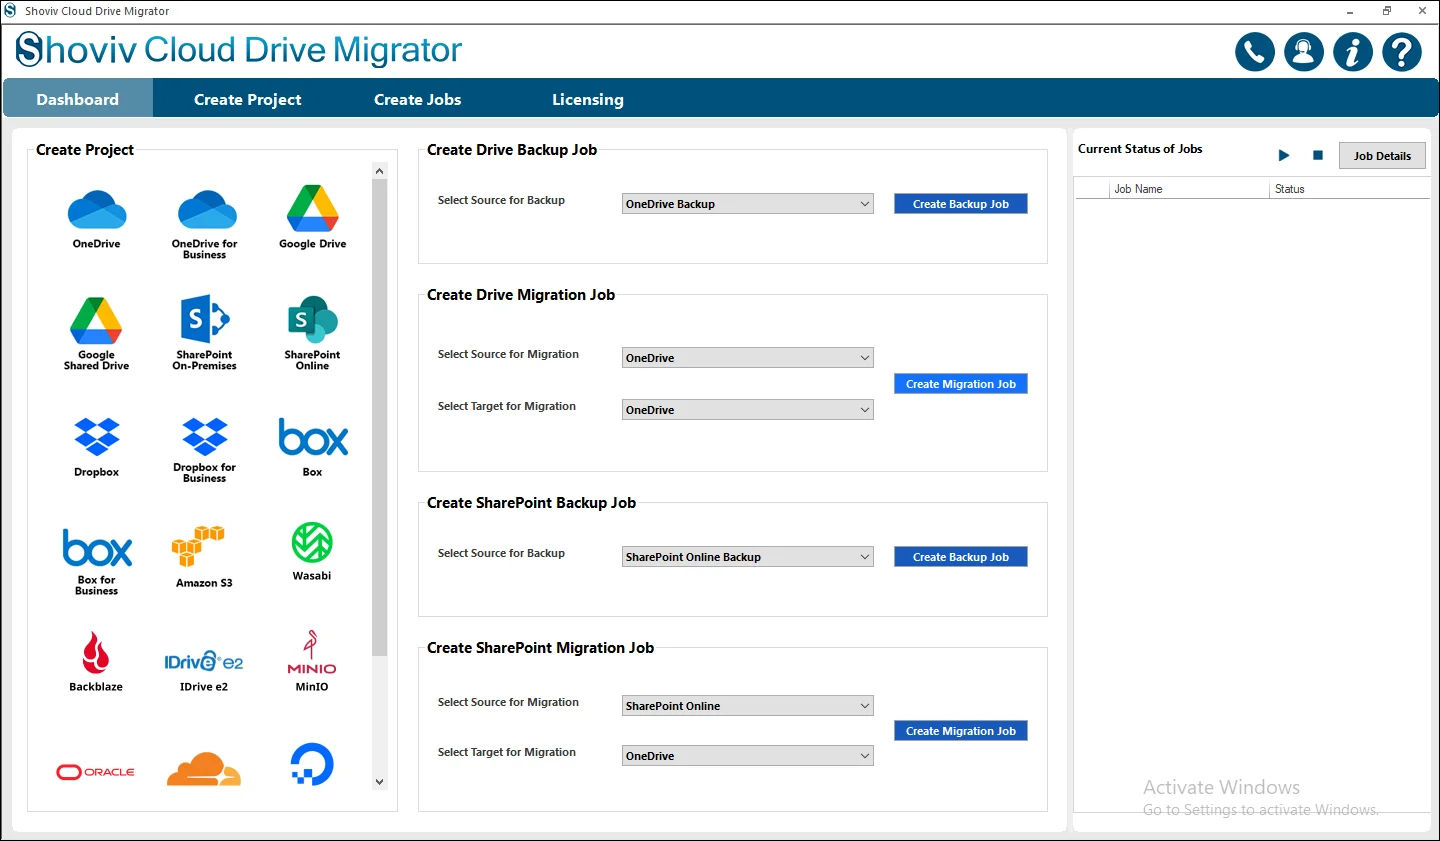
Step 1: After finishing installing and opening Shoviv Cloud Drive Migrator you see the first window open with different options and different sections.
Step 2: Go to the Cloud Drive Migration Job.
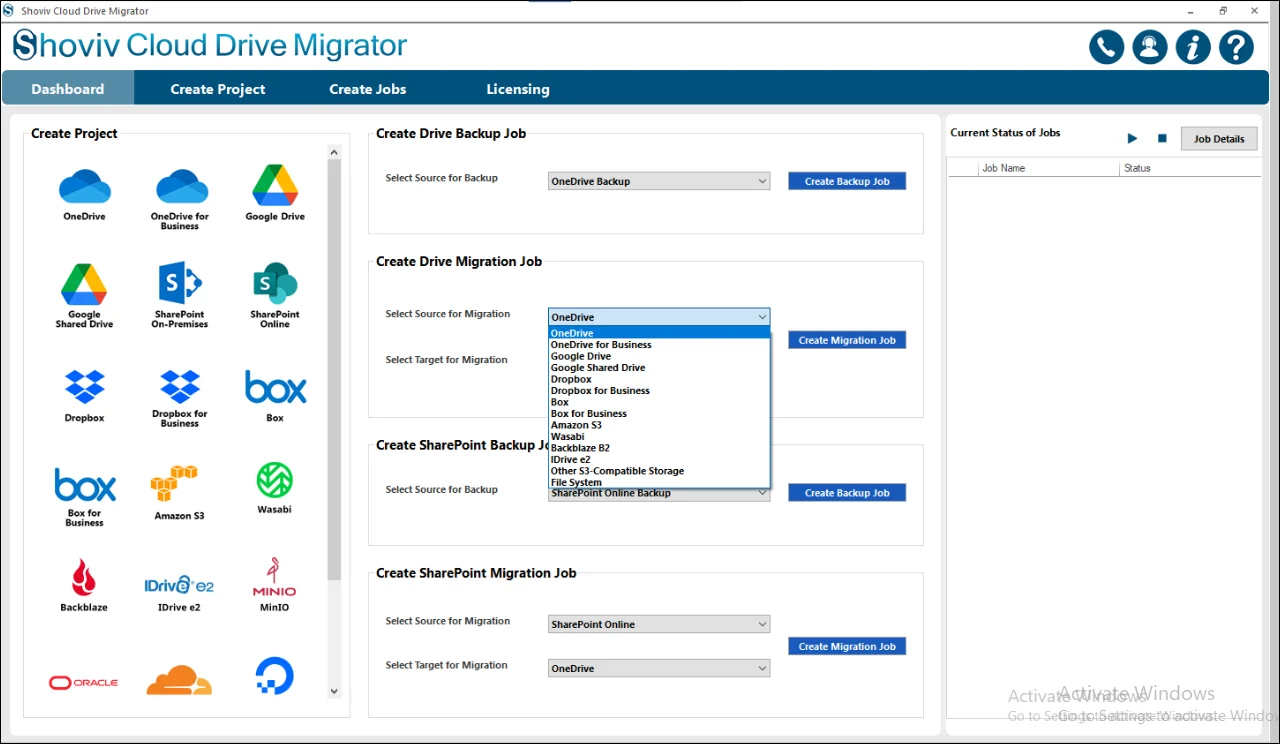
Step 3: Select the OneDrive(Personal or Business choose as per your needs) as the Source destination.
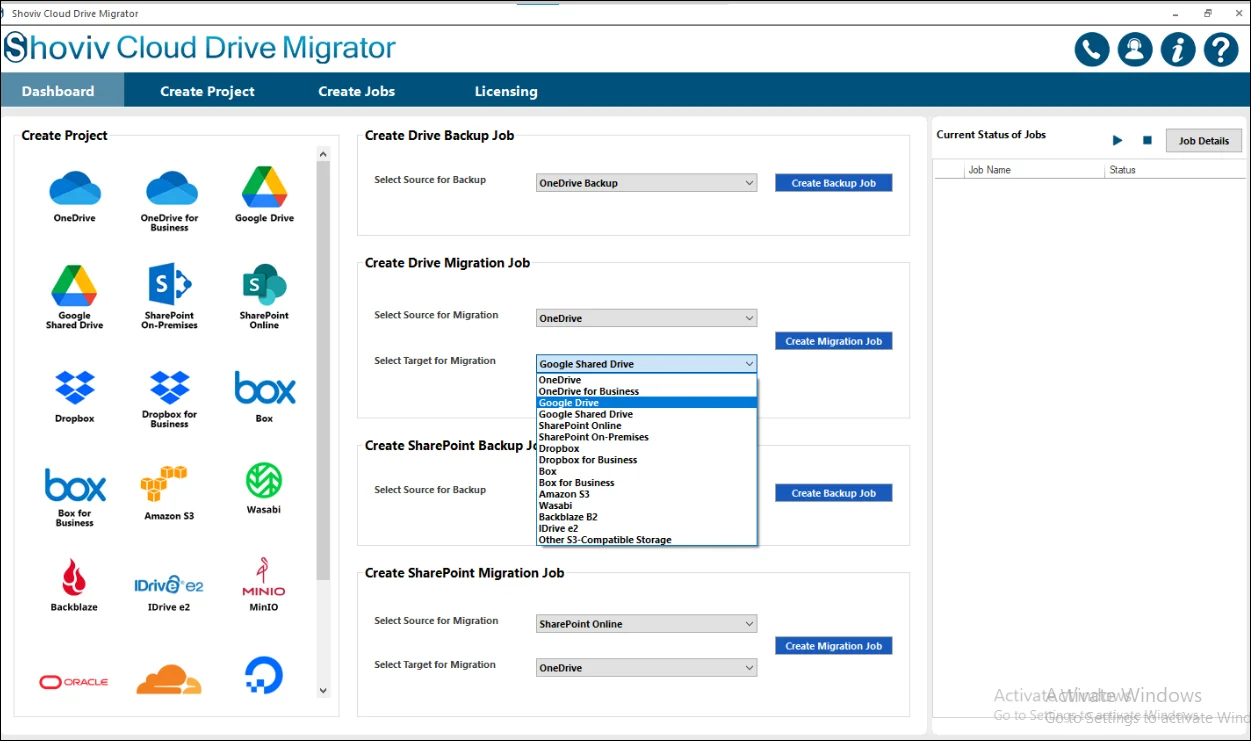
Step 4: Google Drive as the Target Destination and then click on the Create Migration Job.
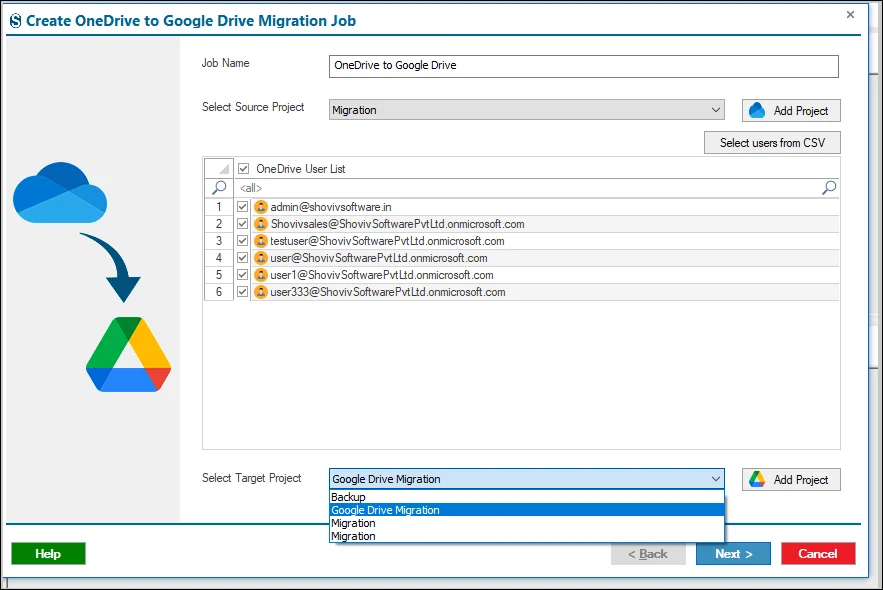
Step 5: After finalizing this, another screen appears with the Create Job, where you need to fill in the Job Name.
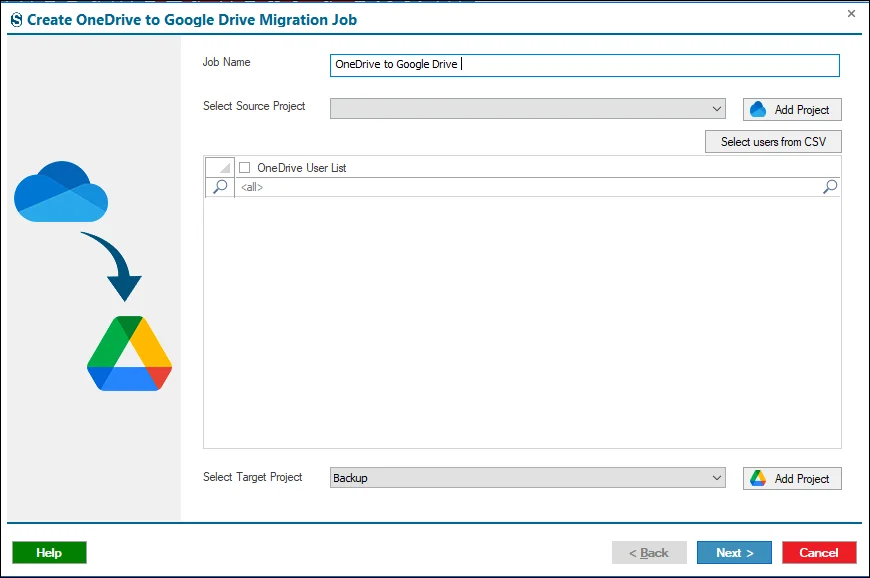
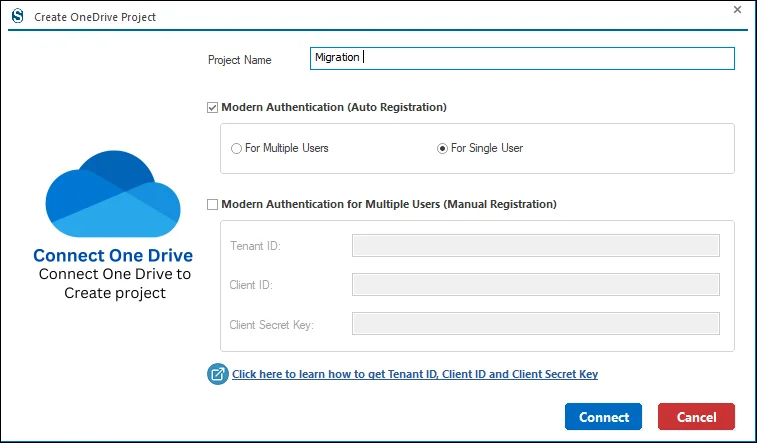
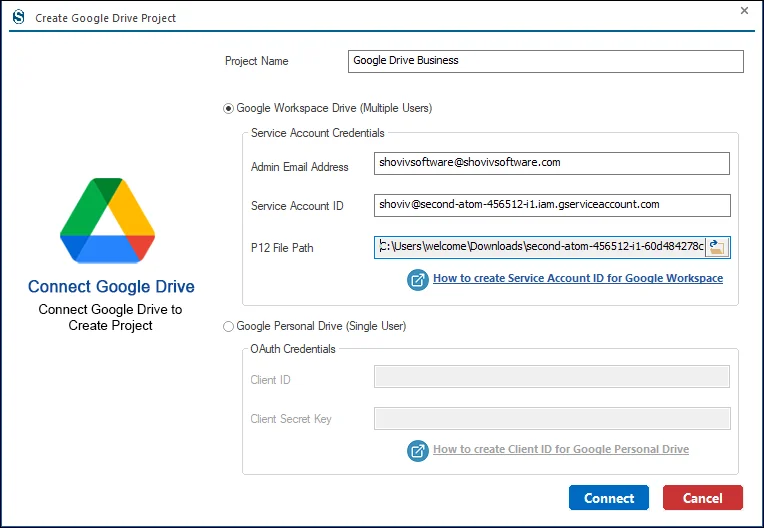
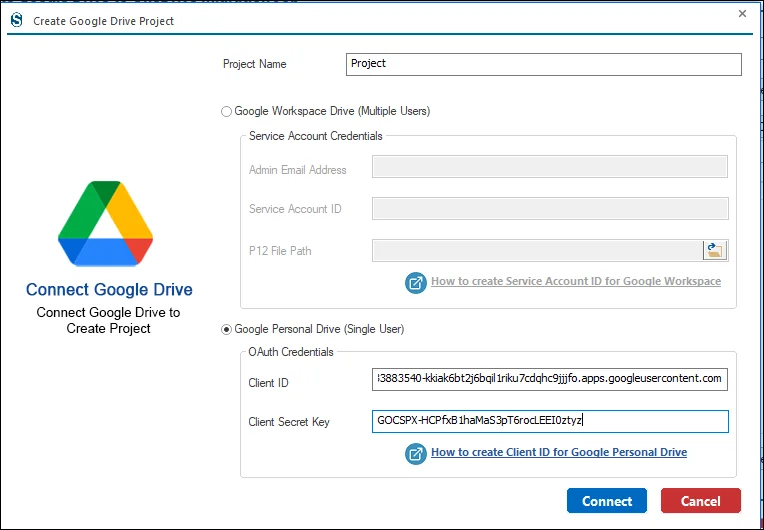
Step 6: Now you need to connect with the Source Project, to create a one by clicking Add Project. After clicking it a new page opens, where you have two options: Auto and Manual Modern Registration.
- With the Auto Registration, you have to do all the required processes that are needed, and you will connect with the Source Project.
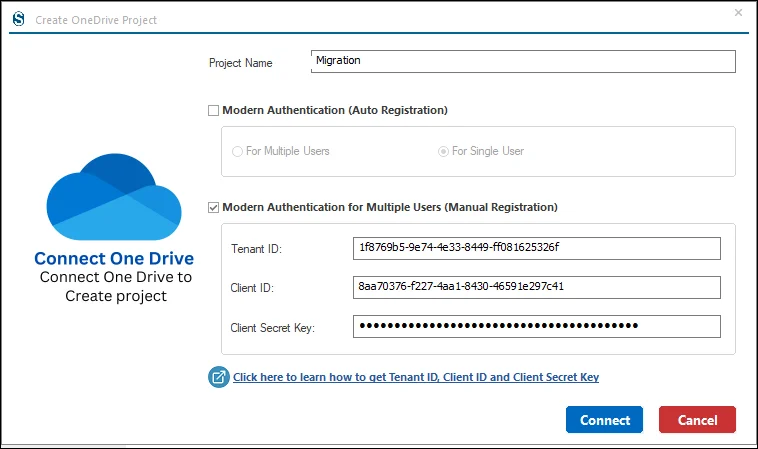
Step 7: If you want to connect with the Source Project through the Manual Registration, then you enter all the essential credentials which are present on that screen.
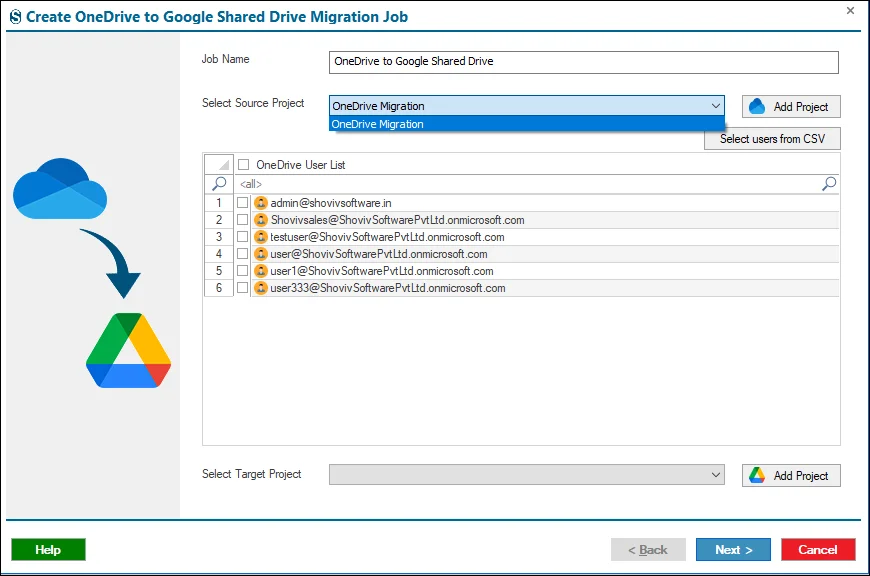
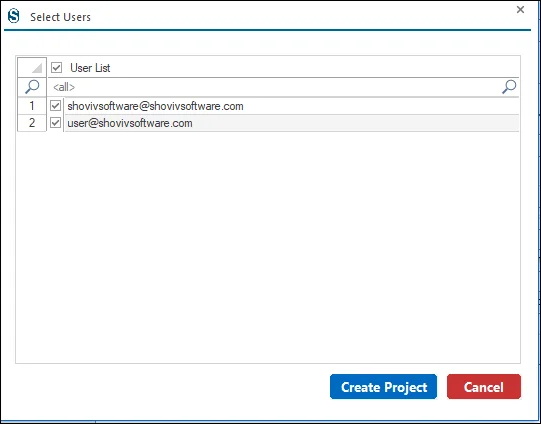
Step 8: Select the required User from the User List for the Source Project.

Step 9: In case if you already have the Source Project present in your system then you need to select it from the dropdown menu.
Step 10: At this point, you need to select the Target Users from the list and then hit the Create Project button to complete the process of the Target Project.
Step 11: Now, the process grows further with the Target project connection. If you have already previously opened the project, then select it from the dropdown section.
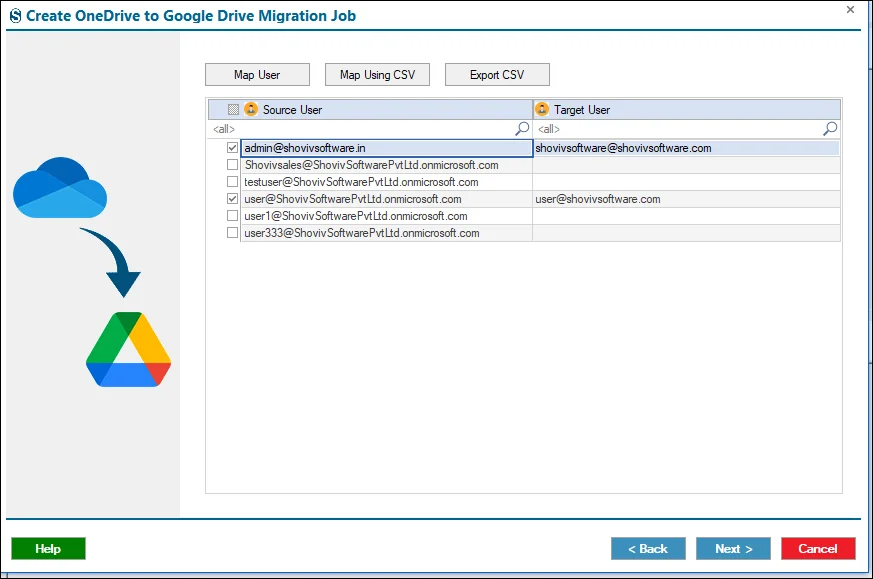
Step 12: For the accurate and smooth migration, match your target and source users with each other with the help of the Mapping Facility.
- You have seen the source users listed in the screen that you chose in the previous steps. Please select one from them that you want to work on at that moment.
- After that, click on the Map Users and then select the Target user for that specific source user. Click on Next.
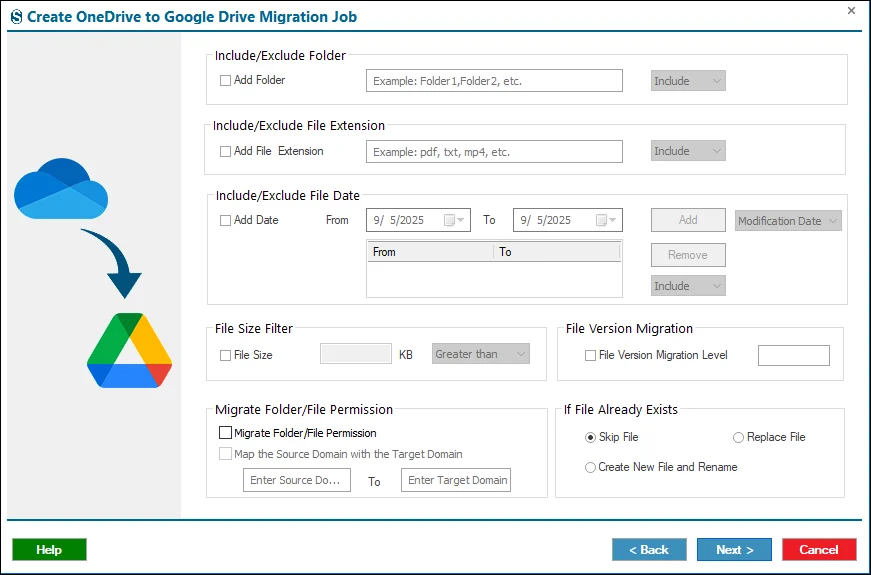
Step 13: If you want to apply any filter then you can choose from these windows, or if not, then skip with the Next button.
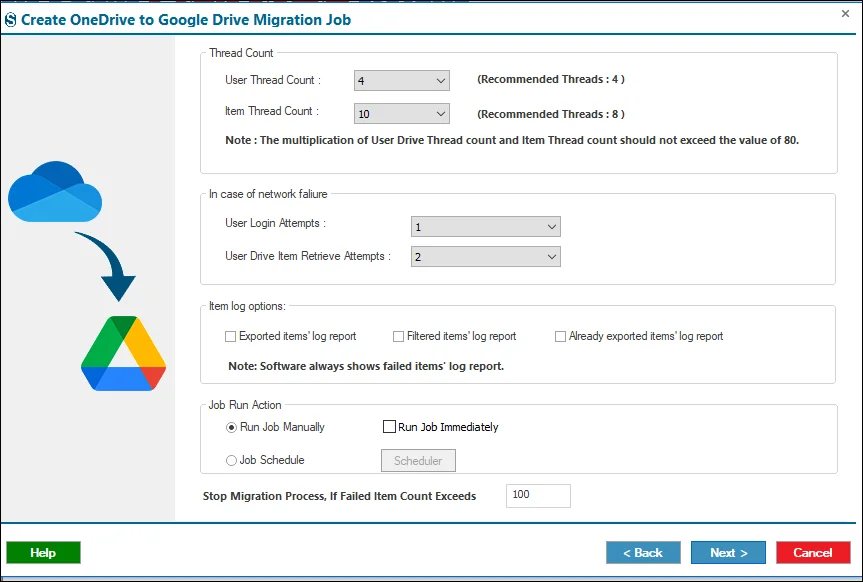
Step 14: Here, you can find which setting you want for your migration. If not needed, then click on the Next button.
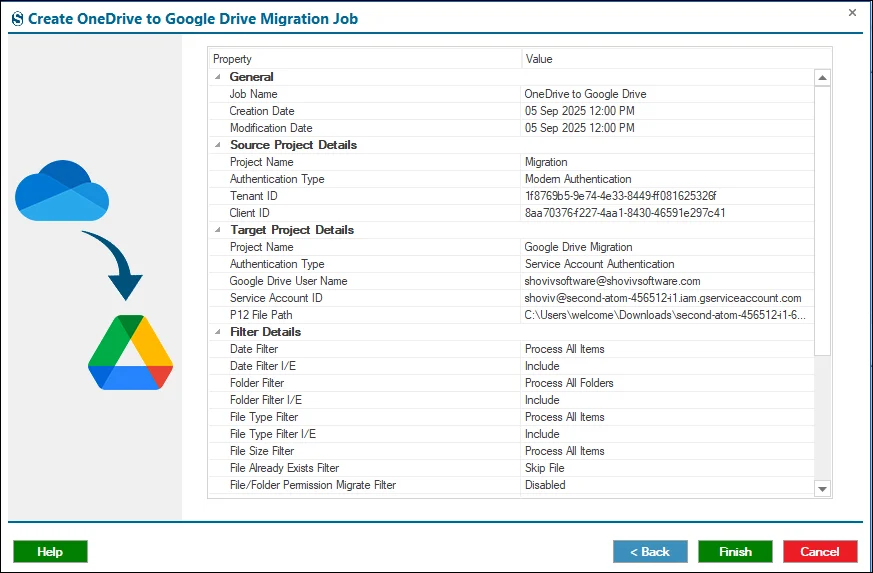
Step 15: Review your Job from this Job Summary.
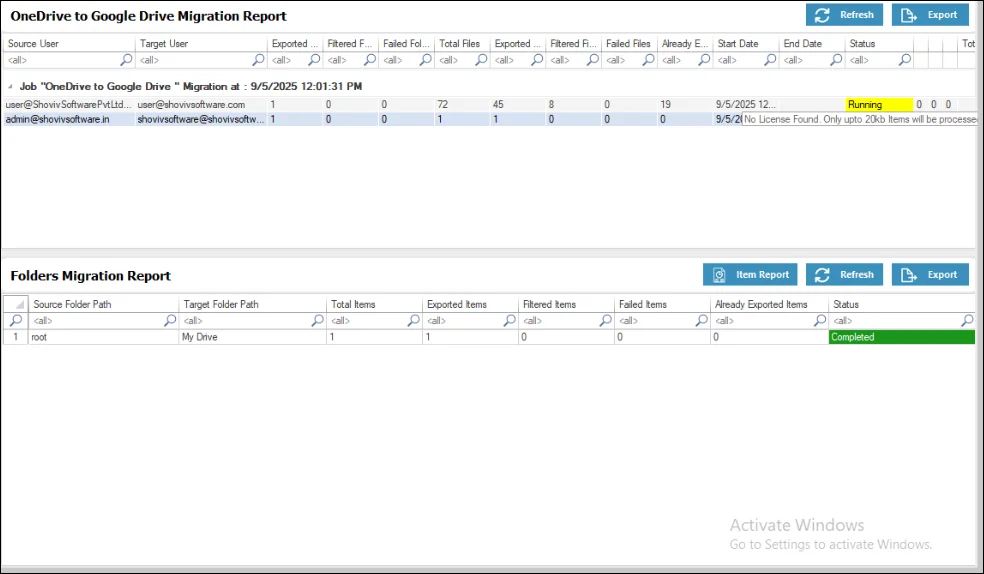
Step 16: The job runs successfully with the smooth phase.