Guide to Assign Licenses in Shoviv Cloud Drive Migrator
This guide describes how to assign licenses for backup and migration tasks of OneDrive, Google Drive, Google Shared Drive, Amazon S3, SharePoint, Dropbox, Box, S3-Compatible Storage, Yandex Disk, and Azure Blob Storage.
Note:- This license will be assigned only to the source. For the restore (File System to Target) process, the license will be assigned to the specific drive/user/site/container/disk/bucket.
→ One license can be assigned to only one specific user/drive/site/container/disk/bucket, and once assigned, it cannot be reassigned to another.
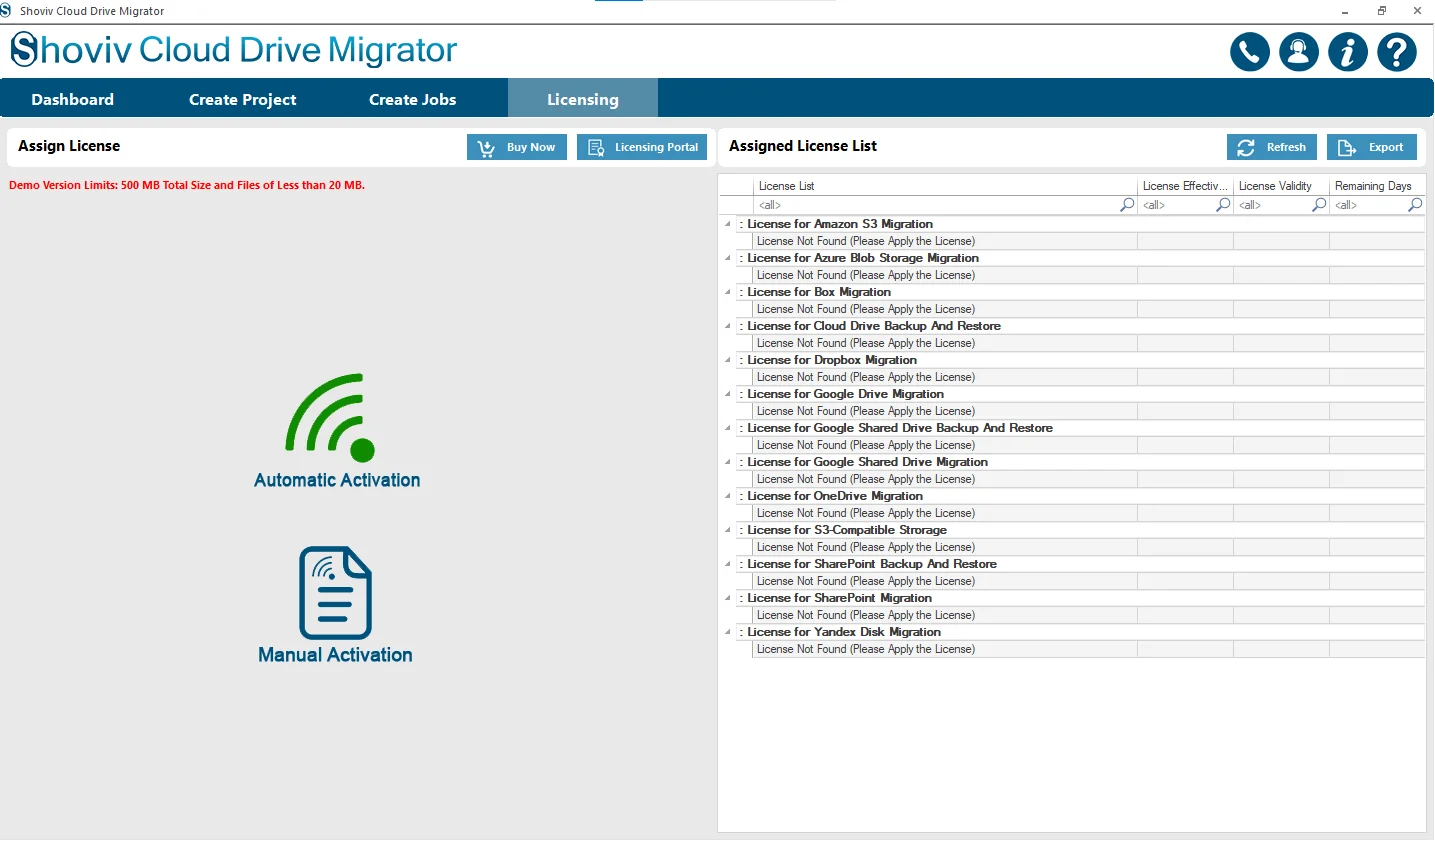
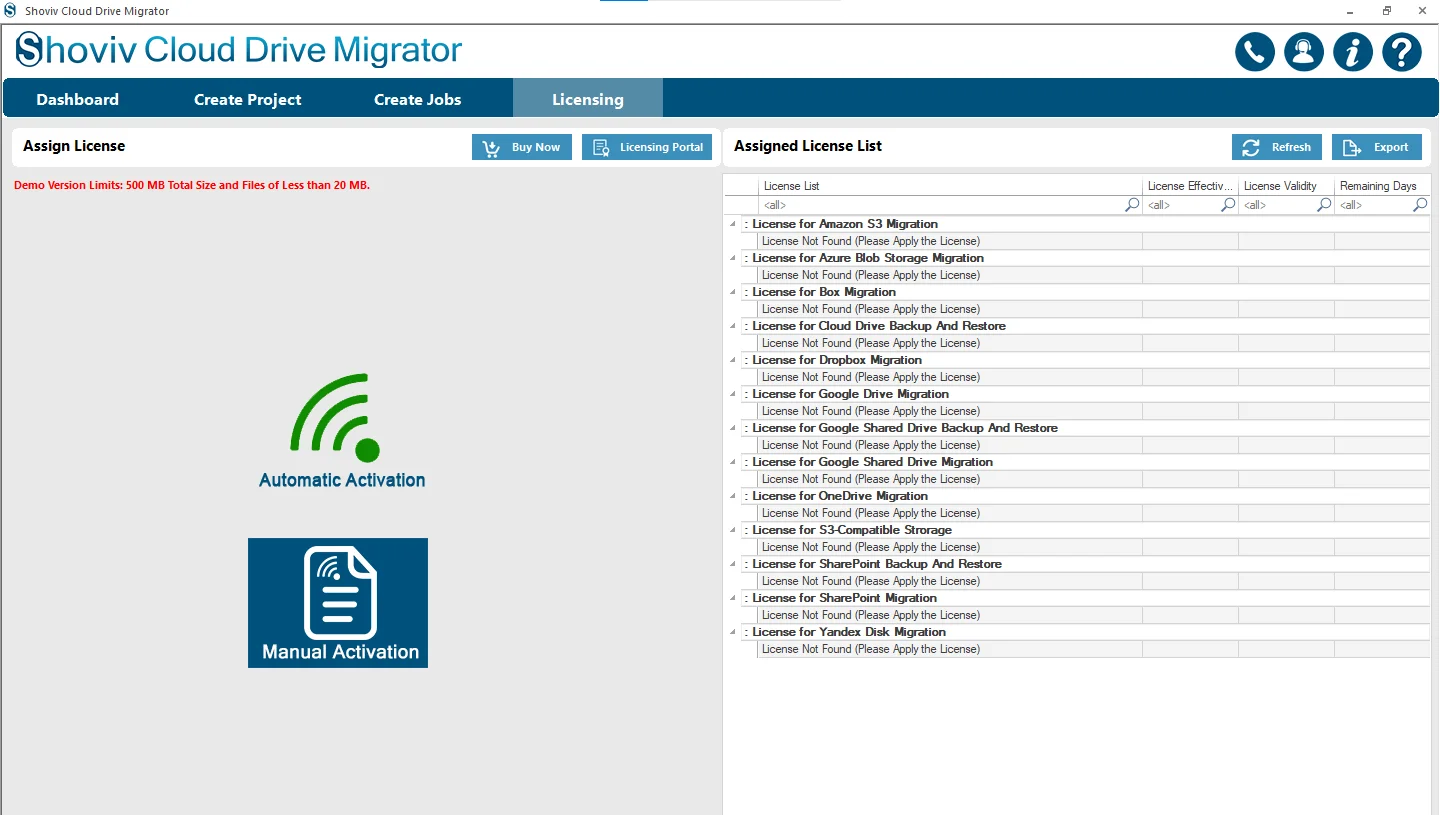
Firstly, navigate to the Licensing tab and then select the required method for the License Assignment: Manual Activation or Automatic Activation.
Automatic Activation
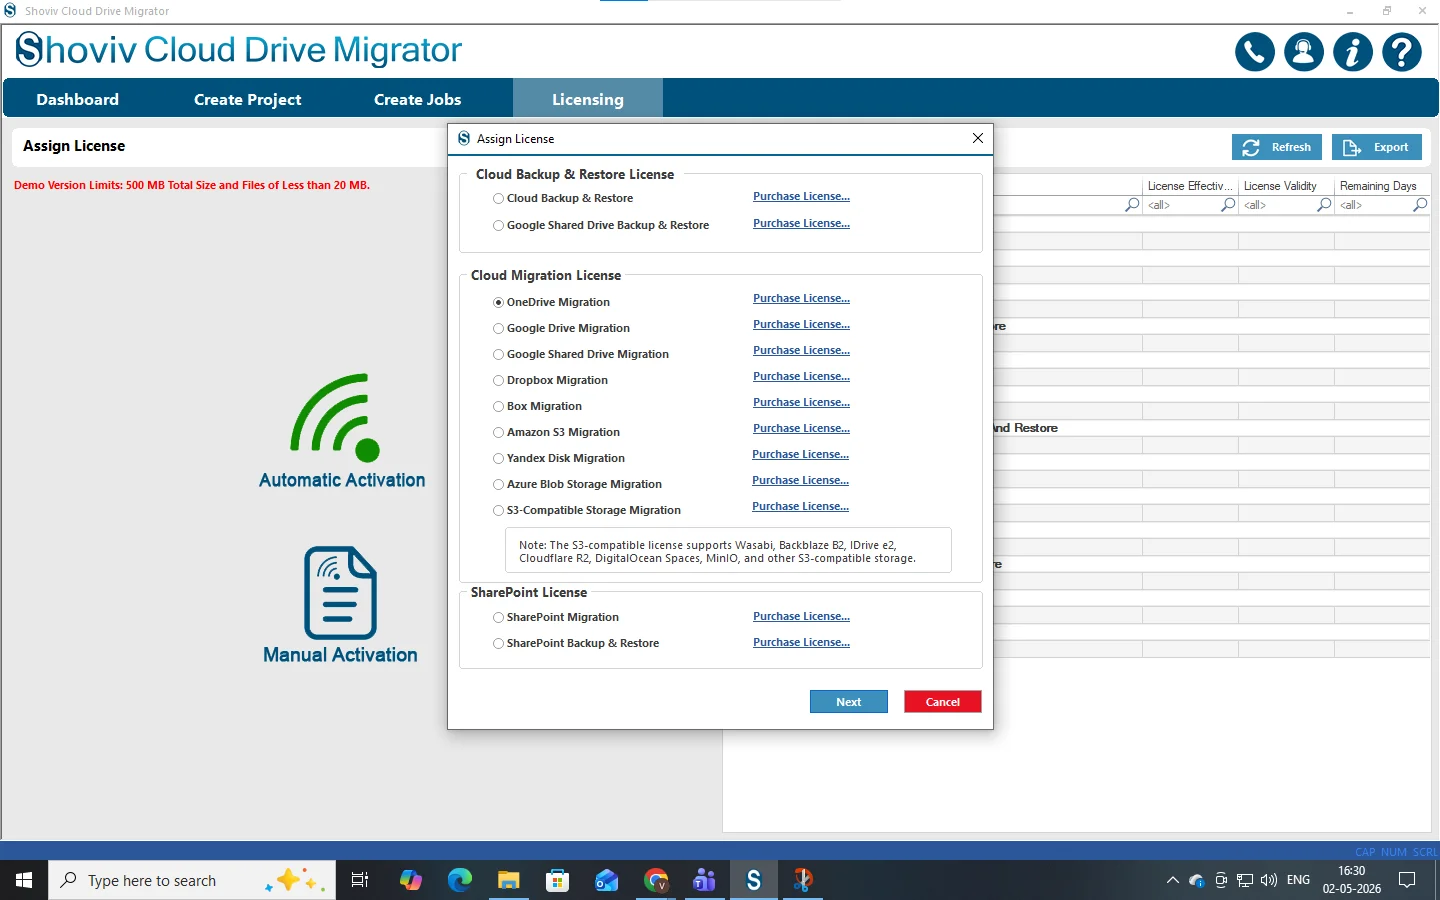
Step 1: Choose the appropriate license as per your required task within an appropriate category. Click Next.
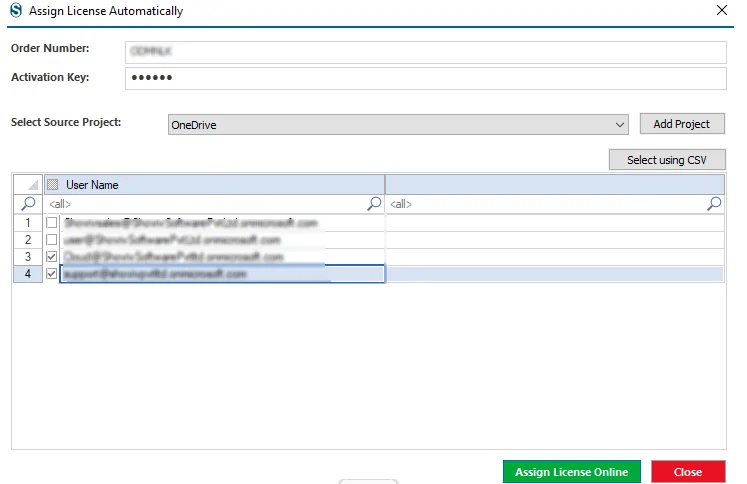
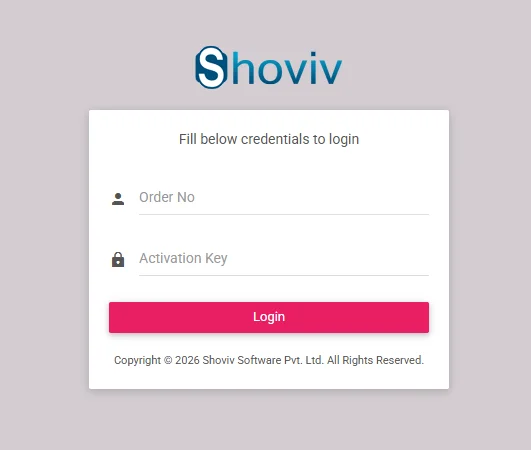
Step 2: Enter the Order Number and Activation Key, then select the Source Project if you already have one, and if not, then add a Source Project.
Choose the required users, or in case you have a larger list for the selection, select them using a CSV file, and finally click Assign License Online.
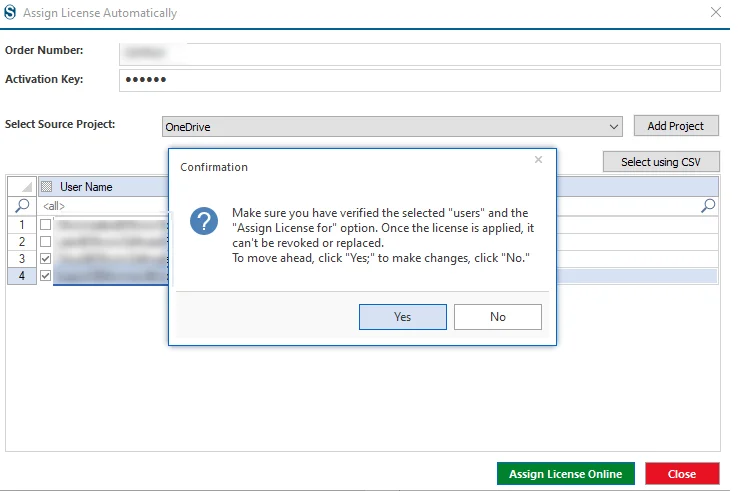
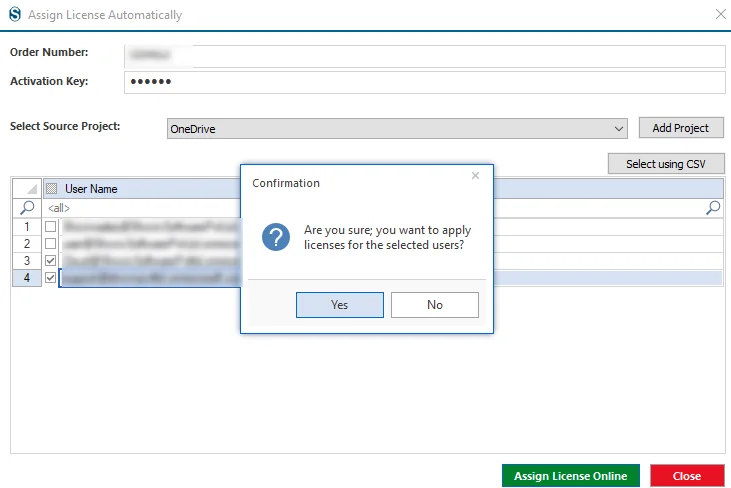
Step 3:Cross-check the users to ensure all details are accurate. Please proceed by selecting “Yes” in the confirmation dialog to continue.
Step 4: At this stage, if you have verified that the selected users are correct, please click “Yes” to proceed.
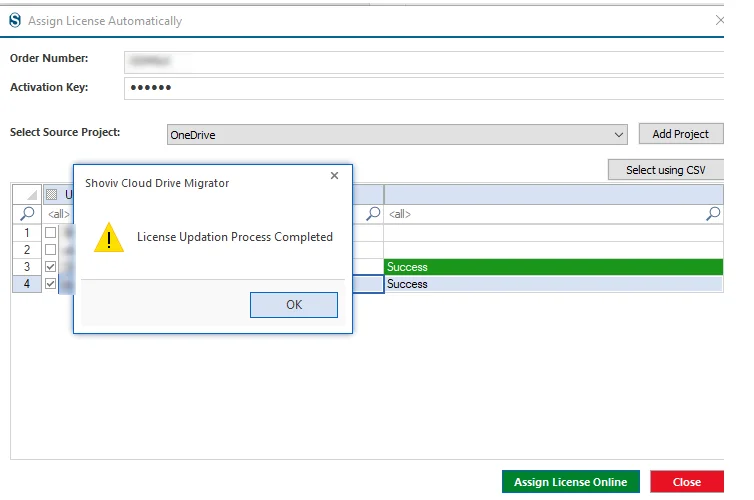
Step 5: The message “License Updation Process Completed” indicates that the license has been assigned to the selected users. Click “Ok” to close the confirmation pop-up.
Manual Activation
Step 1: Navigate to the Licensing tab. Click on Manual Activation.
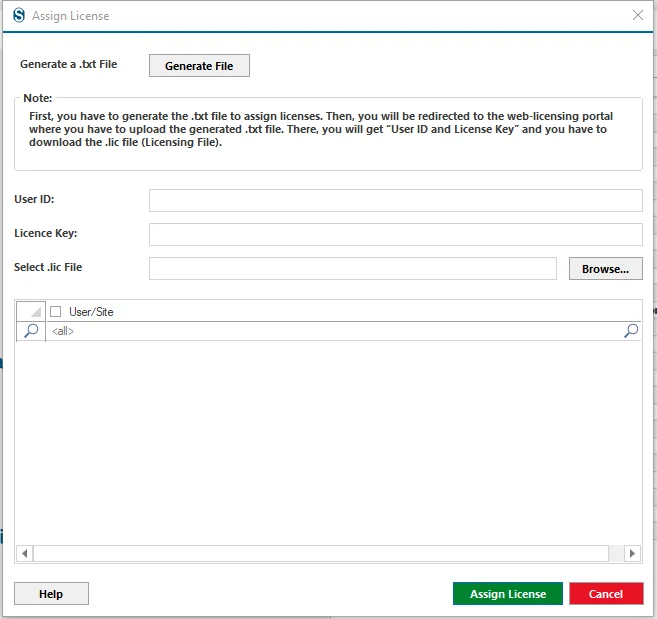
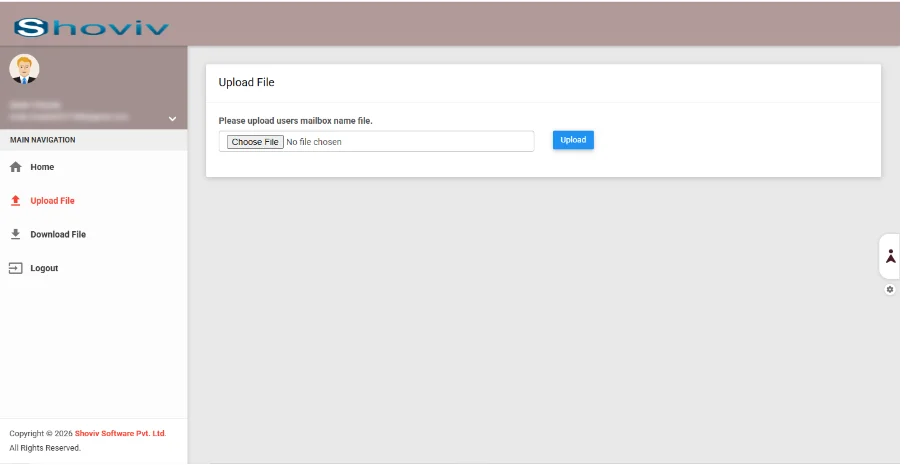
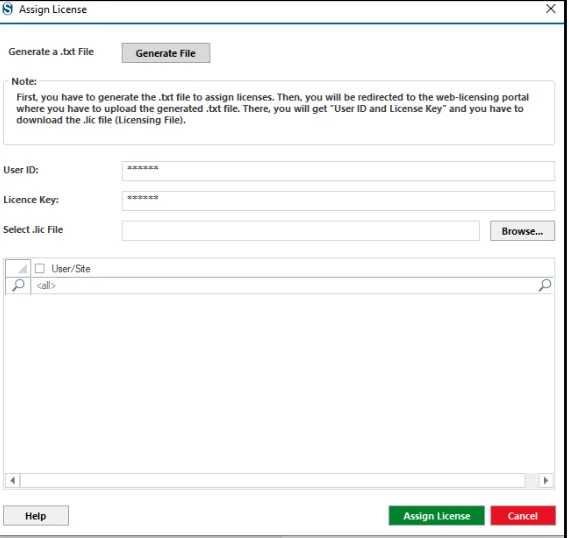
Step 2: In the Assign License window, click on the Generate File button to create a .txt file. This file will be used to proceed with the license activation process through the web licensing portal.
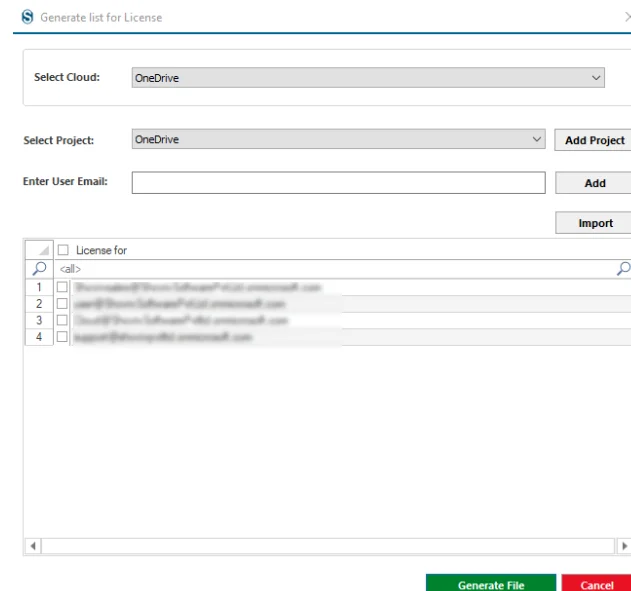
Step 3: Select the desired cloud and choose the relevant Source project from the dropdown. In case you do not have the Source project present in the software, then create one.
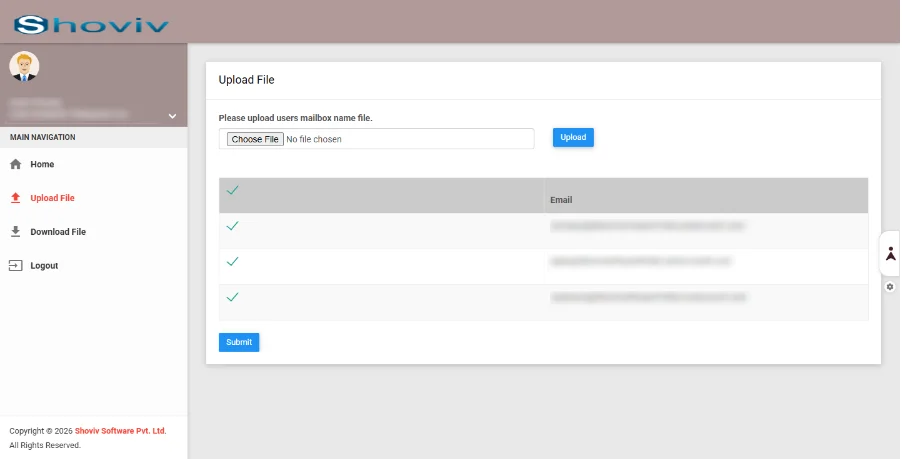
Add Source Address individually using the Add button or bulk import them using the Import option. Then, select the required source from the list and click Generate File to create the license request file.
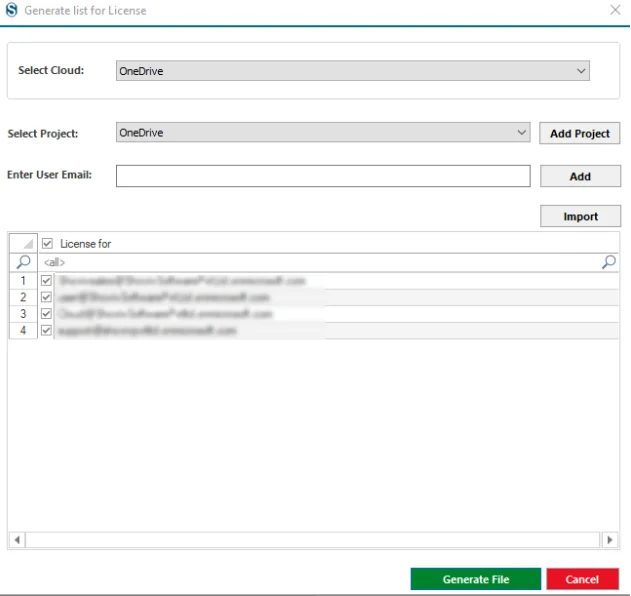
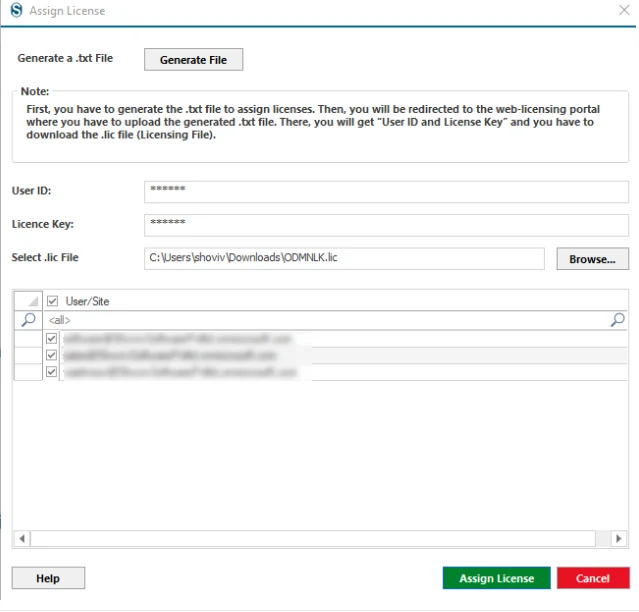
Step 4: Review the list of sources under License to make sure the correct users are selected (checked), and then click “Generate File”, it will create a .txt file on the desktop
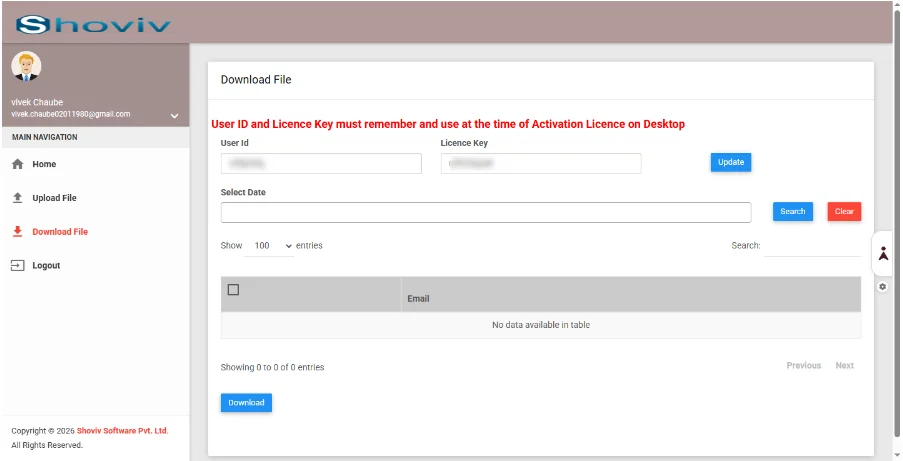
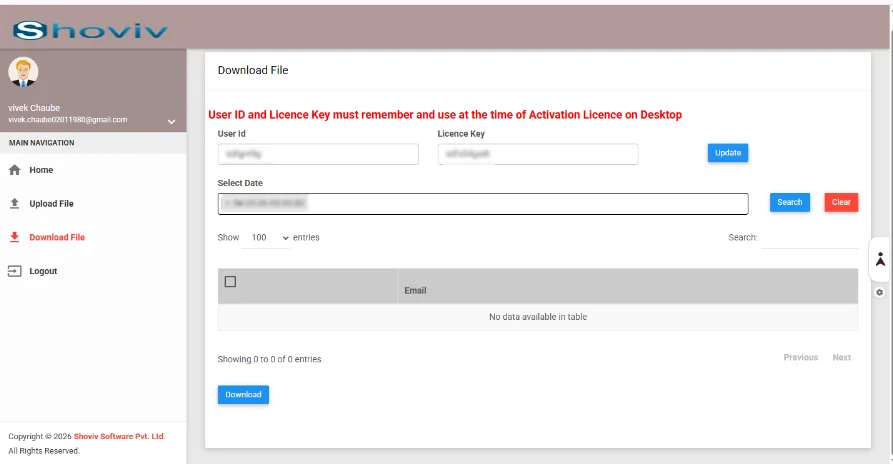
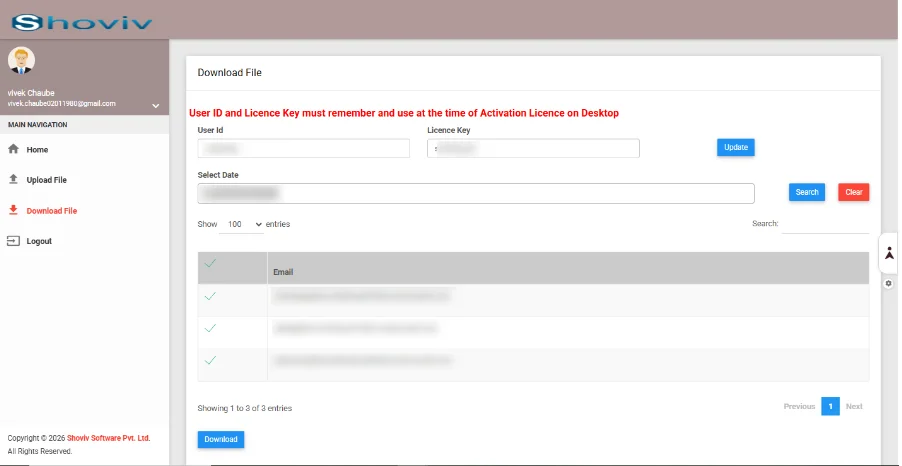
Step 5: After that, a confirmation message will appear. Click Ok then upload the generated license file to the web-based licensing module.