1: Begin by downloading, installing, and running the Shoviv Migrator application.

2: Go to the Job Manager section and click the Create Job option from the ribbon bar.
- Choose Mailbox Migration as the job type. Then select Amazon WorkMail as the source platform and IMAP as the target platform.
- Click Create Job to move forward.

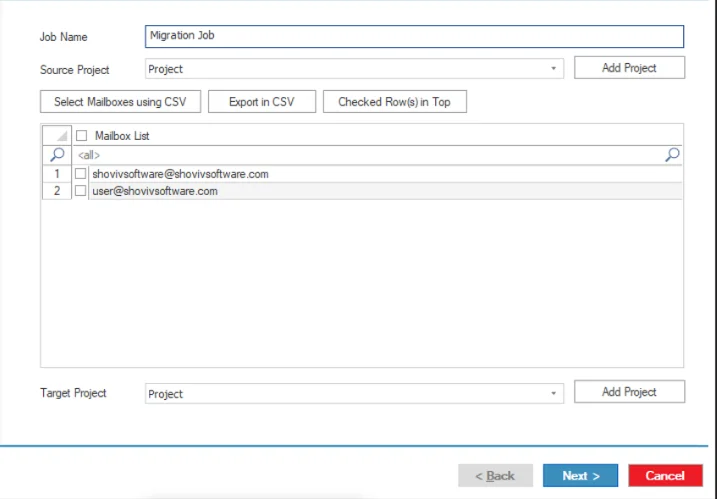
3: Enter the Job Name for your migration task.
- Select Add Project to move ahead.
- Configure the Source Project and establish the connection.
- Refer to the provided guide link for detailed instructions on setting up the Source Project: https://www.shoviv.com/how-it-works/shoviv-migrator/amazon-workmail-to-imap.html
- After creating the Source Project, select it from the combo box and select the required source mailboxes shown on the screen.
- If you want to select specific mailboxes from the larger list, you can do it with the help of Select Mailboxes with CSV.
- Next, configure the Target Project for IMAP. Follow the guide link for step-by-step instructions on creating the Target Project: https://www.shoviv.com/how-it-works/shoviv-migrator/amazon-workmail-to-imap.html
- If a target project already exists, simply select it from the dropdown menu list.
- Click Next to continue.
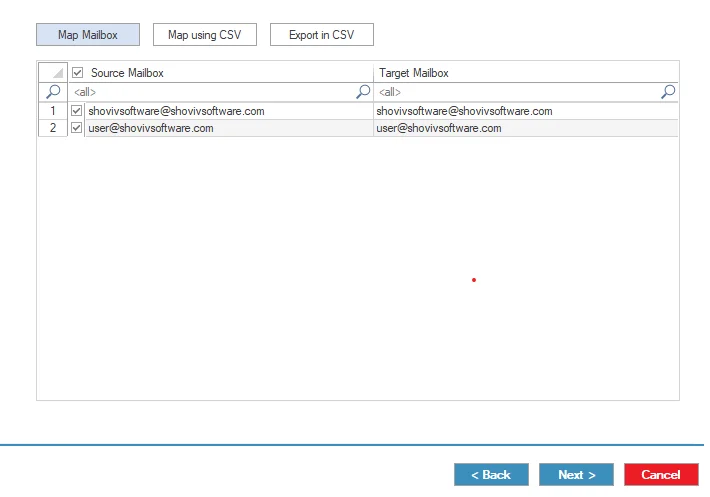
4: Map the Source Mailboxes with their corresponding target mailboxes using either of the available mapping methods:
- Map Mailbox: Manually select a Source Mailbox, click Map Mailbox, and assign the matching target mailbox.
- Map using CSV: Upload a CSV file to perform bulk mailbox mapping for multiple accounts.
- Select the destination type for migration: Primary Mailbox, Archive Mailbox, or Public Folder
.
- Click Next to proceed.
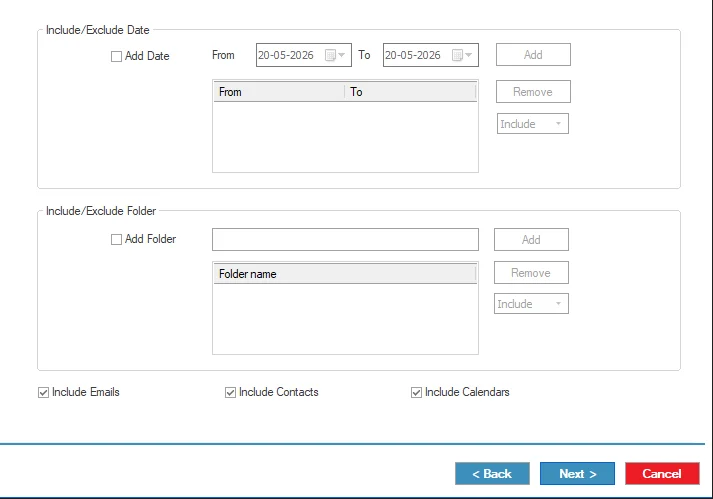
5: On the filter page, apply the required migration filters and options:
- Include/ Exclude Date: Specify a date range for migration emails.
- Include/ Exclude Folder: Select folders to include or exclude during migration.
- Click Next.
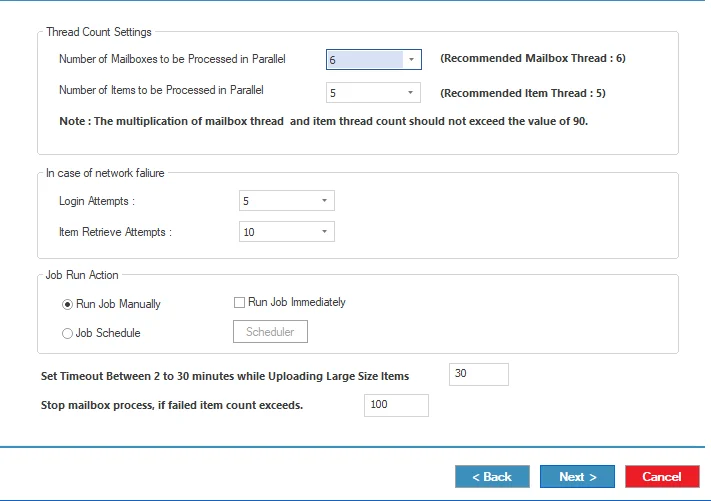
6: Configure the advanced migration settings as needed:
- Number of Mailboxes to be processed in Parallel: Set how many mailboxes can migrate at the same time.
- Number of Items to be Processed in Parallel: Set the number of retries for fetching mailbox data if retrieval fails.
- Login Retry Attempts: Specify retry attempts for failed mailbox logins caused by connection issues.
- Login Login Retrieval Attempts: Set the number of retries for fetching mailbox data if retrieval fails.
- Run Job Manually: Save the job setup and start the migration later using the Start Job option.
- Run Job Immediately: Begin the migration automatically after setup completion.
- Scheduler: Schedule the migration for a specific date and time.
- Timeout for Larger Size Items: Configure a timeout duration between 2 and 30 minutes for large mailbox items.
- Bad Item Count: Automatically stop mailbox processing if failed items exceed the defined limit.
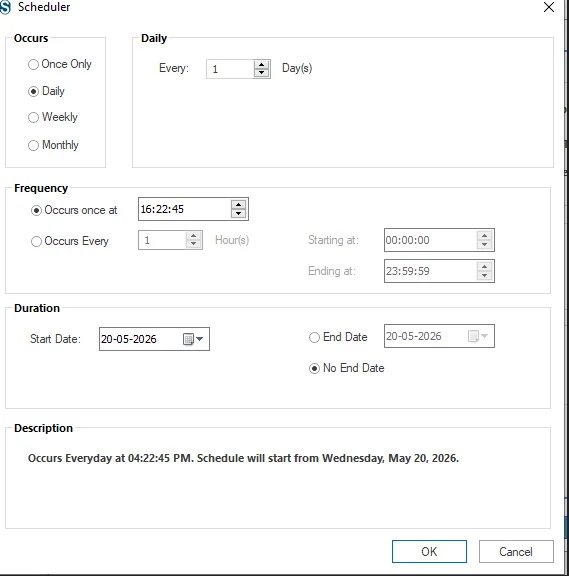
7: Job Scheduler:
- Occurs: Defines migration frequency, such as once, daily, weekly, or monthly, based on organizational requirements.
- Daily: Sets the number of executions per day for incremental or frequent synchronization in large environments.
- Occurs Once At: Specifies exact execution time to control server load and migration window.
- Start Date: Defines when the scheduled migration begins based on planning and readiness.
- End Date / No End Date: Sets the scheduled end date or allows continuous migration without stopping.
- Description: Provides a summary of the scheduled configuration for review before final execution.
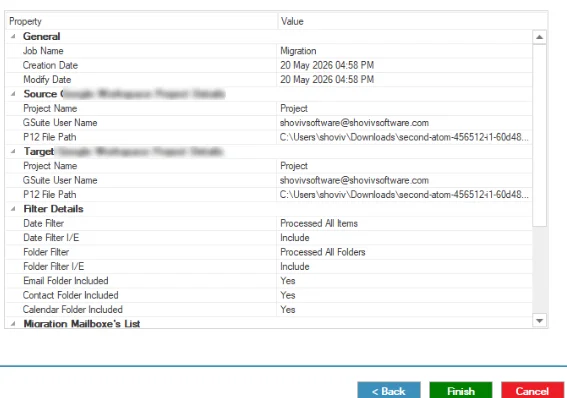
8: Review all the migration settings carefully. If changes are required, use the Back button to modify the configuration. Click Finish to complete the setup. The migration will start according to the selected configuration and filters.
9: If you selected the Run Manually option, click the Start Job button from the ribbon menu to begin the migration process.


