Mode 1: Using the EWS (Modern Authentication):
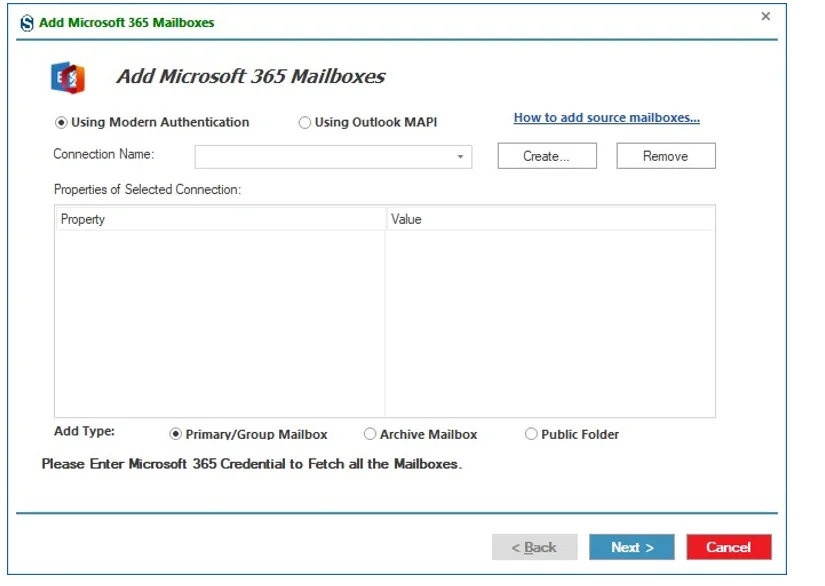
In the Connection Name field:
- Click Create to set up a new Microsoft 365 connection.
After clicking Create, the Exchange Server Connection window appears. At the top of this window, users can choose how they want to connect to Microsoft 365 or an on-premises Exchange environment.
Choose Connect Microsoft 365 / Exchange Online.
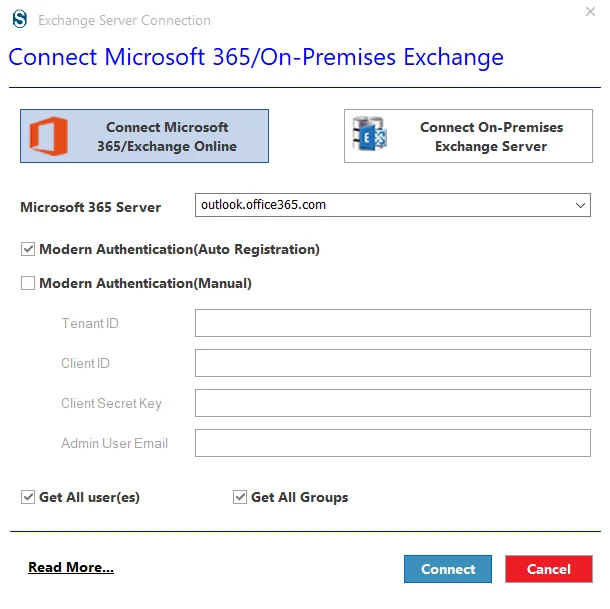
Modern Authentication Options:
- Modern Authentication (Auto Registration):
- Automatically registers the application with Microsoft.
- Modern Authentication (Manual):
- Allows users to manually enter Tenant ID, Client ID, and Client Secret.
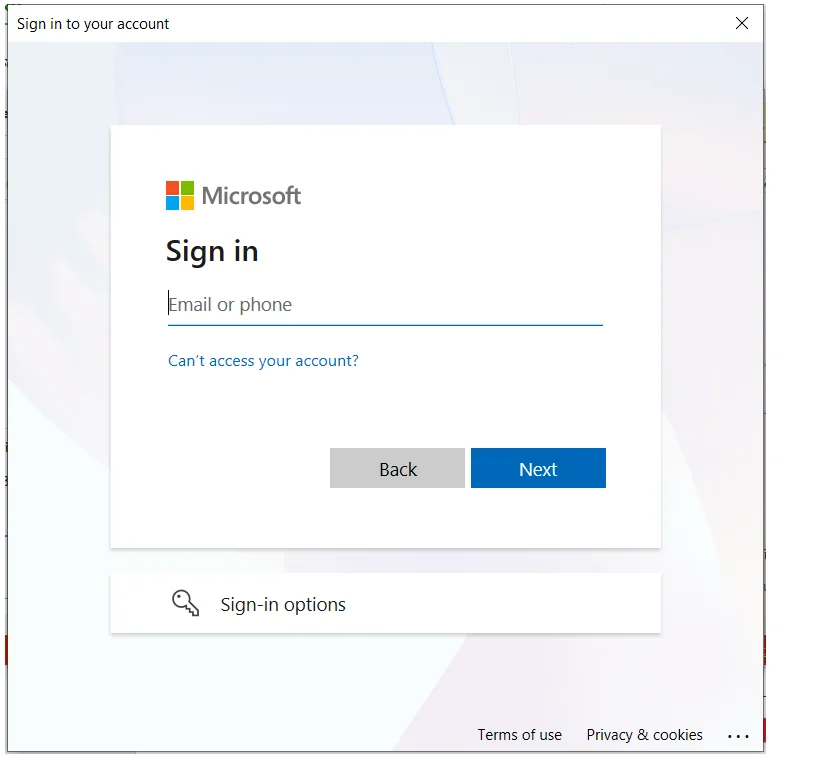
1.2: Modern Authentication (Auto Registration): Connect via Modern Authentication. You will be redirected to the Microsoft sign-in page, where you must enter your email address and password to authenticate.
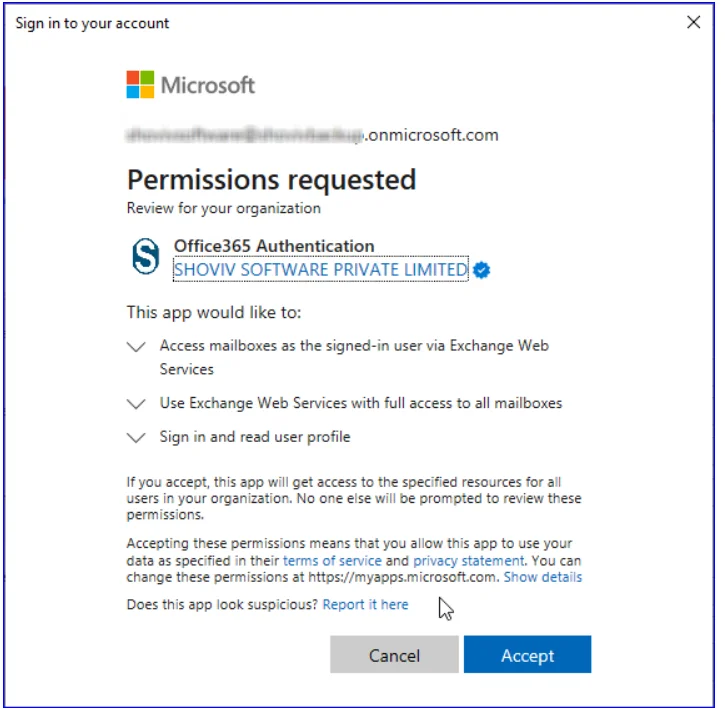
1.3: Once verifying the identity, kindly accept the permission request by clicking on Accept.
Modern Authentication (Manual-Registration) for login
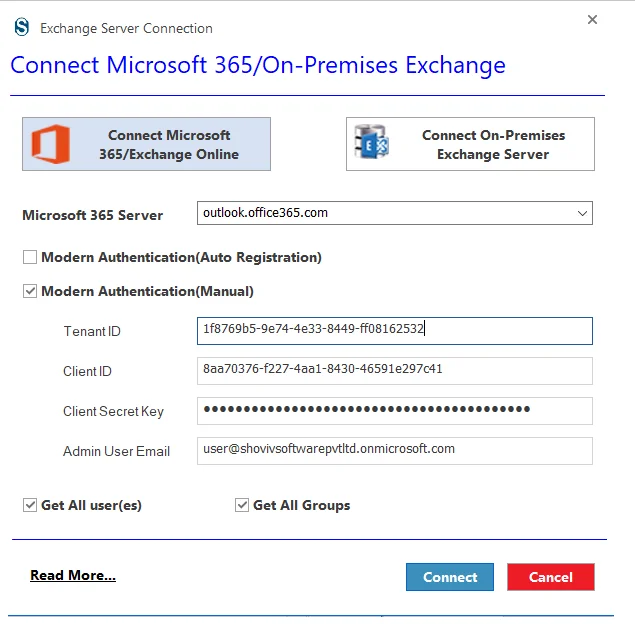
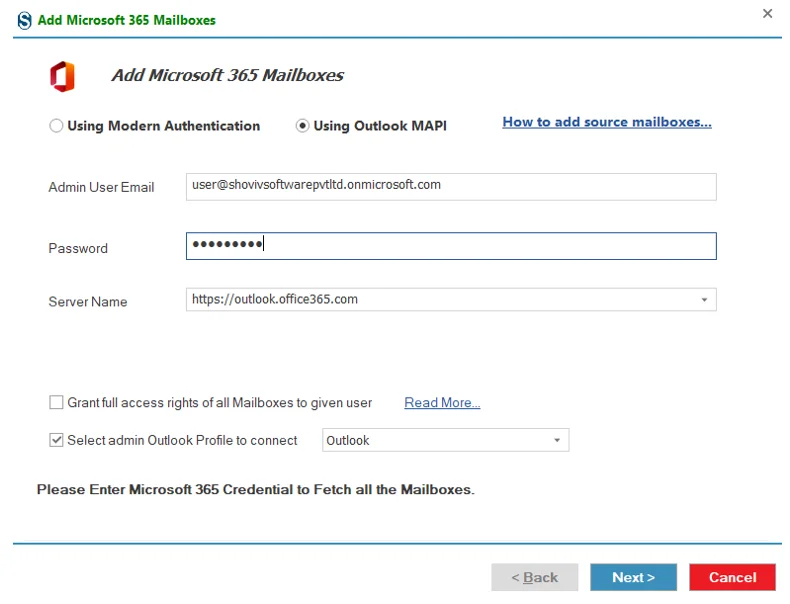
Step 1: To log in through this Modern Authentication option, you must provide the following details:
- Tenant ID: Enter the Tenant ID available in the Active Directory’s overview section.
- Client ID: Client ID (also known as Application ID) is available in the Active Directory’s overview section below the Tenant ID.
- Client Secret Key: Enter the client’s secret value from the Clients & Secrets section.
- Admin User Email: Enter the Administrator user email.
Read more to create Tenant ID, Client ID, and Client Secret Key for Modern Authentication:
https://www.shoviv.com/technical-guide/connect-exchange-server.html
After adding all the credentials, click Connect.
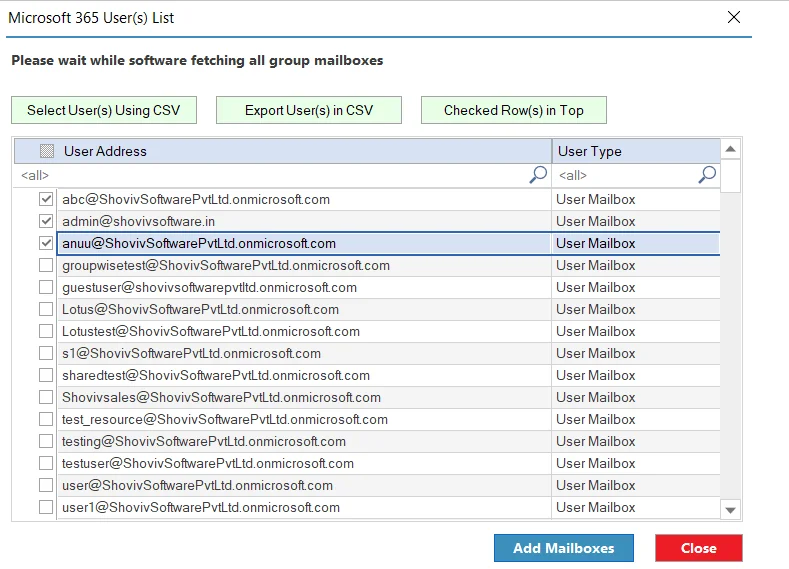
Step 2: Select the Mailboxes you want to add and click ADD Mailboxes.
- Once the mailboxes are added, the application gives a wizard to validate and confirm the configured Microsoft 365 or Exchange connection.
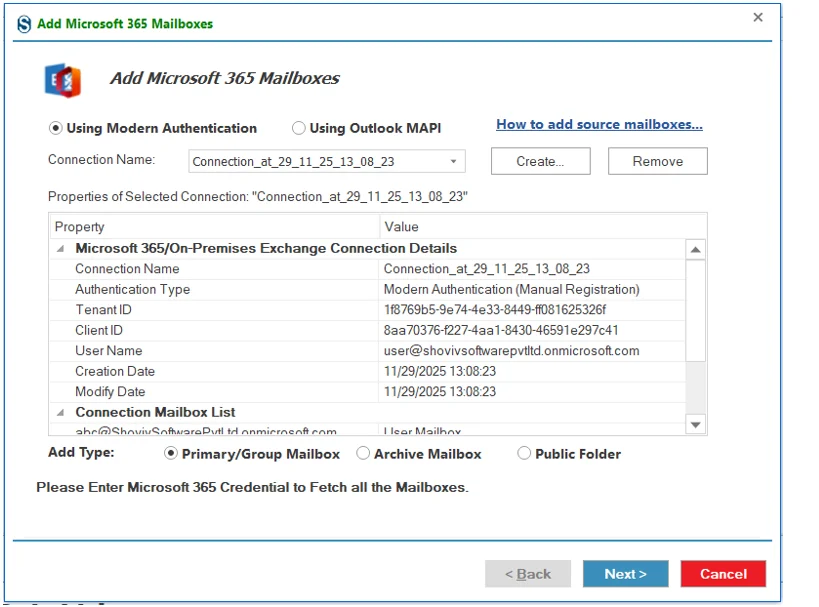
Click on Next
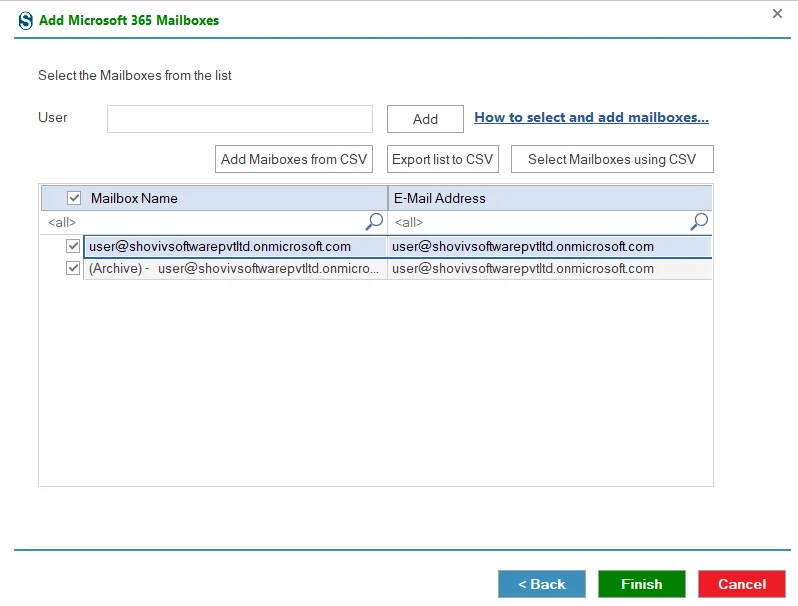
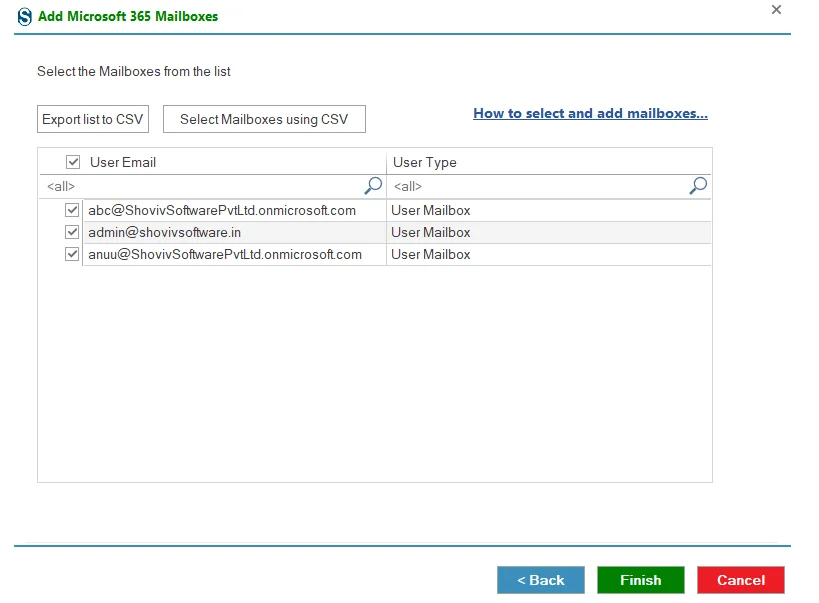
Finally, select the mailboxes you want to ADD.
- Export list to CSV: Exports the displayed mailbox list for reference.
- Select Mailboxes using CSV: Selects mailboxes automatically based on a CSV file.
Read more for How to select and add mailboxes: https://www.shoviv.com/technical-guide/select-source-mailboxes.html
Click on Finish.
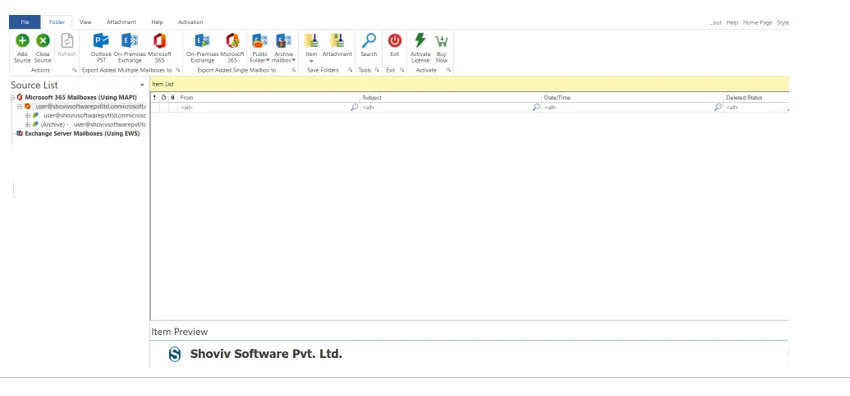
- The selected mailboxes are shown on the left side of the application for preview.
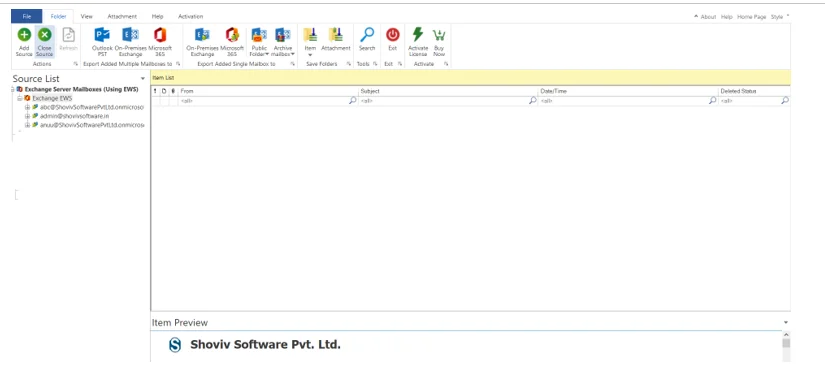
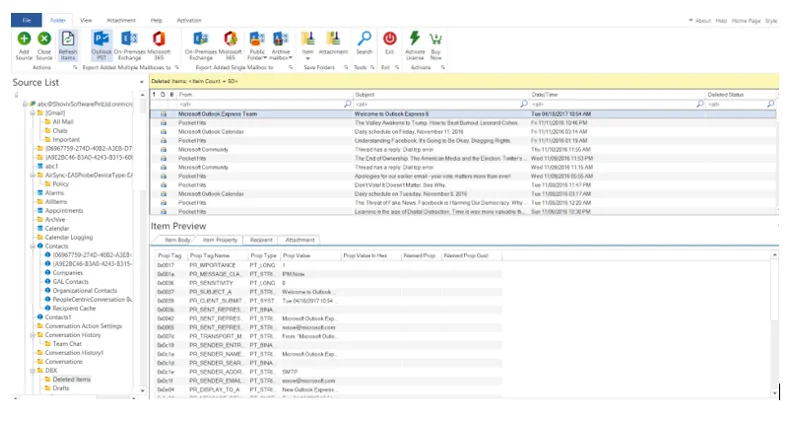
Preview Mailbox Data
You can now click on any mailbox or item to preview its data. The application provides a live item preview with multiple viewing options to help you review the content in detail.
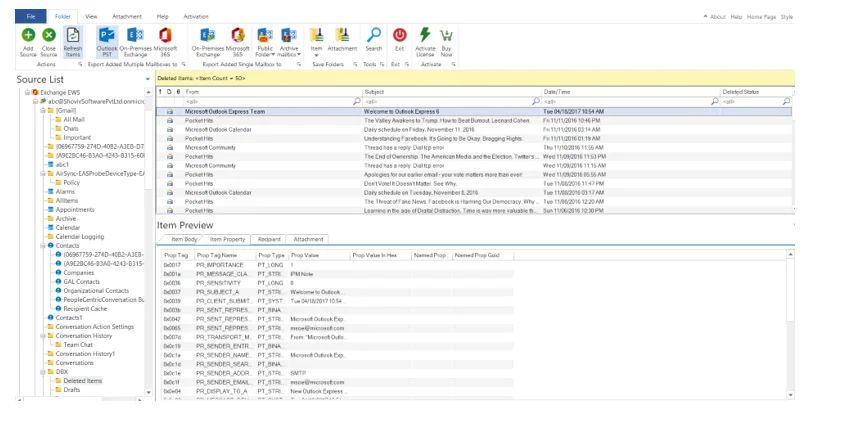
The preview pane includes the following tabs:
- Item Body: Displays the main content of the selected item.
- Item Properties: Shows detailed metadata and properties of the item.
- Recipients: Lists all recipients associated with the selected item.
- Attachments: Displays all attachments linked to the item.