As an Office 365 admin, there are a certain set of requirements which needs to be fulfilled. Assigning the delegate's right to a particular user is one of them, which provides full access permission of other user's mailboxes. To make you aware of the procedure involved, we are sharing the step-by-step process to help you assign delegate rights to a single user for other users in Exchange Admin Center.
Note: -Assigning Delegate rights to a user permits them to read, write, and edit the mailboxes of the desired users of an organization.
This technical guide will share the procedure for assigning delegates rights to a particular user for other multiple and single users of the organization.
Method to Assign Bulk Mailbox Permission through Exchange Admin Center (Office 365):-
Method 1
- Login to the admin center by using the admin credentials.
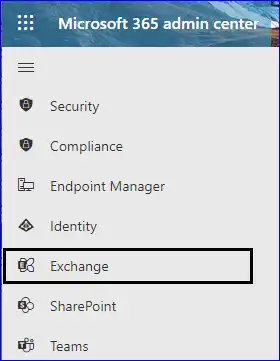
- On the left side menu, make sure to click on the Exchange.
- Click on the Mailboxes option which is showing under the Recipient. Thereafter, select the Mailbox delegation.
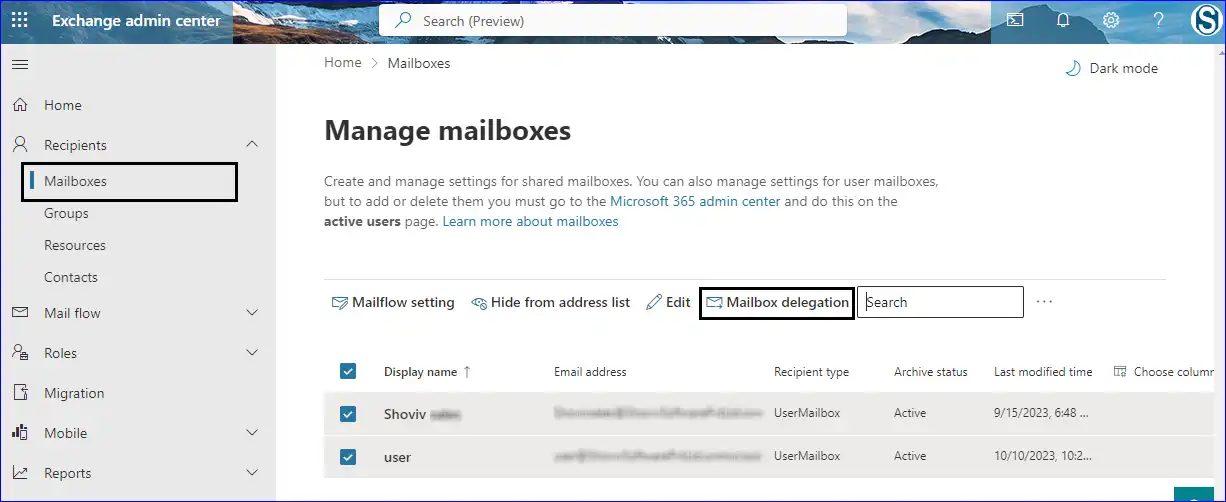
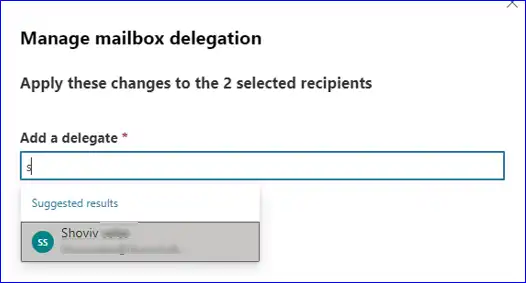
- A Manage mailbox delegation window will appear. Here, select the user to whom you assign the delegate rights.
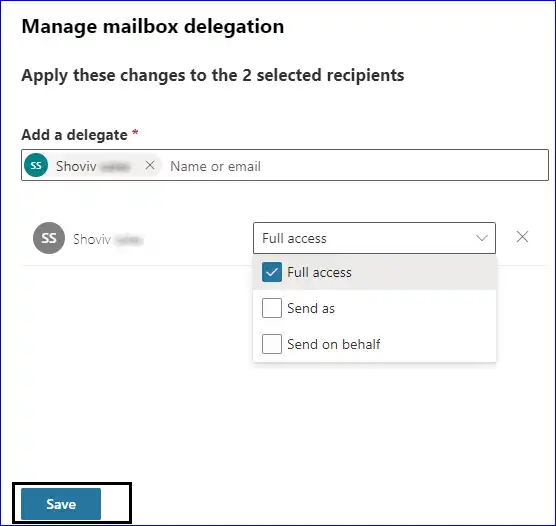
- Now, select the Full Access option and then hit on the Save button to make changes.
Method to Assign Bulk Mailbox Permission through Exchange Admin Center:-
Method 2
- Enter required login credentials to open the Exchange admin center.
- Click on the Recipient and then subsequently select the Mailbox from the Exchange admin center.
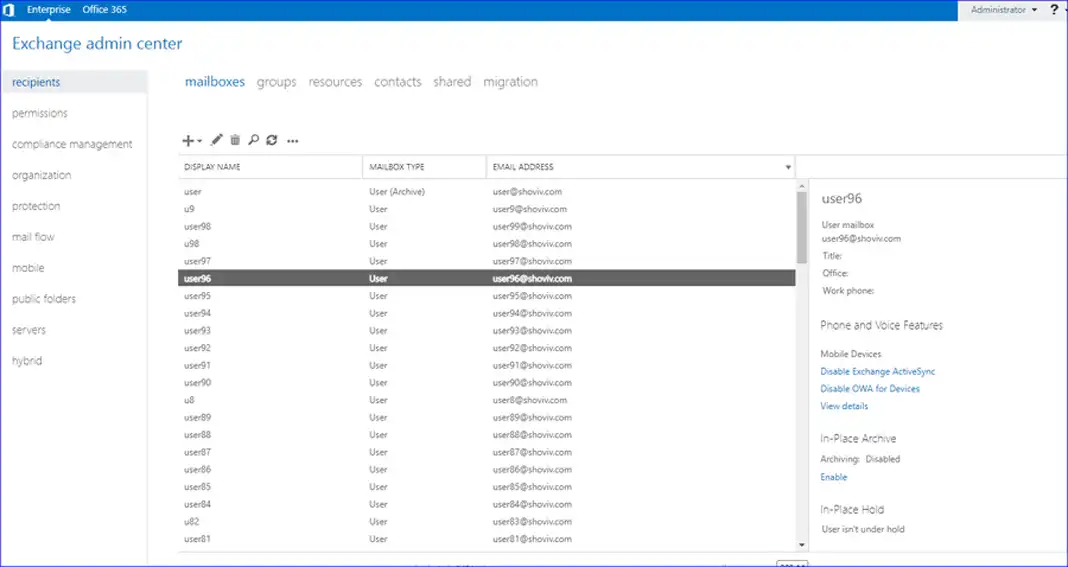
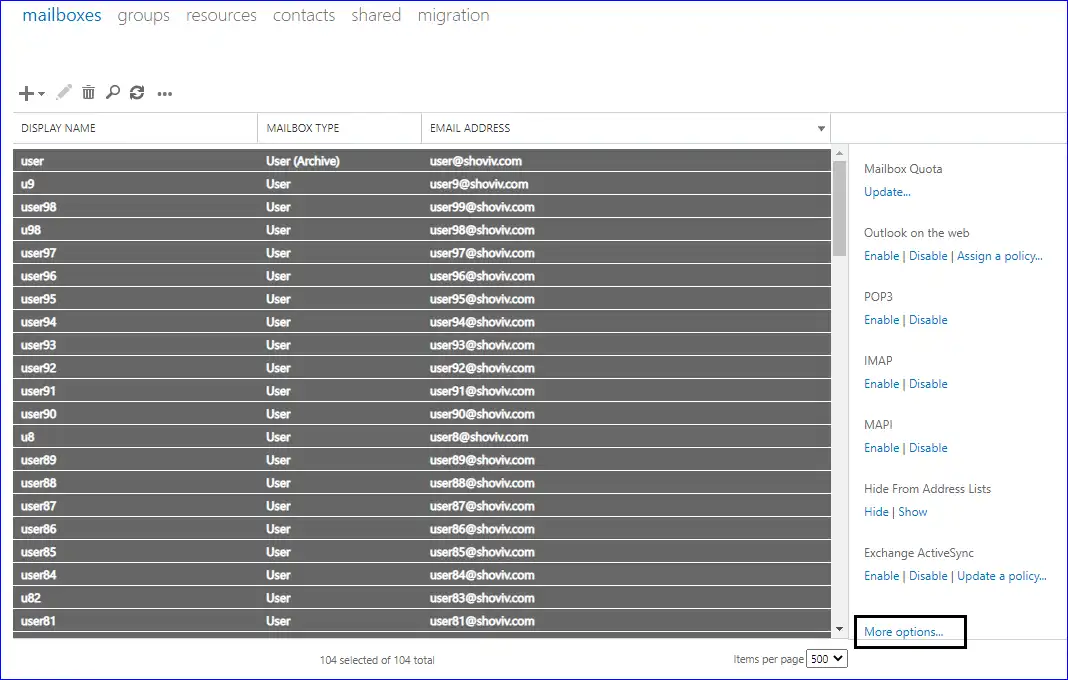
- Select the required number of mailboxes (Pick only the required users for whom you need to assign the mailbox access permission to particular user), and then you need to click on the More options from the bottom of the Exchange admin center.
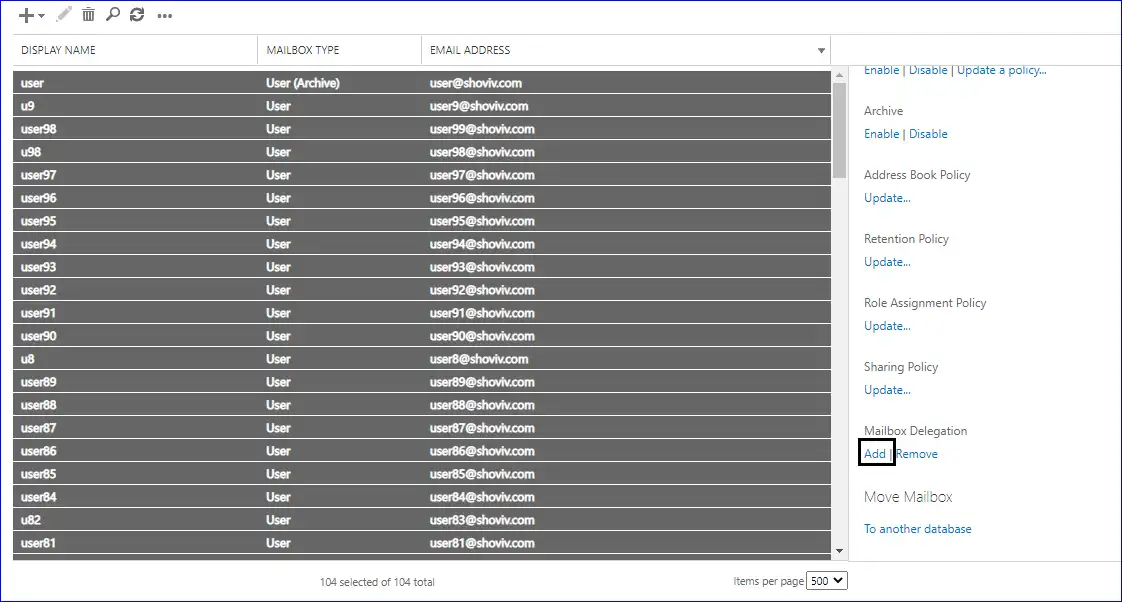
- Scroll down a bit, and you will see Mailbox Delegation. To provide the permission click on the Add option.
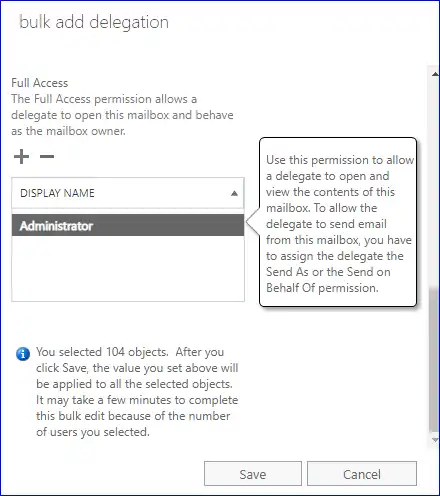
- From the bulk add delegation, go to the Full Access option. Now, click on the plus sign to add the user to which you require to provide delegate's rights.
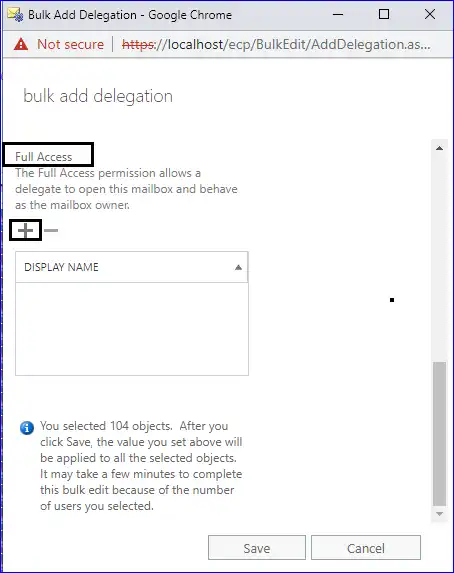
- Select any user from the list you need to provide delegate's right and click on the add button. Furthermore, hit on Ok to continue with the process.
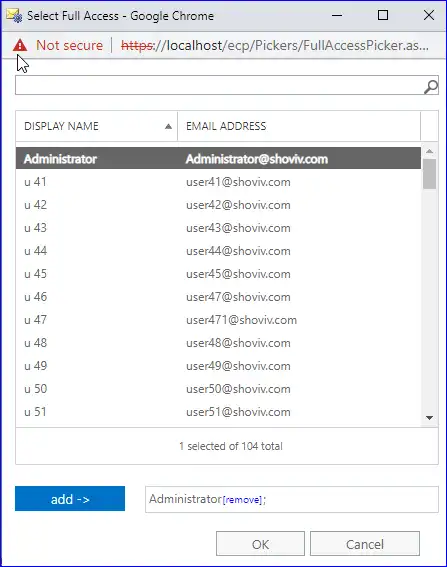
- Selected user will list up under the Display Name. You simply need to click on Save to grant the delegate's right to the specified user.
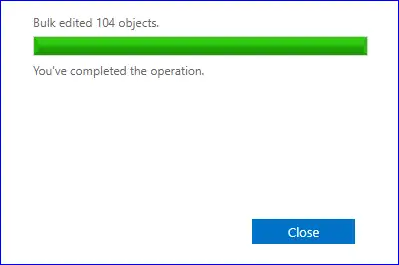
- After following the above-described procedure, you will successfully grant the mailbox access permission to the specific user.
Method 3
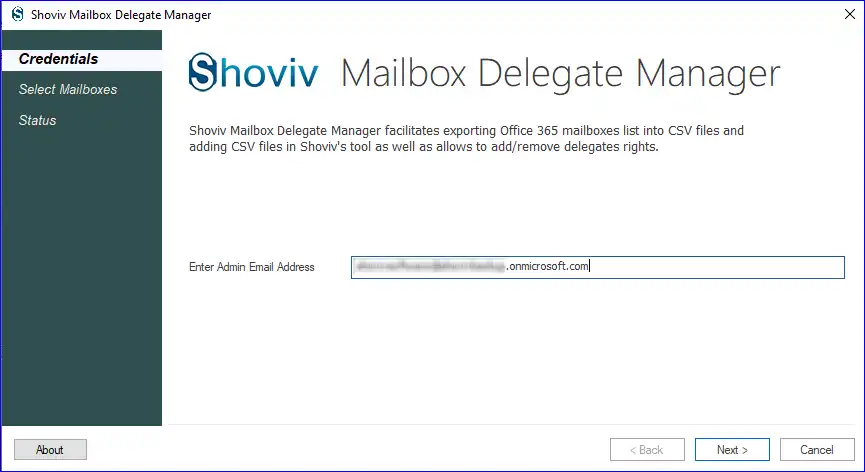
Shoviv Mailbox Delegate Manager is a solution that makes granting complete permission to access other user mailboxes easier. We shared the complete process of how this method works to grant delegate rights to a user.
Shoviv Mailbox Access Permission Manager
Add/Remove multiple mailboxes Full-Access permission to given user.
Free Download
This freeware is developed and distributed by Shoviv to help the community and save their precious time.
After completing the installation of this utility, kindly go through the procedure shared below:
- Step: 1 Open the software and then enter the required credentials to log in, like the email address of the Office 365 global admin user.
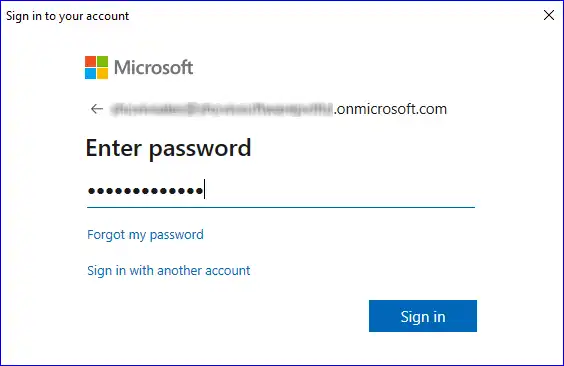
- Step: 2 Now the software will redirect to a Microsoft login page where mention the password and then click on the Sign in button.
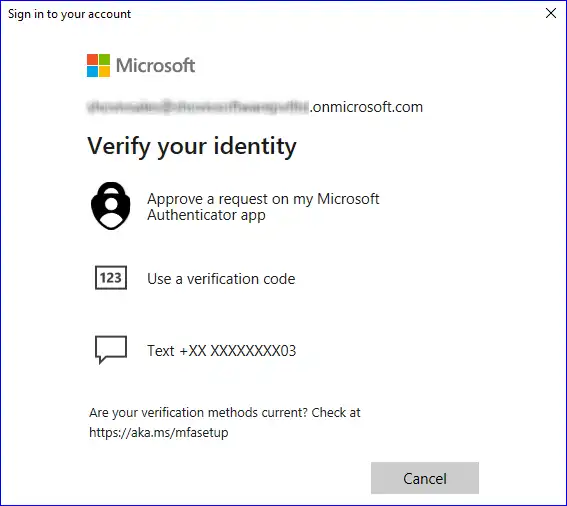
- Step: 3 Choose an appropriate method to verify your Identity.
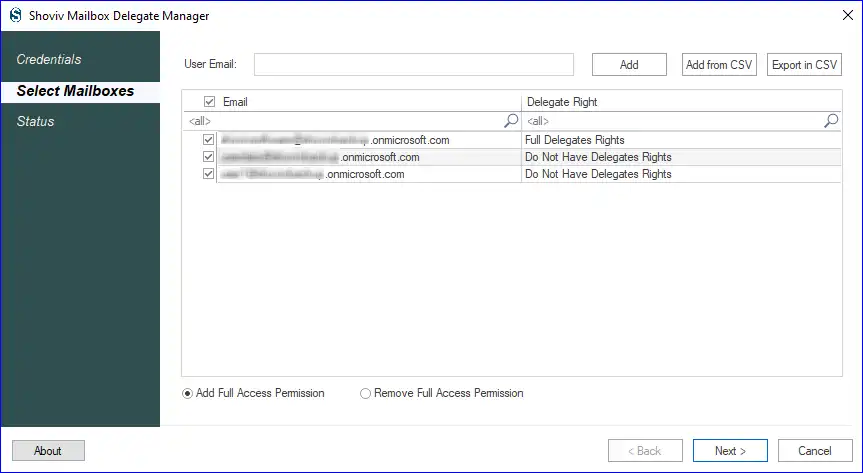
- Step: 4 A complete user lists will appear, and you can choose the required user against to whom you need to give full mailbox access permission. Also, this tool provides the facility to add the mailboxes from the CSV file.
- Add Full Access Permission: This option will grant delegate rights to the selected user.
- Remove Full Access Permission: This option will remove the delegate rights from the selected user.
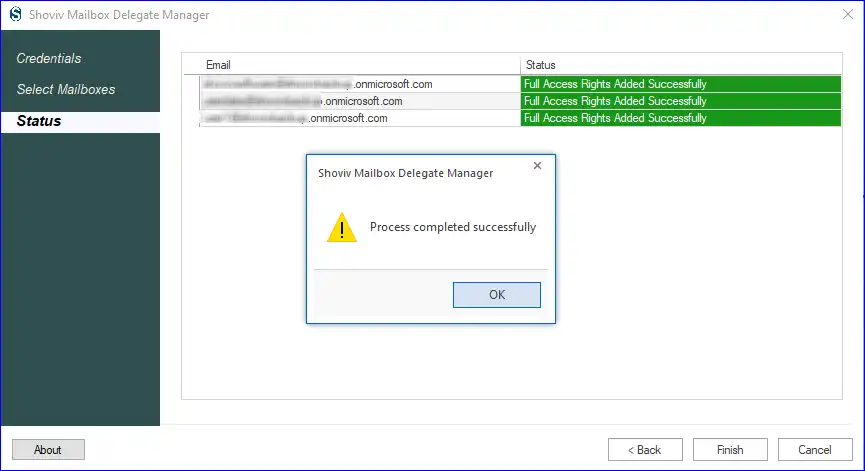
- Step: 5 Once you click on the Next button, the process to provide the delegate's rights will start. After the process gets over, "Process completed successfully" message appears in which you need to click on Ok.
Method to Assign Single Mailbox Permission through Exchange Admin Center
Kindly go through the shared link below to check the process for assigning the delegate's rights only for single user.
Click here to learn about the process for add delegates right.
Your valuable feedback/suggestions are always welcome. You can write us at support@shoviv.com


