Step 1: After selecting the source as On-Premise Exchange Single Store an Add On-Premises Exchange Single Store will pop up. Now add your credentials to add On-Premise Exchange Single Store.
Under the Store Type section, select the type of Exchange data you want to add:
- Store type: Select the mailbox type, which you want to add User Mailbox, Archive Mailbox, and Public Folder.
- Public Folder : To add public folder data.
- Mailbox : To add a user mailbox.
- Archive Mailbox : To add an archive mailbox.
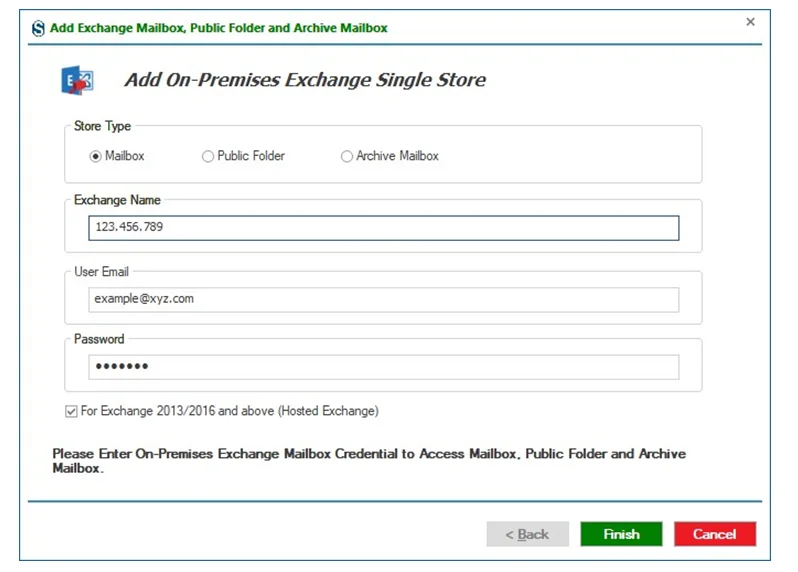
Enter Exchange Server Details:
- Exchange Name: Enter the server name or IP address of the Exchange Server.
- User Email: Enter the email address of the Exchange Server mailbox.
- Password: Provide the password of the respective mailbox.
Enable Hosted Exchange Option:
- Check For Exchange 2013/2016 and above (Hosted Exchange) if you are connecting to a hosted or newer Exchange environment.
After entering all the details, click on the Finish button.
Step 2: After entering the Exchange server details and credentials. The application starts connecting using the provided credentials.
During setup, the Choose Profile dialog box opens.
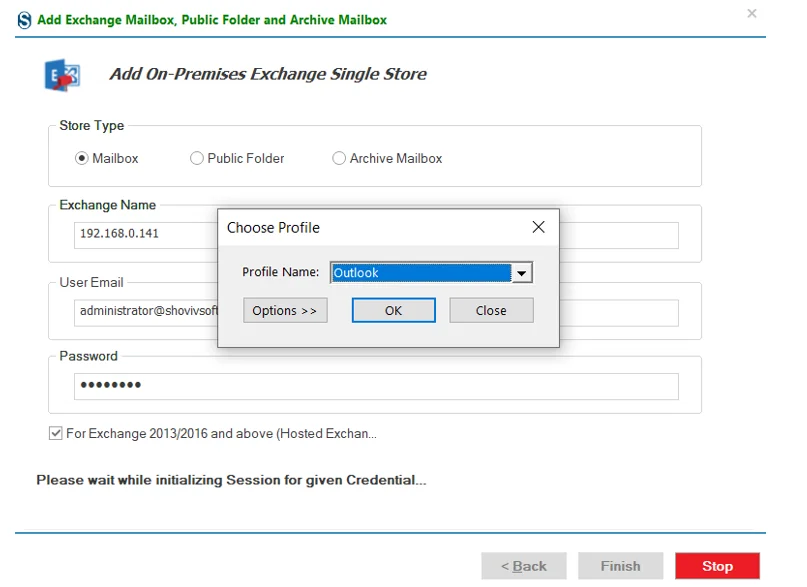
- From the Profile Name drop-down list, select the required Outlook profile. Click OK to proceed with the selected profile.
Options>> (If Required)
If additional profile settings are needed, click Options >> in the Choose Profile dialog.
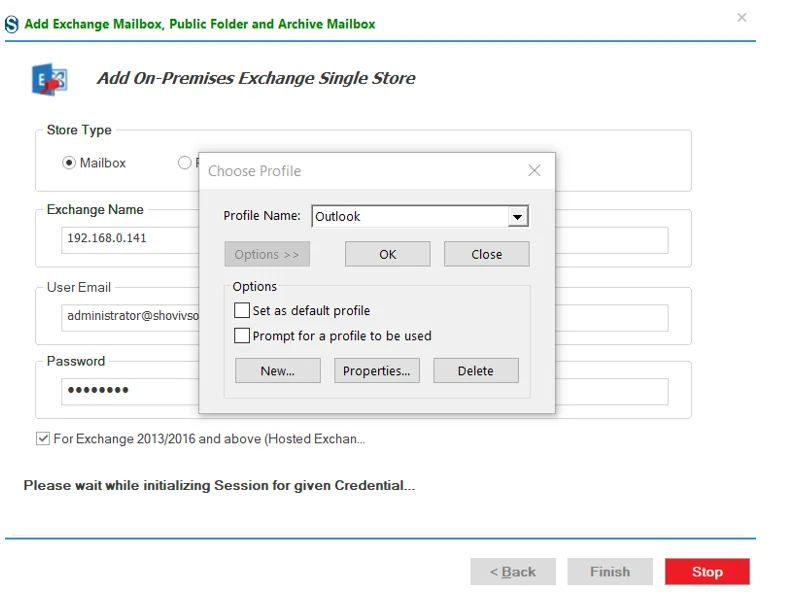
This expands the dialog and displays the following options:
- Set as default profile: Sets the selected profile as the default Outlook profile.
- Prompt for a profile to be used: Prompts you to choose a profile each time Outlook is accessed.
- New: Create a new Outlook profile.
- Properties: View or modify profile settings.
- Delete: Remove the selected Outlook profile.
After configuring the required options, click OK to continue.
Step 3: The mailboxes have been added to the source list.
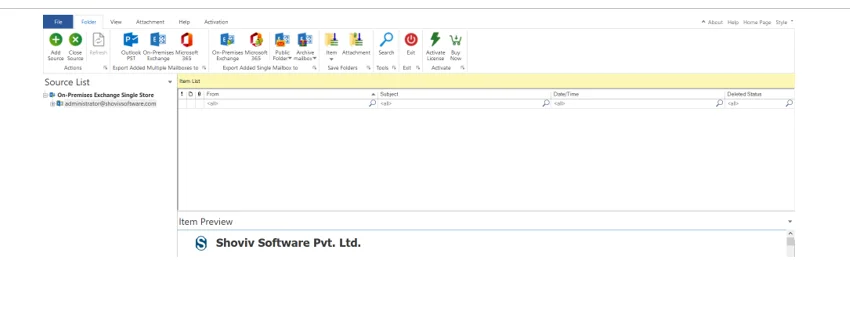
Preview Mailbox Data
Select a mailbox or item from the list to view its data. The application then shows a live item preview with multiple viewing options for detailed review.
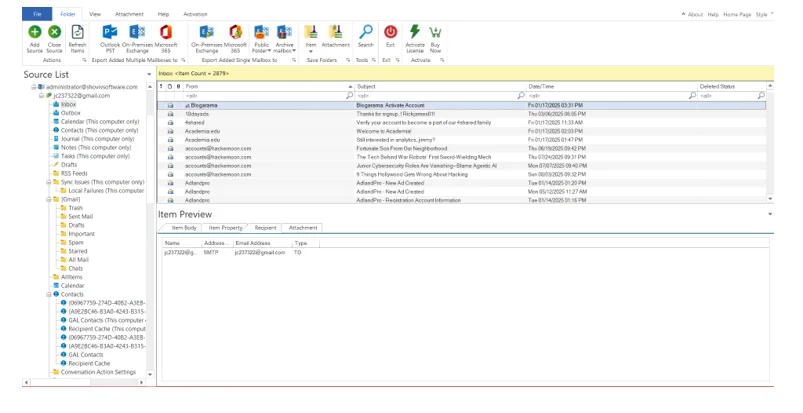
The preview pane includes the following tabs:
- Item Body: Displays the main content of the selected item.
- Item Properties: Shows detailed metadata and properties of the item.
- Recipients: Lists all recipients associated with the selected item.
- Attachments: Displays all attachments linked to the item.


