Step 1: Once you have finished installing and downloading the Shoviv Cloud Drive backup, from the dashboard, you need to go to the Create Drive Backup Job.
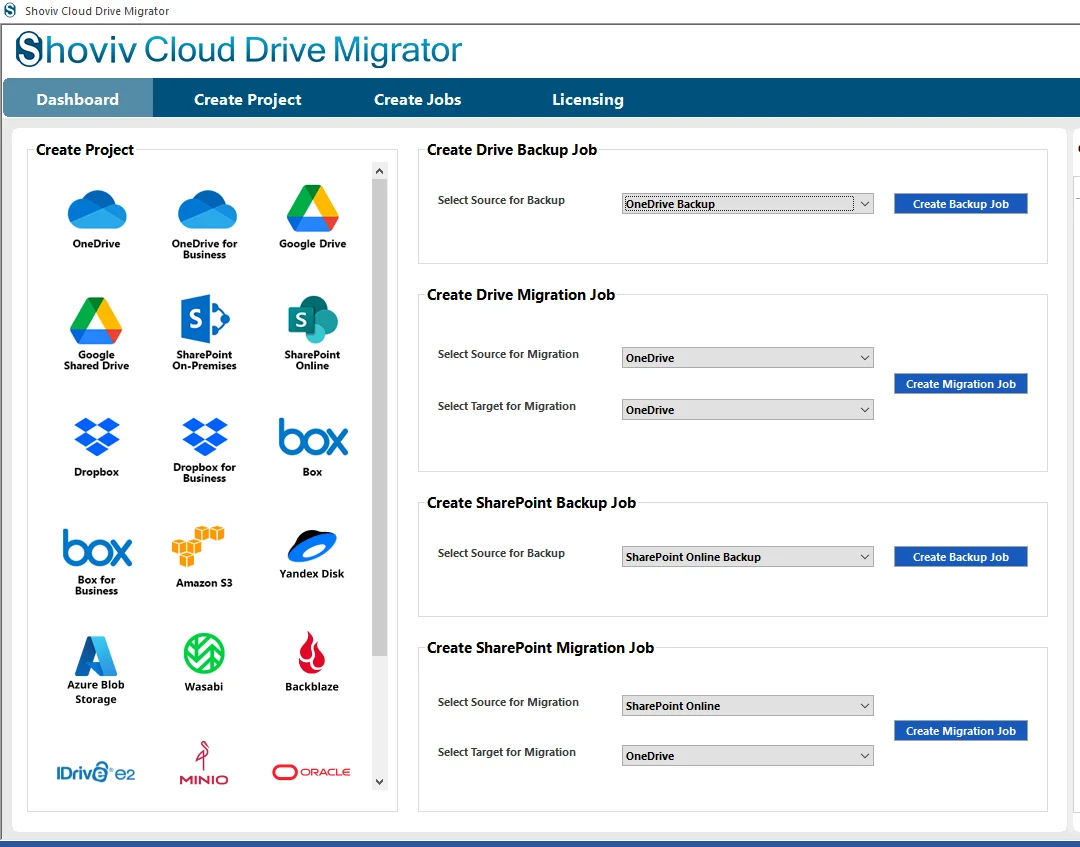
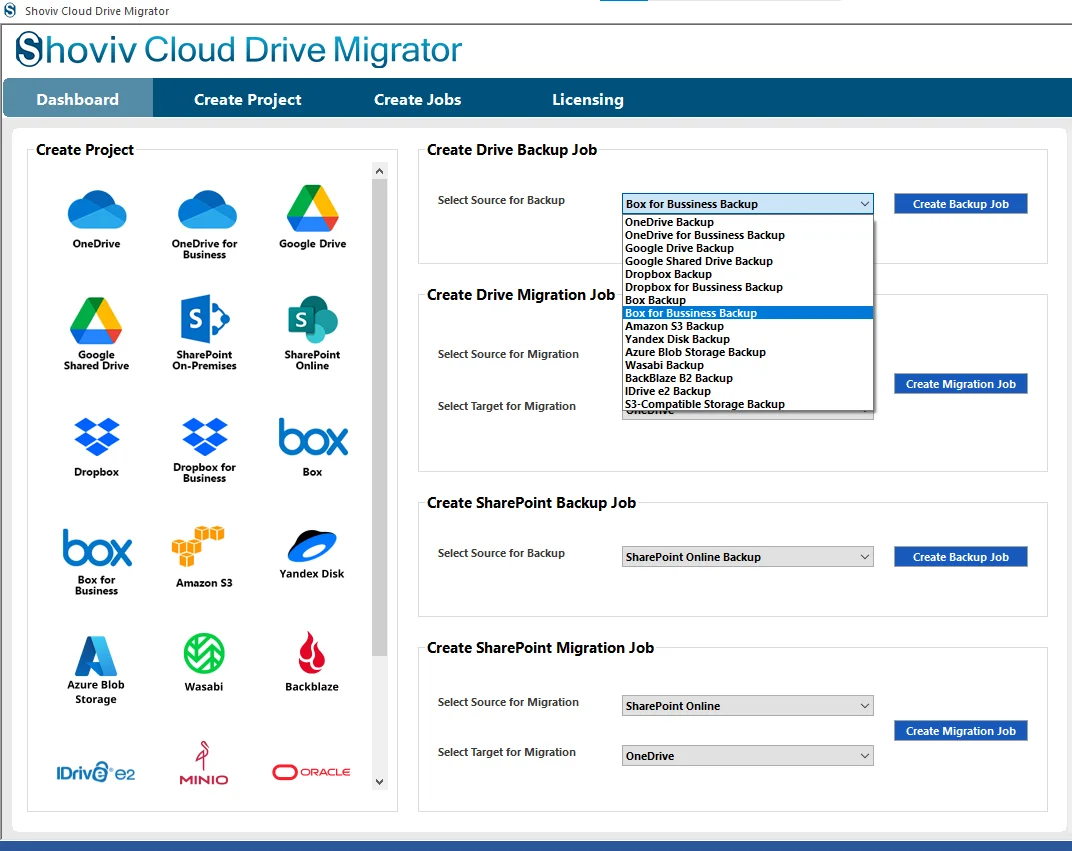
Step 2: Select the Box ( Business/ Personal) as the source, and then you need to click on the Create Backup Job.
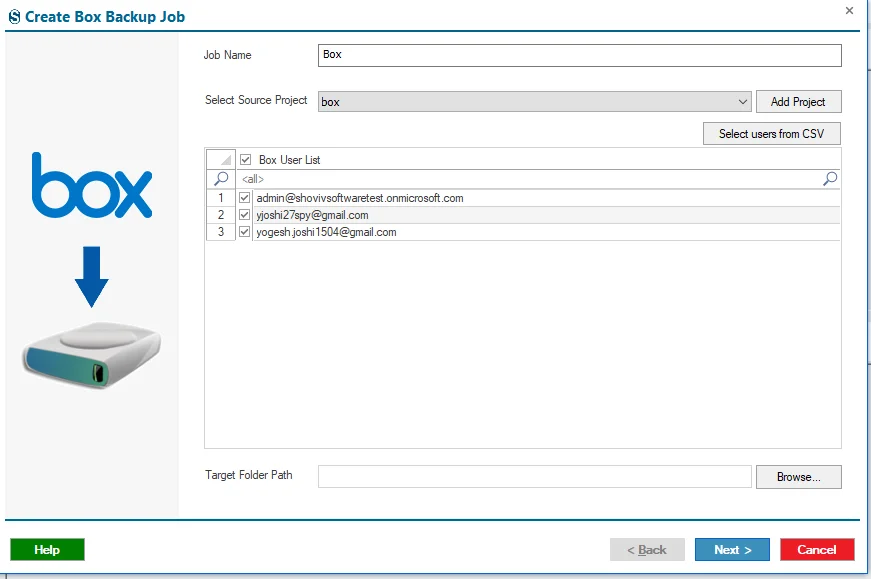
Step 3: Enter the Job Name in such a way that you can identify it later from the other created jobs in the previous created jobs.
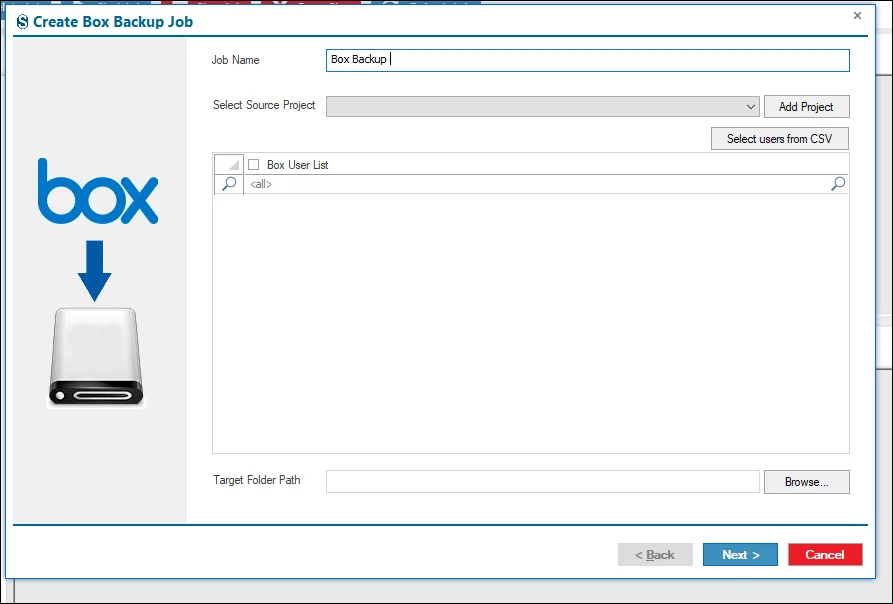
Step 4: Now you need to connect the source project. Click on the Add Project.
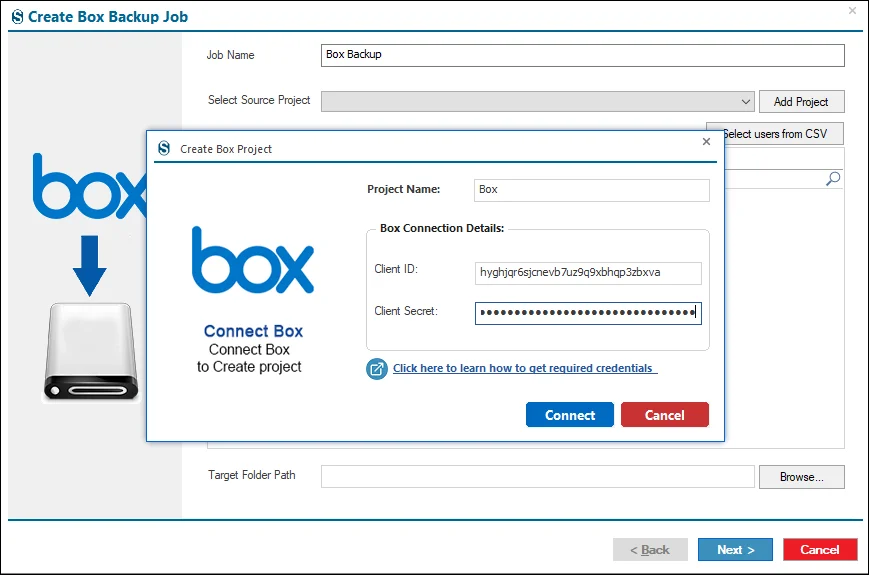
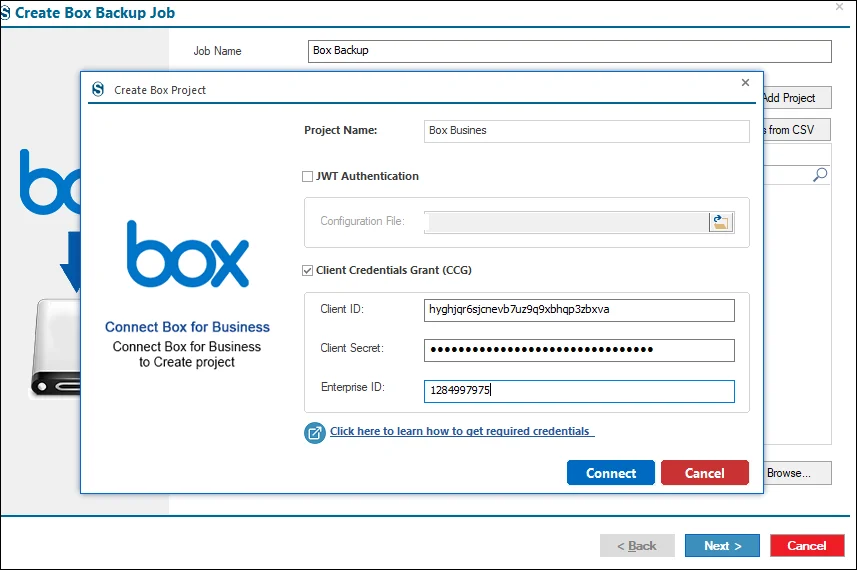
Step 5: Business Box Account, then you need to choose between JWT and Client Credentials Grant.
- Under the JWT Authentication page, you need to select it from the file software.

Step 6: Enter the credentials under the Client Credentials Grant in an accurate manner.
Step 7: Identify and select the required source users for the project from the available list. If the list is extensive, use the Select from CSV option to quickly filter and choose the specific users needed.
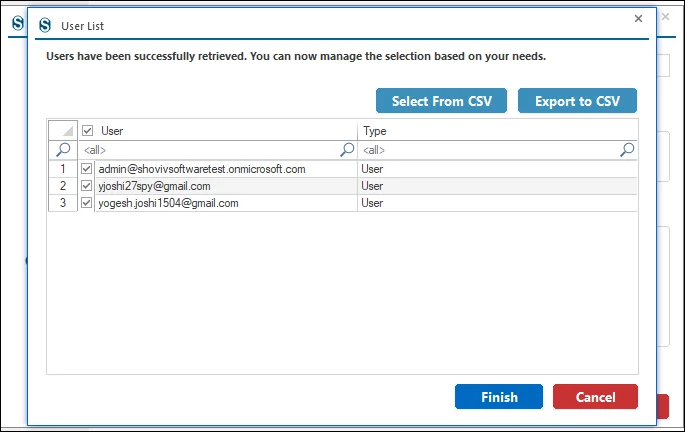
Step 8: This page confirms that the Source Project has been created successfully. Click OK to continue to the next step.

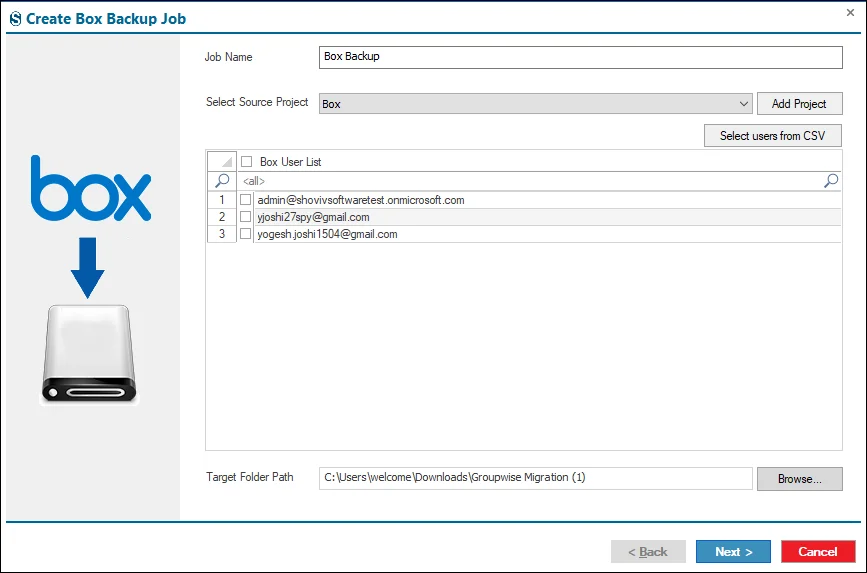
Step 9: In case you have the created project present in your software, then you need to select it from the dropdown menu.
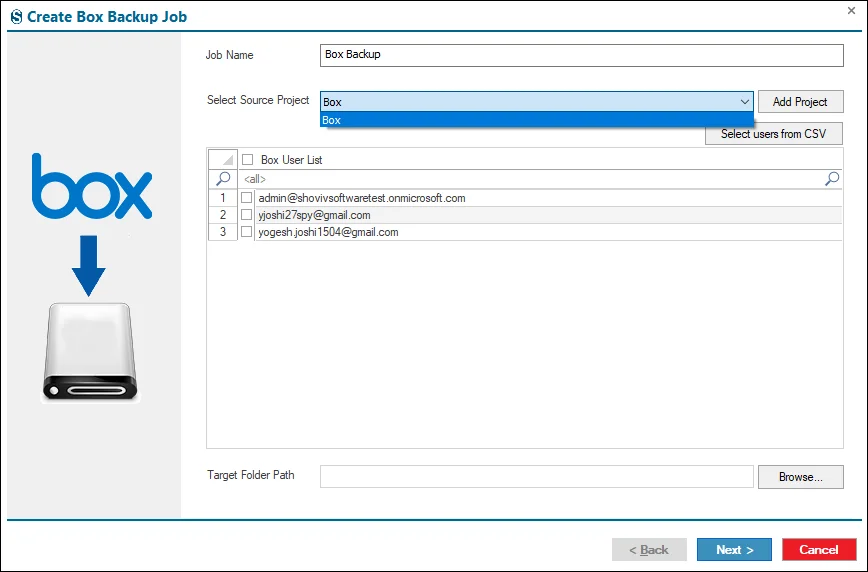
Step 10: Next, select the users you want to include in the backup process.
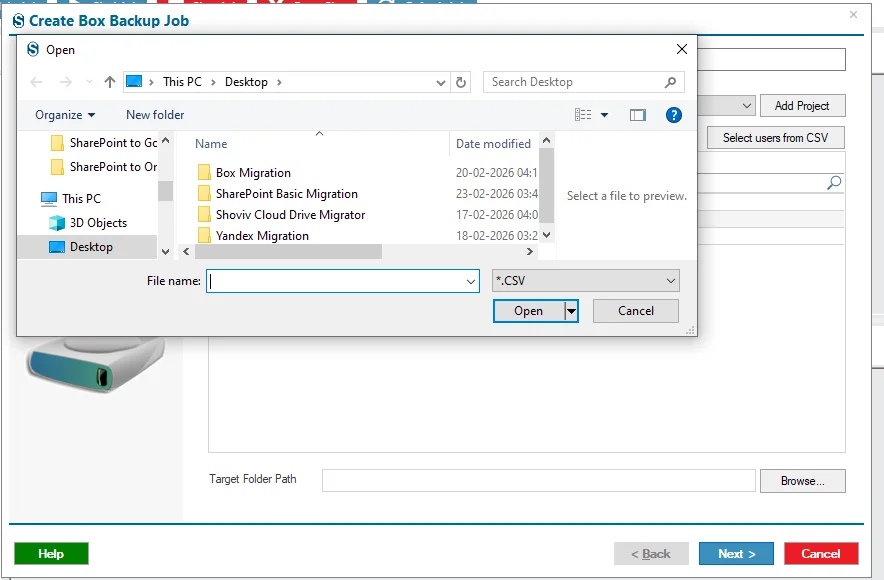
Step 11: If there are many users in the source list, you can use the Select From CSV option to quickly select the specific users you need.
Step 12: Now you need to decide where you need to download the backup file. You can select it with the help of the Target Path, and select the location with the help of the Browser.
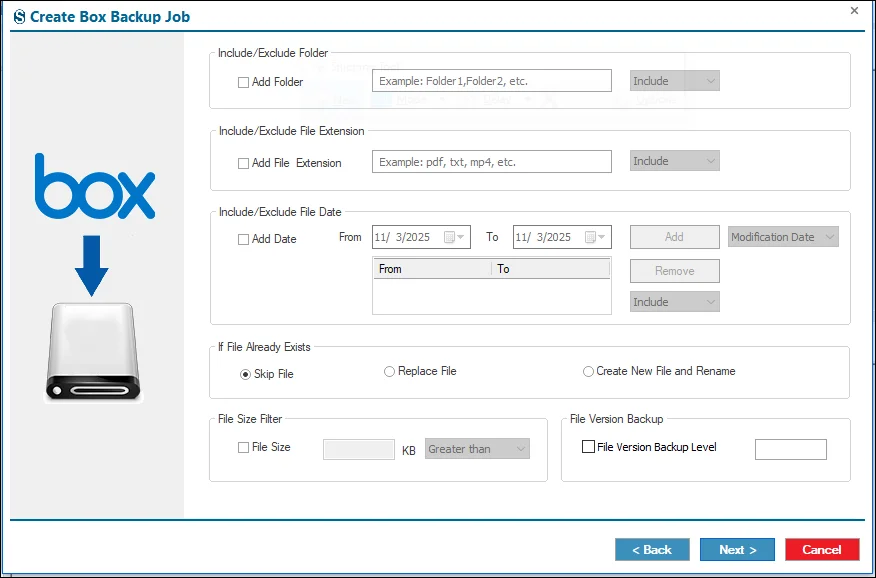
Step 13: If you want to apply filters, then you can use them under the Filter page, and if not required, then you can ignore them with the help of the Next button.
- Folder Filter: Allows you to exclude specific folders from a user’s drive during backup. You can add multiple folders to the list. To back up only certain folders, switch the option from Exclude to Include.
- File Extension Filter: Lets you include or exclude files based on their file extensions. Enter the desired file types to define what should or should not be backed up.
- Date Filter: Limits the backup to files within a specified date range, based on their creation or last modified date. After selecting the date range, click Add to apply the filter.
- File Size Filter: Enables you to set a file size range for backup. Specify the required size limits to control which files are included.
If file Already Exists:- Determines what the software does when a file with the same name is already in the target location.
- Skip File: The software ignores the file and does not transfer it if it already exists at the destination.
- Replace File: The file in the destination folder is overwritten with the version from the source.
- Create New File and Rename: The software saves an additional copy of the file at the destination using a modified name, even when a file with the same name is already present.
- File Version backup: When this option is turned on, earlier versions of files will be included in the backup. You can choose how many versions to move, beginning with the newest version and then going back to older ones.
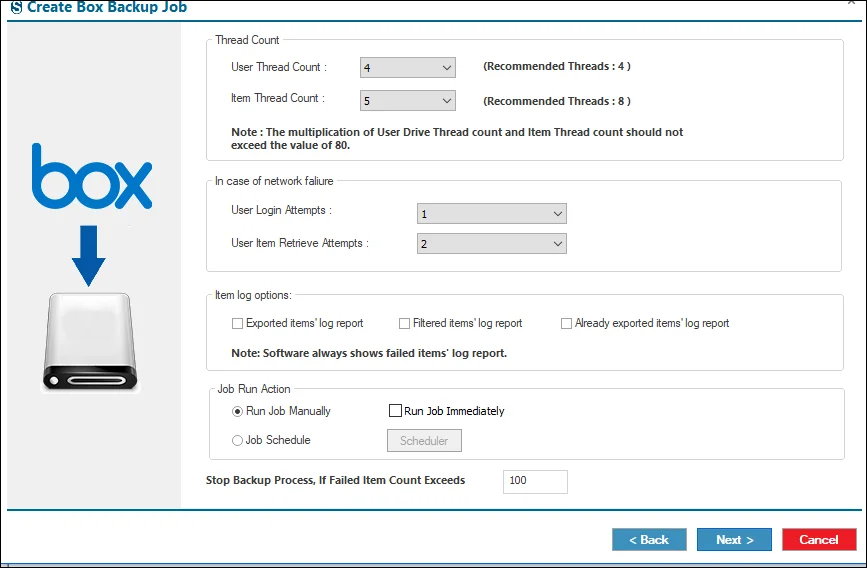
Step 14: If you want the settings for the refine backup, then you do it with the help of the Settings page, and if you do not want to hold these settings, then you can ignore them with the help of the Next button.
- You can manage the thread count, handle network failures (such as user login issues or attempts to retrieve user items), and other settings. If you prefer not to configure it, you can skip it using the Next button.
- User Thread Count: Sets how many users can be backed up at the same time. For example, if there are 5 users in the job and the thread count is 5, all 5 users will be processed concurrently.
- Item Thread Count: Determines how many items per user are backed simultaneously. For instance, if set to 10, the software will process 10 items at once for each user.
- User Login Attempts: Specifies how many times the software will retry logging in a user if a network issue occurs, before marking the job as failed.
- User Drive Item Retrieve Attempts: Sets the number of times the software will try to retrieve a user’s drive items before considering the backup unsuccessful.
Item Log Reports
- Exported Items Log Report: Produces a detailed report of all items successfully backed up.
- Filtered Items Log Report: Creates a report of items excluded from backup due to filters (like date, file size, folders, or file types) and lists the reasons for exclusion.
- Already Exported Items Log Report: Opens the folder in the job report where you can find logs of items that have already been backed up.
Stop backup Process if Failed Item Count Exceeds: Automatically stops the backup if the number of failed items goes beyond the specified limit.
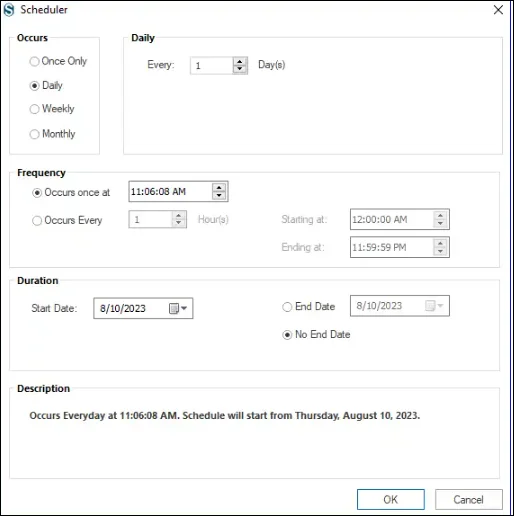
Step 15: The Scheduler is an essential component of the backup process, allowing automation of the Box-to SharePoint Online backup by defining the start time and execution frequency. A specific start date and time can be configured, along with recurring intervals, to ensure the backup runs automatically as scheduled.
- Run Job Manually: Initiates the Box-to-SharePoint Online backup manually by clicking the Start Job button from the ribbon bar after selecting Next.
- Run Job Immediately: Automatically starts the backup as soon as the job configuration is completed.
- Job Schedule: Enables scheduling of the backup for a specific date and time, with options to configure recurring execution based on requirements.
- Daily: Executes the backup every day at the defined time.
- Weekly: Runs the backup on selected day(s) of the week, with the option to choose one or multiple days.
- Monthly: Schedules the backup every month by selecting the desired month(s), along with the specific date(s) and time for execution.
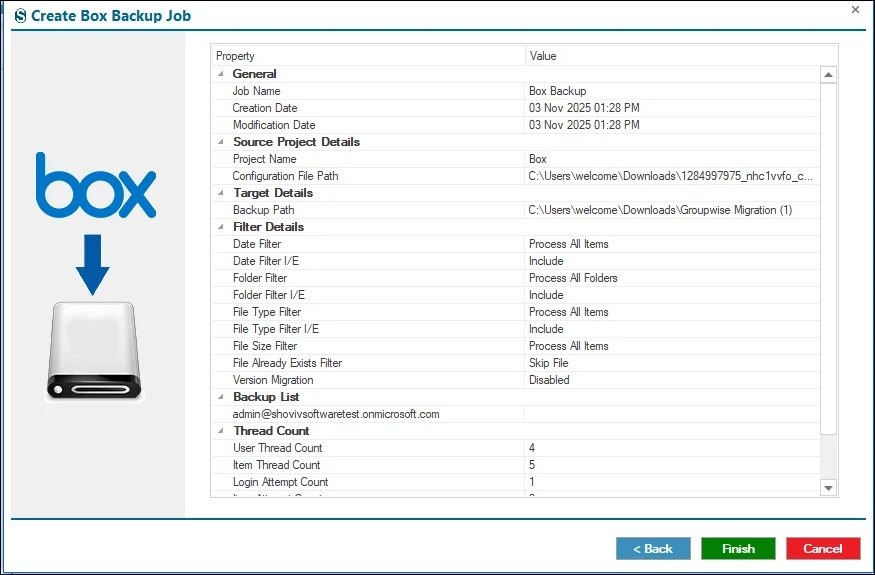
Step 16: Carefully review the job details, and if you want changes, then you can do it with the help of the Back button, and if not, then click on the Finish button.
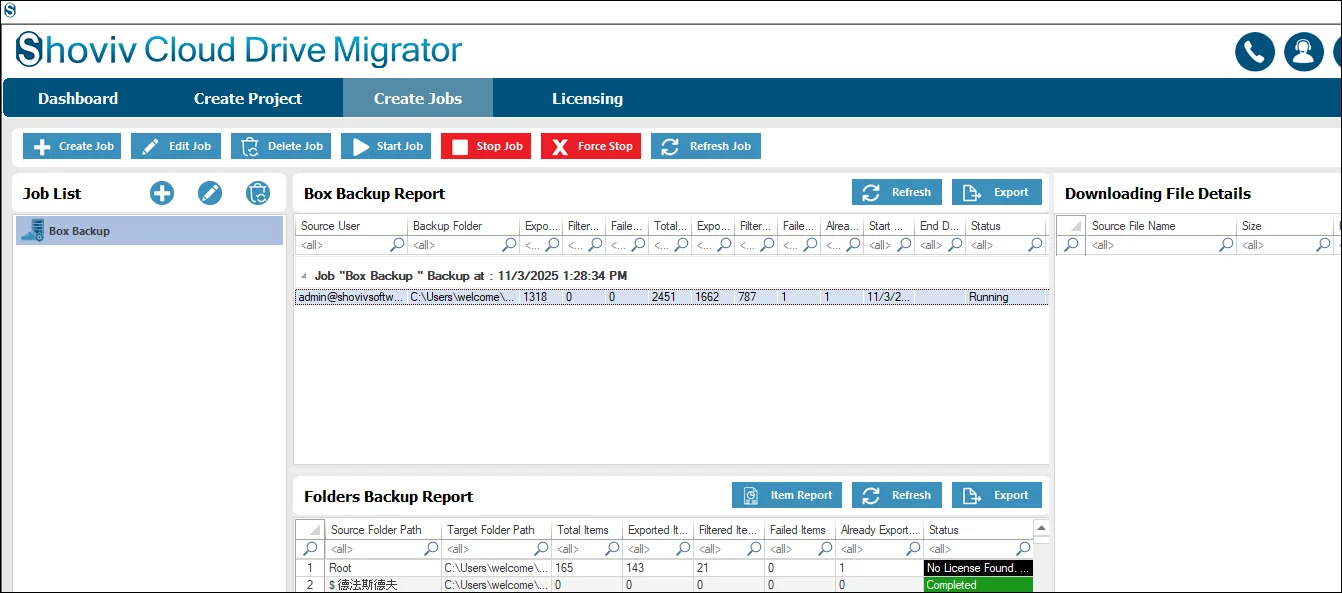
Step 17: The job runs according to the option you have chosen under the Job Run Action.