Here we have described the complete step-by-step process to generate and assign the Shoviv Lotus Notes Migrator's license to the NSF files.
1. Firstly, open the software and Add NSF Files.

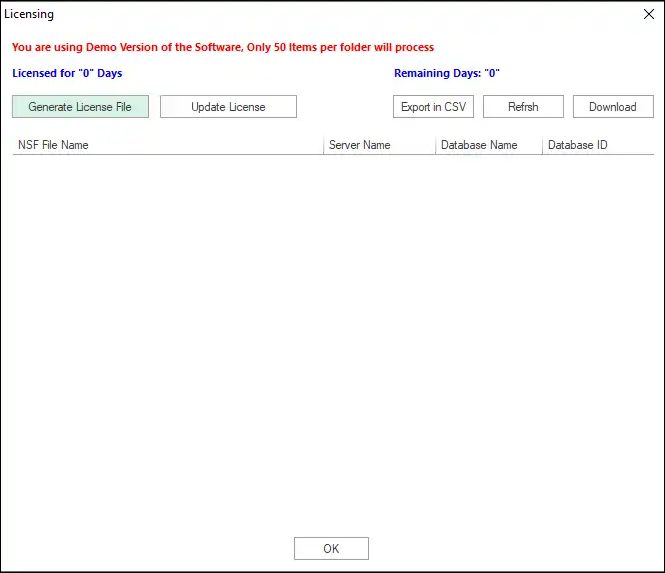
2. Then, click on the licensing option from the Ribbon bar.

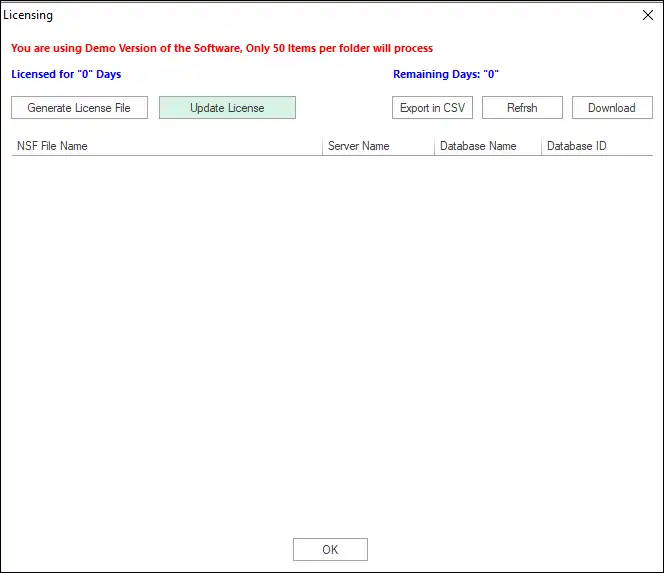
3. Now click on the Generate License File option from licensing window.
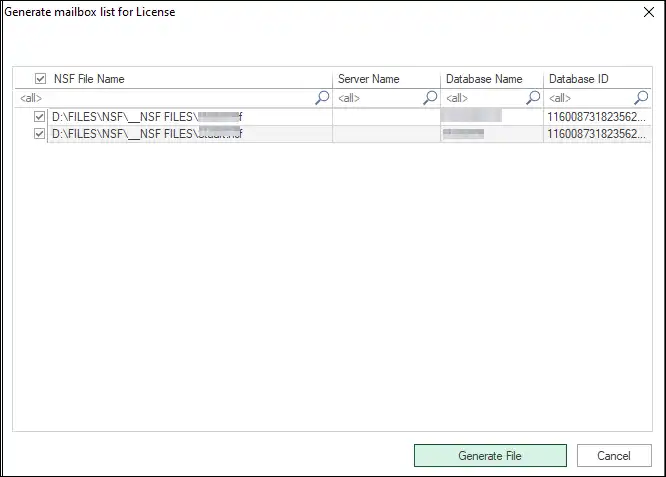
4. Now select NSF files for which you want to generate the license. To select all the added NSF files, check the NSF File Name checkbox (on top). After that, click on the Generate file button.
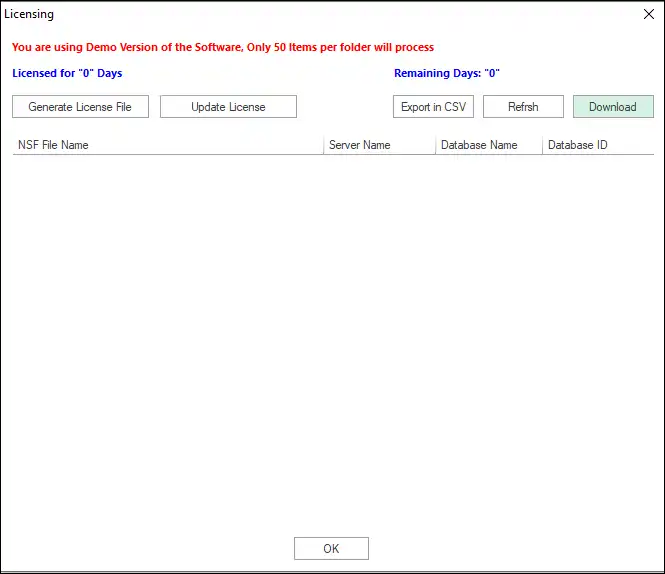
5. Once the text file on your desktop will generated, go to the Licensing section and click on the Download button.
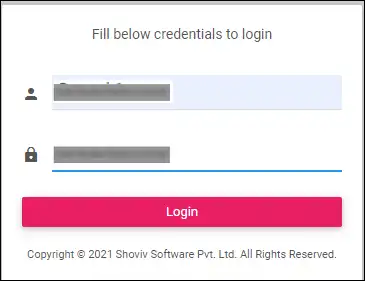
6. A web licensing module will open. Here, Login using your order number and Activation key.
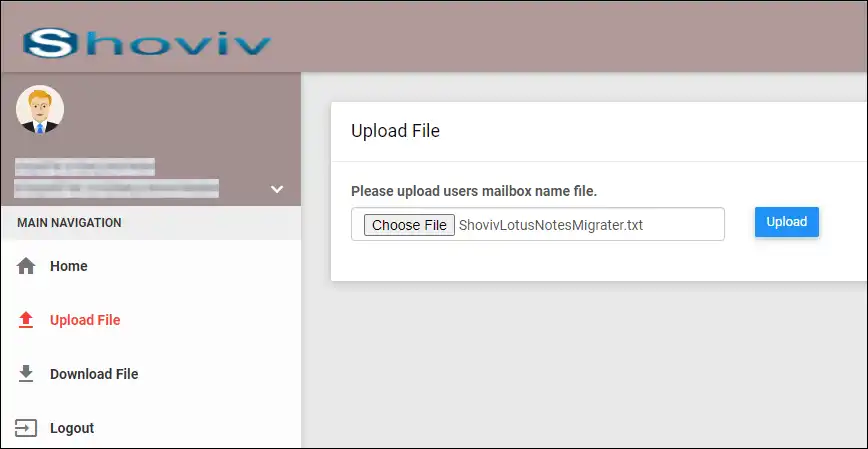
7. Then, go to the Upload File tab from the left pane, click on Choose File option and upload the generated LotusNotesMigrater.txt file.
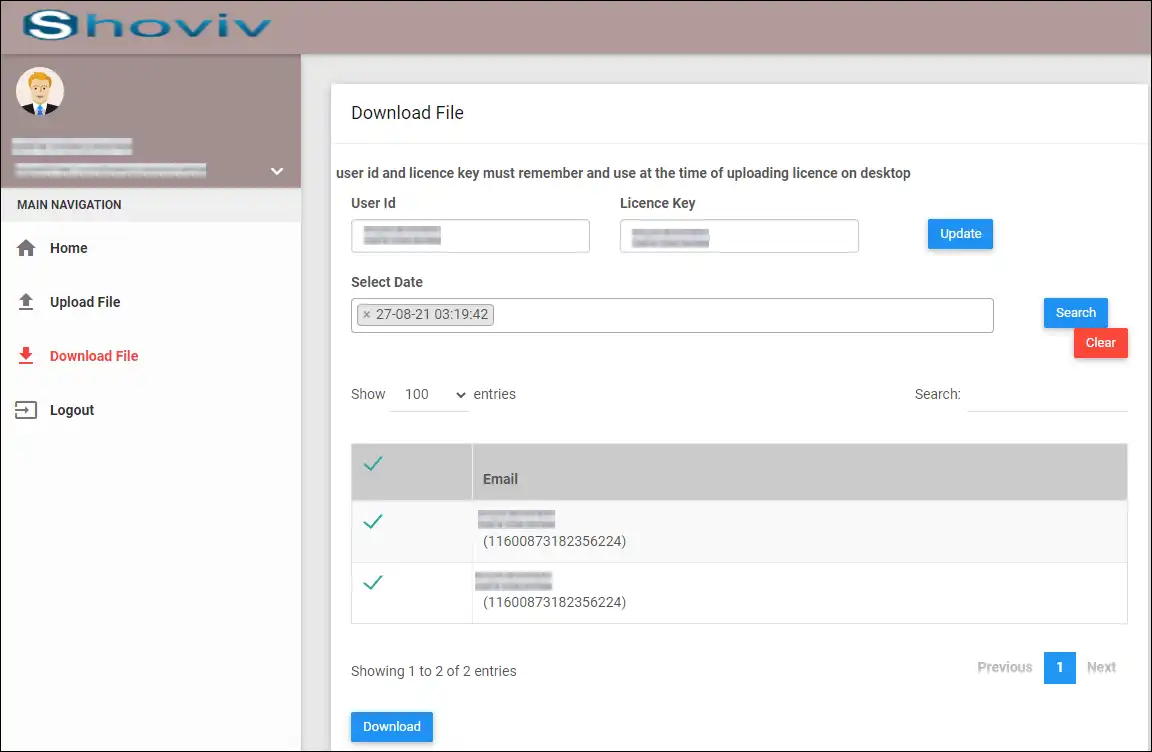
8. Now go to the Download file tab from the left pane. Here, you will get an auto-generated user Id and license key or you can change according to your convenience; you have to copy them in Notepad.
Then, select the single or multiple date on which you uploaded the ShovivLotusNotesMigrator.txt files and click on the Search button. After that, the mailboxes for which the license is assigned will list up. Select the mailboxes and click on the Download button.
9. Now go to the Licensing window of the software and click on the update License option.
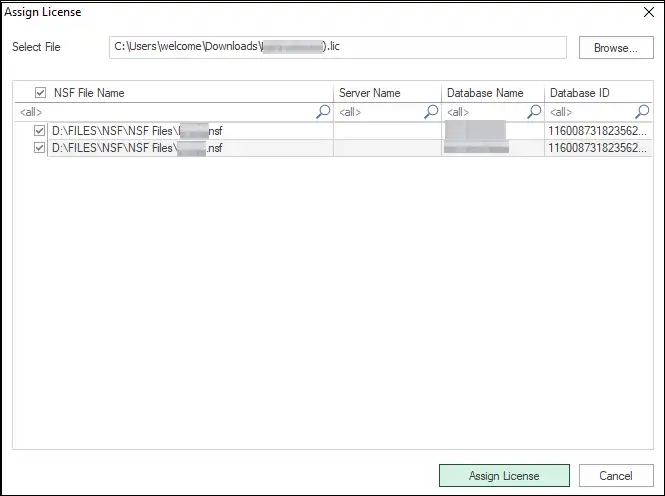
Now the assign license window will appear. Here, provide the User ID & License key (which will copied from web portal), then browse the Downloaded license file(.lic).
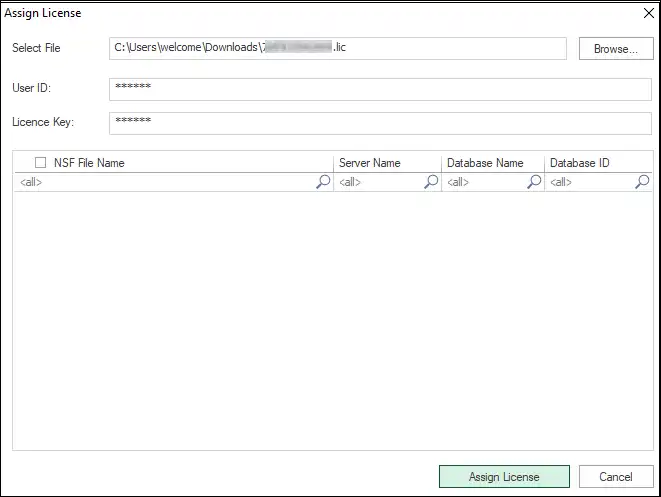
11. Now, the NSF files for which the license is assigned will list up. Select the NSF files and click on the assign license button.
It is the process to generate and assign the license to NSF files that you want to migrate.
If you face any issue or are unable to assign/generate the license, you can mail us at support@shoviv.com at any time. You can also visit our website and use the live chat feature; our experts are available 24×7.