This is a step-by-step guide which will enlighten you with the necessary information and requirement needed to migrate to exchange server 2013 to 2016. (For Exchange 2013 to 2019 Users)
For other parts of the series follow the links below:-
Migrate from exchange 2013 to 2016 (PART-2)
Migrate from exchange 2013 to 2016 (PART-3)
Migrate from exchange 2013 to 2016 (PART-4)
Migrate from exchange 2013 to 2016 (PART-5)
Migrate from exchange 2013 to 2016 (PART-6)
Migrate from exchange 2013 to 2016 (PART-7)
Experience a Effortless Migration from Old Exchange Serer to New Exchange Server with Shoviv Exchange Migrator. A free trial version is available for download.
The setup comprise of 2013 single Exchange server. For migrating the data, first, we need to install Exchange 2016 with proper configurations after which data is migrated from exchange 2013 to exchange 2016.
1. Setting or Environment preparation to Migrate Exchange 2013 to 2016
Exchange Server Migration 2013 to Exchange 2016 is a really crucial process but before migration, you need to set the migration setting and ensure that the migration setting met the system requirement. Also, read the release notes carefully to assure that you don’t have any post-migration issues when the process of migration takes places. Establishing the essential parameter of the Exchange Server is crucial so that sufficient RAM, CPU, and storage space is available for the server to perform properly. The size of the Exchange Server 2016 should be similar to the Exchange 2013 multirole server, which requires additional features. Before moving any further the most vital step for you is to note out whether your clients are supported by Exchange Server 2016. If in case they are not listed in the criteria of supportive clients then make sure to update them. Supportive OS installation is required which can be Windows Server 2012 Standard or Datacenter, Windows Server 2012 Standard/Datacenter R2. Join the server to the domain after the installation has been done after which prepare the installation of Exchange server 2016.
2. Pre-requisites for Exchange server 2016 Installation
Before installing Microsoft Exchange Server 2016, it is essential to ensure that the environment meets all required prerequisites. Proper preparation helps avoid installation errors and ensures smooth deployment of the Exchange server.
Below are the key requirements that must be fulfilled before starting the installation process.
1. Required Administrative Permissions
The user performing the Exchange installation must have the appropriate permissions in Active Directory. The account should be a member of the following groups:
- Enterprise Admins
- Schema Admins
- Domain Admins
These permissions are required to extend the schema and prepare Active Directory during the Exchange installation process.
2. Install Supported .NET Framework
.NET Framework is a mandatory dependency for Exchange Server 2016. The supported version depends on the Cumulative Update (CU) of Exchange that you are installing.
General compatibility guidelines:
- Exchange 2016 CU4 – CU8: Requires .NET Framework 4.6.2
- Exchange 2016 CU9 – CU10: Supports .NET Framework 4.7.1
- Exchange2016 CU11 and later: Supports .NET Framework 4.7.2
It is recommended to install the latest supported .NET version compatible with your Exchange CU to ensure stability and security.
3. Install Unified Communications Managed API
Install Microsoft Unified Communications Managed API 4.0 Core Runtime (64-bit) before installing Exchange Server.
This component is required for Exchange features related to Unified Messaging and communication services.
4. Install Required Windows Server Components
Exchange Server requires several Windows Server roles and features to function properly. These components can be installed using PowerShell.
Run the following command in an elevated PowerShell window:
Install-WindowsFeature NET-Framework-45-Features, RPC-over-HTTP-proxy, RSAT-Clustering, RSAT-Clustering-CmdInterface, RSAT-Clustering-Mgmt, RSAT-Clustering-PowerShell, Web-Mgmt-Console, WAS-Process-Model, Web-Asp-Net45, Web-Basic-Auth, Web-Client-Auth, Web-Digest-Auth, Web-Dir-Browsing, Web-Dyn-Compression, Web-Http-Errors, Web-Http-Logging, Web-Http-Redirect, Web-Http-Tracing, Web-ISAPI-Ext, Web-ISAPI-Filter, Web-Lgcy-Mgmt-Console, Web-Metabase, Web-Mgmt-Service, Web-Net-Ext45, Web-Request-Monitor, Web-Server, Web-Stat-Compression, Web-Static-Content, Web-Windows-Auth, Web-WMI, Windows-Identity-Foundation, RSAT-ADDSThis command installs all the required IIS components, authentication modules, and Active Directory management tools necessary for Exchange Server 2016.
5. Additional Recommendations
Before starting the installation, ensure that:
- The server is running a supported Windows Server version (such as Windows Server 2016 or 2019).
- The system is fully updated with the latest Windows updates.
- Active Directory schema and domain preparation are completed if installing Exchange in a new environment.
Important Note: Always install the latest Exchange 2016 Cumulative Update (CU) instead of older builds to ensure better security, compatibility, and performance.
Exchange server 2016 Installation:
After the necessary requirements like migration setting and the prerequisites have been installed then we can move further with the process of installation of Exchange server 2016
- Download the Exchange 2016 installation files from the Microsoft Download Center and extract the Exchange Server 2016 setup file.
- After the files have been extracted and run the Exchange Setup.exe to begin installing the Exchange Server by double clicking on setup.exe.
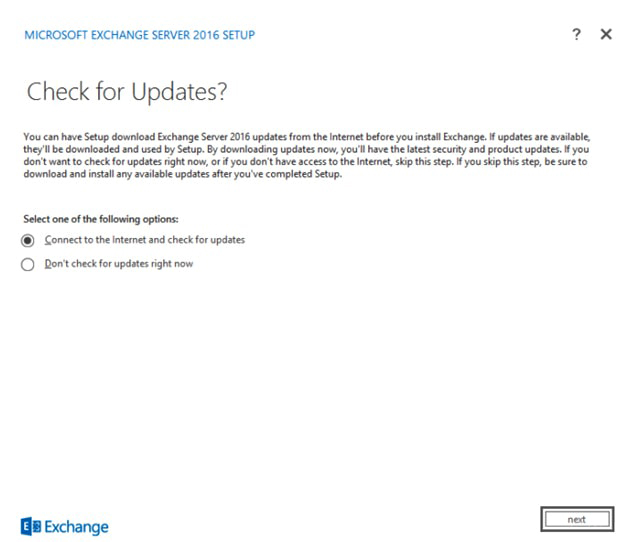
- Now, on the check for updates page, select the setup to connect to the internet. Install the product and security updates for Exchange 2016. After which click Next. As shown in below image.
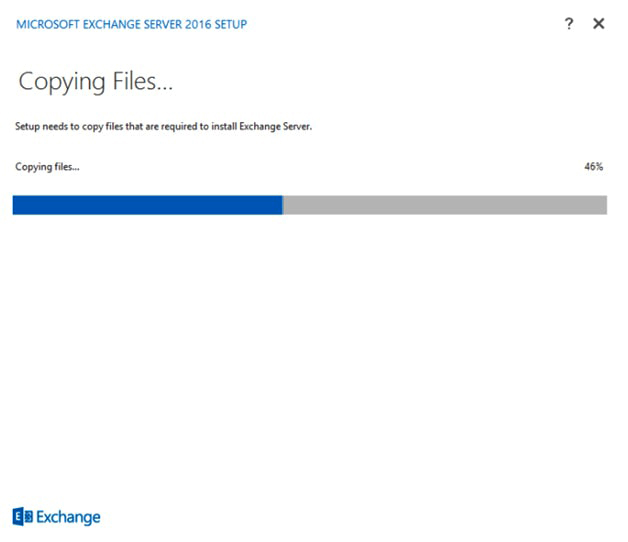
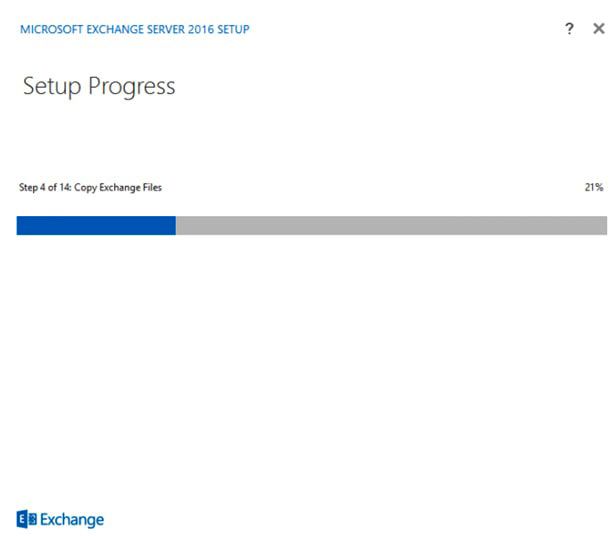
- The setup will start copying files on the copying files page. Once the setup is finished click next and proceeds further. Shown in the image given below.
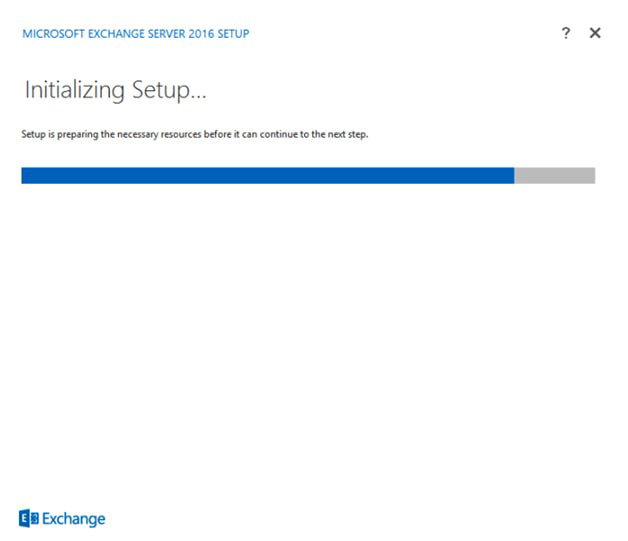
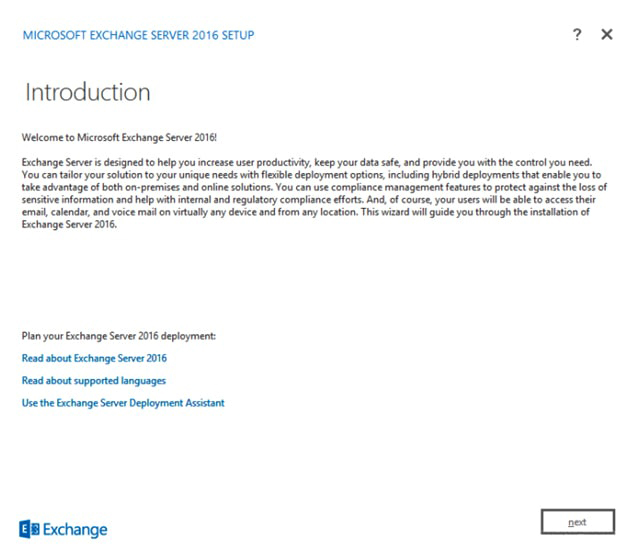
- An introduction pages will start which gives additional guidance for the installation. Go through with the content and click Next to proceed further. Shown in the image below.
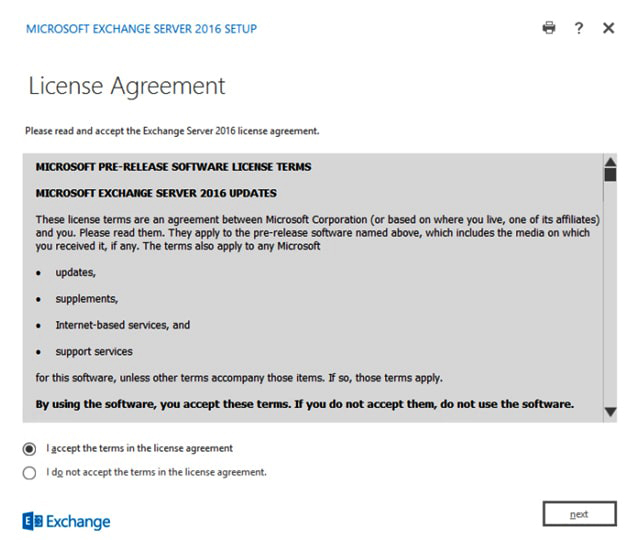
- After Next a License Agreement page will appear. Review the terms and condition of the license agreement and select I accept the terms in the license agreement, if agreed and click next. Shown in the below image.
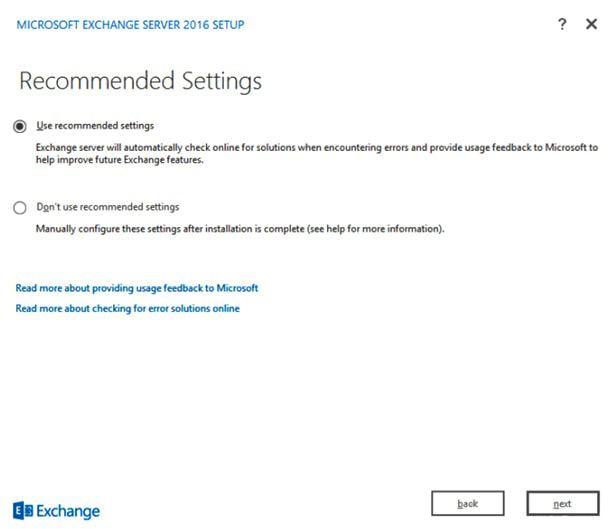
- Now, on the recommended setting page, select either use recommended setting or don’t use recommended settings. The options will either enable or disable automatically check for errors that occur while the setup is running and sends Microsoft feedback. Click Next and proceed further. Displayed in the image below
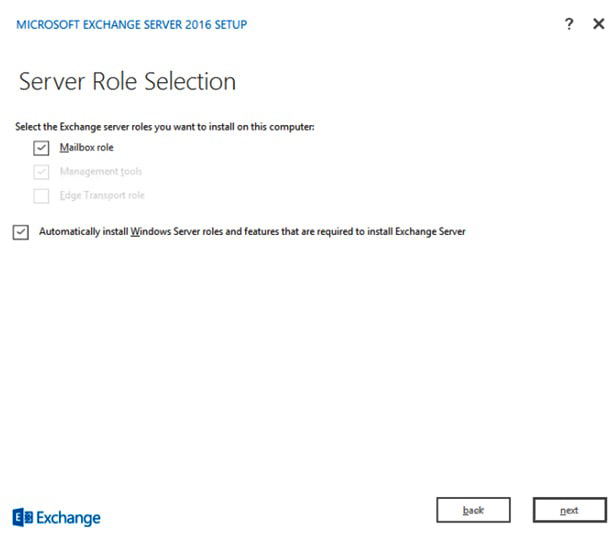
- On the Server page, select the mailbox role from the different criteria of Mailbox role, Management Tools or Edge Server role. If any Windows prerequisites are required for the setup then select “Automatically install Windows Server roles and features that are required to install Exchange Server”. Click Next to proceed. Shown in the below image.
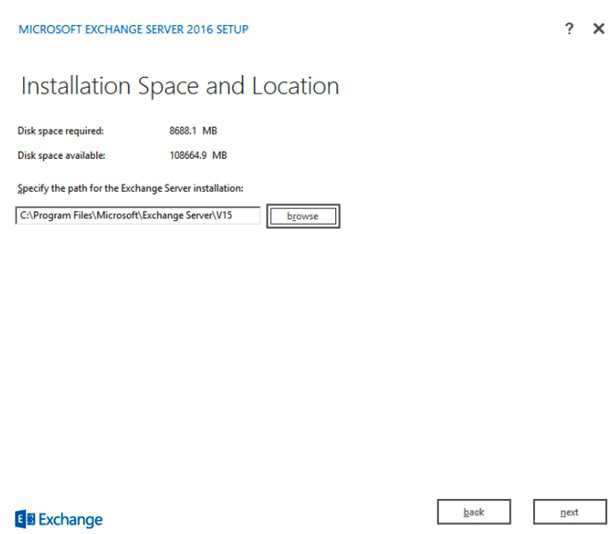
- On the Installation Space and Location page browse to choose a new location with satisfactory storage space. Click Next. Shown in the below image.
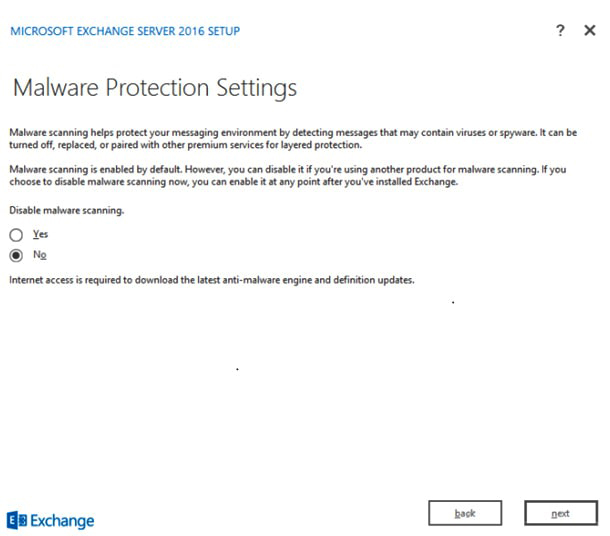
- A malware Page will appear in which choose Yes or No to disable malware scanning and click Next. Shown in the image below.
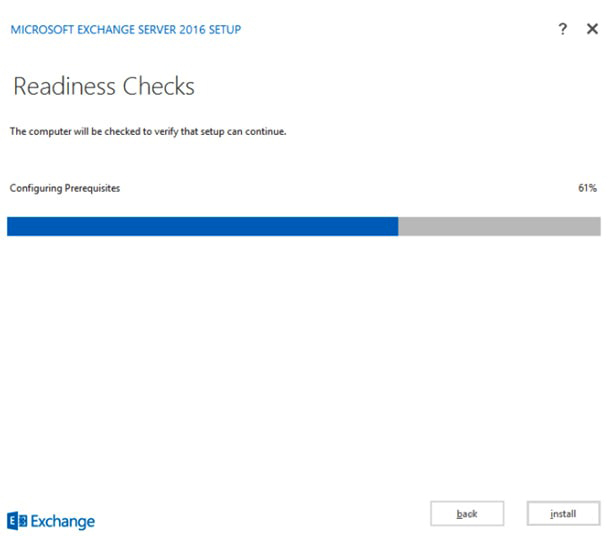
- Now in readiness check, the computer will check to verify that the setup can continue. If unsuccessful click back and run the readiness check again. If successful click Install and proceed further.Displayed in the image below
- The Installation process will continue.
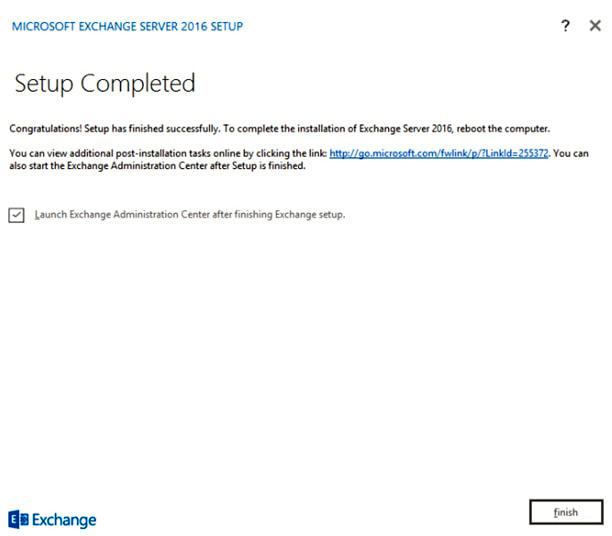
- When the setup is completed, a setup complete page will display. Select Finish and launch the program as displayed in the below image
Setup the Service Connection Point
The Service connection point is the attribute of the objects in Active Directory that hold information about services which direct domain of Outlook clients to a URL to get auto-discover settings. The FQDN (Fully Qualified Domain Name) server act as the attributes by defaults and later the SCP is required to configure with Exchange 2013 endpoint.
Conclusion
Here in this first blog of the Exchange migration series, we provide you with the detailed steps which involve the migration of Exchange 2013 to Exchange 2016. In which we have mentioned the necessity of preparing the environment, install the pre-requisites for Exchange Server 2016, install the Exchange Server, installed the Exchange Server 2016 and configured the SCP. The Exchange 2013 to Exchange 2016 Migration (PART-2) includes the methodology to install the correct SSL certificate on Exchange 2016.