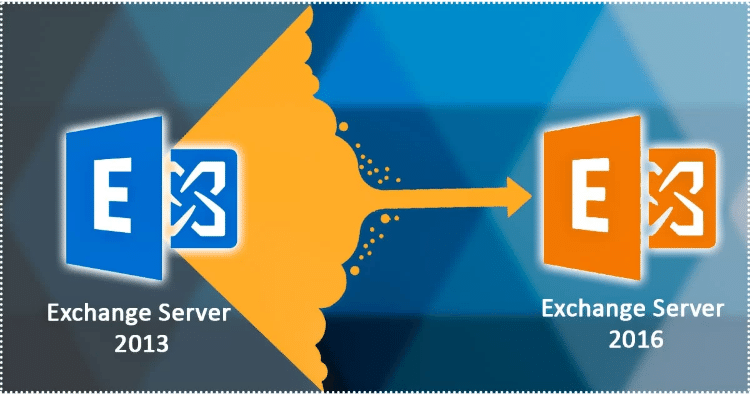
The second part of the previous blog on how to Migrate Exchange Server 2013 to 2016 Using Step by Step Guide comprises of the methodology to install the SSL certificate . Also some discussion on migrating the CAS role from existing Exchange Server 2013 to 2016. In the previous blog, we have discussed the installation methods of Exchange 2016, setting up the environment and installing pre-requisites along with the configuration of Service Connection Point (SCP).
Note:- However, this blog deals with the migration of Exchange 2013 to Exchange 2016, but if you are also interested to know about migration in Exchange 2019, Click here…
For other parts of the series follow the links below:-
Migrate from exchange 2013 to 2016 (PART-1)
Exchange 2013 to 2016 Migration (PART-3)
Migrate from exchange 2013 to 2016 (PART-4)
Migrate from exchange 2013 to 2016 (PART-5)
Exchange 2013 to 2016 Migration (PART-6)
Migrate from exchange 2013 to 2016 (PART-7)

Installation of SSL Certificates on Exchange 2016
Installed Exchange server creates a certificate which is the self-signed certificate further includes the FQDN and server hostname. A hostname generally establishes external connections so that they can prevent an internal server from being the internet exposer.
Note: When migrating the CAS role to Exchange 2016, we need to ensure that Exchange 2016 uses the same certificates as that of Exchange 2013. For which we need to perform a switchover to point ‘X’ records uses by the old Exchange Server to Exchange 2016.
Below are the mentioned steps to install SSL Certificates
Install SSL Certificate with EAC (Exchange Admin Center)
- Firstly, Download and Launch the Certificate ZIP files. The Certificate will name as your_domain_name.cer.
- Secondly, your_domain_name.cer.file need to be copiedonExchange Server 2016 network shared folder
- Now, Copy the your_domain_name.cer file to your Exchange 2016 server’s network share folder where the CSR is present.
- Browse to the URL of Server and Access the Exchange Admin Center (EAC) by opening a browser.
- Enter Domain/Username and Password on the Exchange Admin Center Credential page after which click on sign in.
- Now Click Servers on the sidebar menu on the left i.e. the EAC and Click Certificates On the top menu.
-
Select your requested certificate on the Certificates page and then in certificate request click the complete link.
Note: Certificate requests are listed by their friendly names. -
Now enter the UNC path where SSL certificates are located after which click OK. (For example. \\Abc\certificates\your_domain_name.cer)
-
Now consequently the certificate will install successfully on your Exchange 2016 server and check that the status of your certificate request validity.
Assign Services
- Now on the Certificates page, select the SSL certificate which just installed and then select the pencil-like option.
- Now click services in the “certificate” window.
- Check all services to enable your SSL certificate and then click Save.
- The SSL certificate should be enabled for the services you have selected on your Exchange 2016 server.
Conclusion
Thus, in this second part of the Migrate Exchange Server 2013 to 2016 Using Step by Step Guide we have discussed the installation methods of SSL certificates and CAS over to 2016. It is followed by the previous blog in which we discussed the methods to install Exchange 2016 and pre-requisites. The upcoming blog (Part-3) comprises how to configures virtual directories setting and setting Outlook anywhere on the new server for exchange server migration.