Exchange 2013 to 2019 migration might be complex if you go manually. Here, we come up with a perfect guide on how to migrate Exchange 2013 to 2019 and let you know the requirements, limitations, and methods for migration. But before that, discuss entirely about the Exchange 2019. It comes with new and advanced features to ease email management tasks. The user interface of Exchange’s latest version is very smooth compared to previous ones. In addition, it has improved search performance. Now, we will discuss other reasons why users want to upgrade Exchange 2013 to 2019.
Why migration from Exchange 2013 to 2019 is talk of the town?
Exchange Server 2013 is now outdated; Microsoft ended the support for Exchange Server 2013 on April 11, 2023. It means there will be no further bug fixing, technical support, or updates. On the other hand, Exchange 2019 is the most protected and stable server version, the latest version.
- Exchange 2019 has the advanced feature of meeting request forwarding and controls out-of-office settings.
- Exchange 2019 supports email address internationalization.
- It makes administration simpler and quicker because of its rebuilt search mechanism.
Above, we have mentioned why organizations are looking to migrate Exchange 2013 to 2019. There could be more reasons that can be particular for all organizations.
Download Shoviv Exchange Migration Tool and migrate your Exchange 2013 mailboxes to 2019.
If You have any Query related Migrate Exchange Mailboxes, then Our Support team is here 24*7.
Manual solution to migrate from Exchange 2013 to 2019:
To perform this migration process, users first need to install Exchange 2019. Now two servers are installed in your system, Exchange 2013 and 2019. After that, follow the below steps carefully to upgrade Exchange 2013 to 2019 hassle-free.
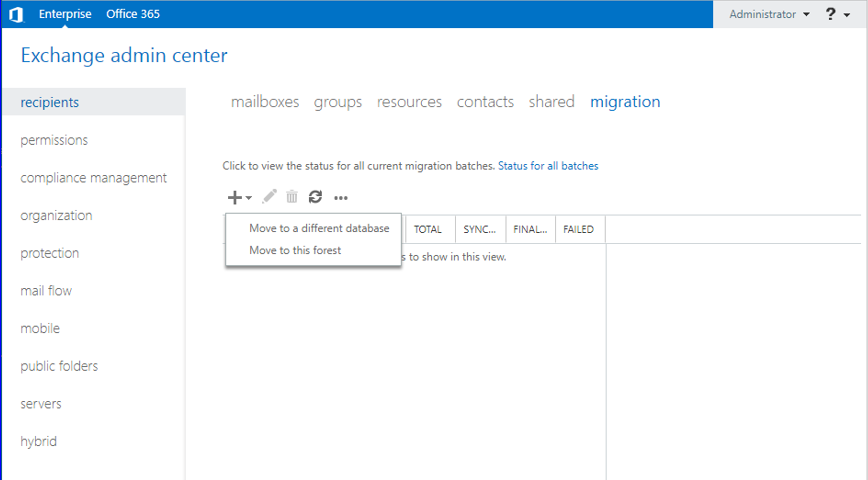
Step 1: First, log in to the Exchange Admin Center.
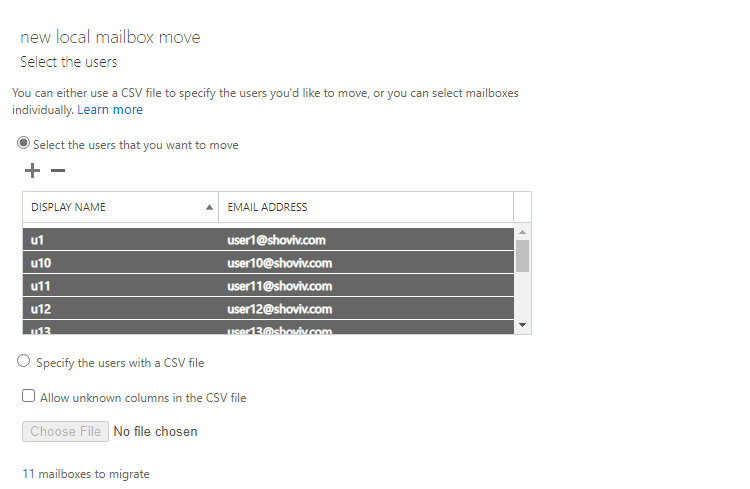
Step 2: Go to recipients and then mailboxes. Select the mailboxes that you are looking to migrate. After clicking on the add option, select the move to a different database option.
Step 3: Now add more mailboxes for migration and Click on Next.
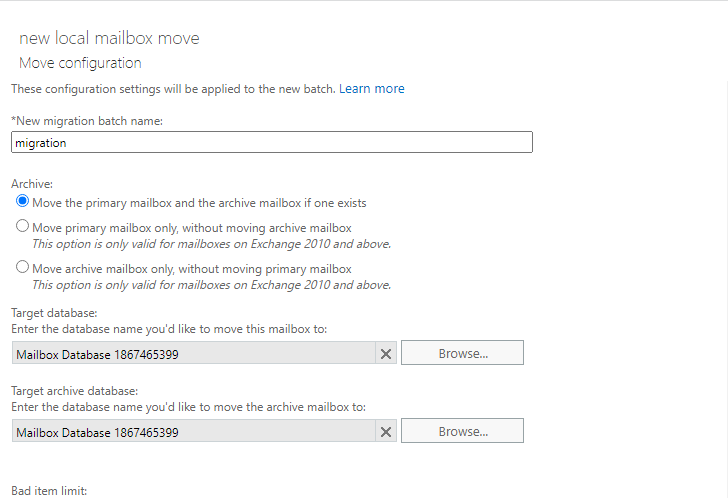
Step 4: Include a new name to the batch migration and choose the target folder where you want to migrate. The target folder such as the primary mailbox, public folder, or archive mailbox.
Step 5: After clicking the Next button. Add a user for the notification of the migration stages. Select options for starting the migration batch instantly or scheduling it. Click Next.
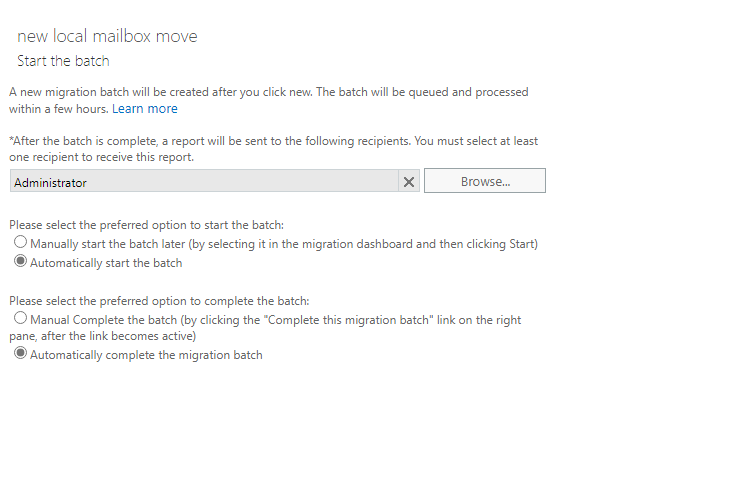
Step 6: Now choose the option to create a migration batch automatically or manually.
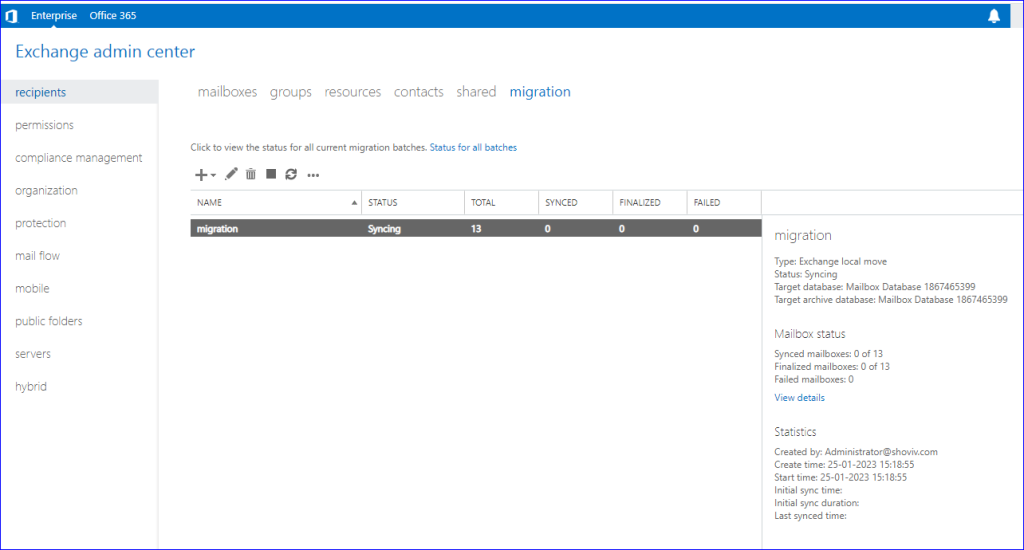
Step 7: After the batch is created, you can start the migration whenever you want.
This task might be hectic if you migrate Exchange 2013 to 2019 manually. Moreover, the Exchange migration task becomes lengthy and time-consuming. Therefore, it would be good to use an advanced third-party tool to perform this migration process.
Professional Exchange 2013 to 2019 Migration Method: Works for All
Shoviv Exchange Migration tool is a perfect automated tool to manage the complex process of Exchange Server migration. This tool comes with impeccable features that make the migration task a cakewalk process. You can effortlessly upgrade Exchange 2013 to 2019 without any complications. This software has various features that we mentioned below.
- Users can add countless Exchange mailboxes without size restrictions.
- It has an easy user interface and even non-technical person also migrate Exchange 2013 to 2019 without difficulty.
- It runs on job-based processing; users can create and run multiple jobs.
- Along with the Exchange to Exchange migration, users can also migrate Exchange to Office 365.
- Office 365 tenant-to-tenant migration is also possible with this advanced utility.
- Users can also filter added items before processing this migration task.
- An incremental export facility is also present in this tool. Using this option, users can resume the paused process. Also, it prevents the data from duplicating items.
- The software has a demo version that allows migrating the first 50 items per folder.
How to migrate Exchange 2013 to 2019 in a few clicks?
Follow the below-given steps:
- Install and launch the Shoviv Exchange Migrator.
- Connect source and target project.
- Create a migration job.
- Map mailboxes and do other settings.
- Run the migration job, and Exchange migration will start.
Do you want the Exchange 2013 to 2019 migration step-by-step guide?
If you need a detailed step-wise guide for the Exchange 2013 to Exchange 2019 migration, then below are the steps:
- Install the Shoviv Migration Tool and open it.
- Click on the Connect Source. Select Other Exchange Server and provide the server name. Enter the Exchange Server User Name and Password to connect.

- Next, click on the Target Connection and connect with the Exchange Server as in the above step.
- Now click on Migration Job to create, select among Primary mailbox/Archive mailbox/ Public Folder, and click OK.

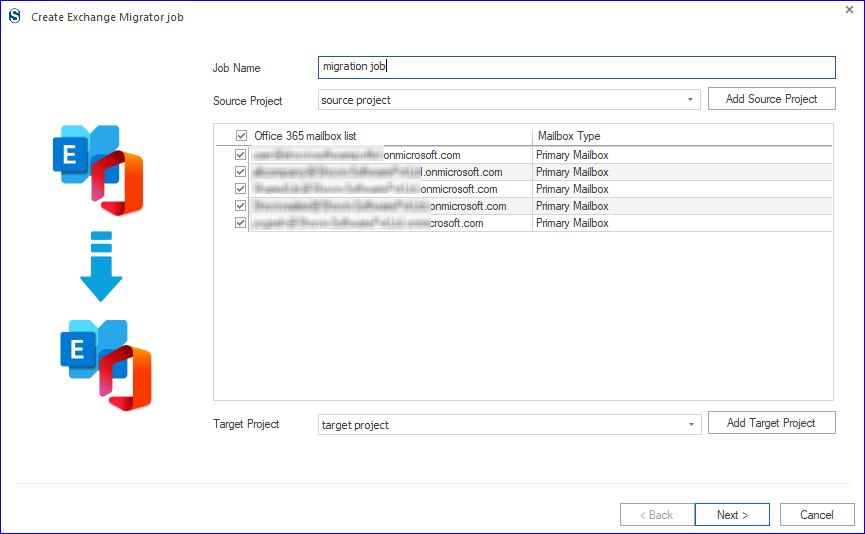
- Give a name to Job, add a source project (connected Exchange 2019), and check the mailbox list. Add the Target Project (connected Exchange 2019) and click Next.
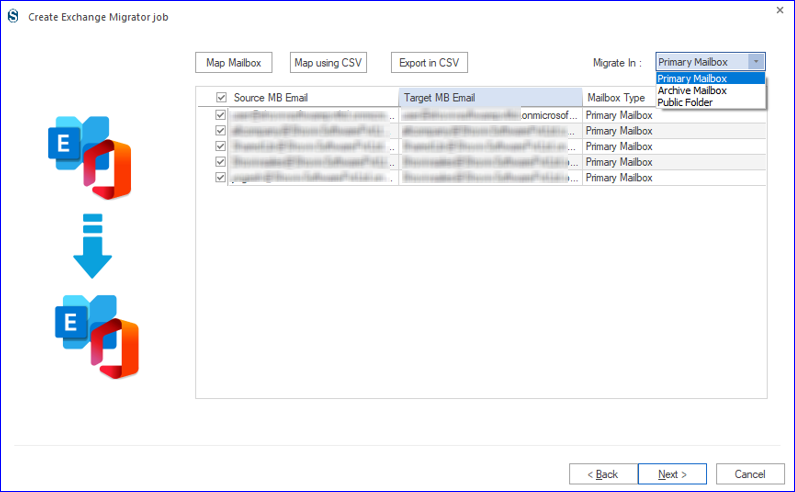
- Here, map the source mailboxes with the target and also select the mailbox type (Primary/Archive or Public Folder). Click Next.
- Apply the filter as per the requirement and click Next.

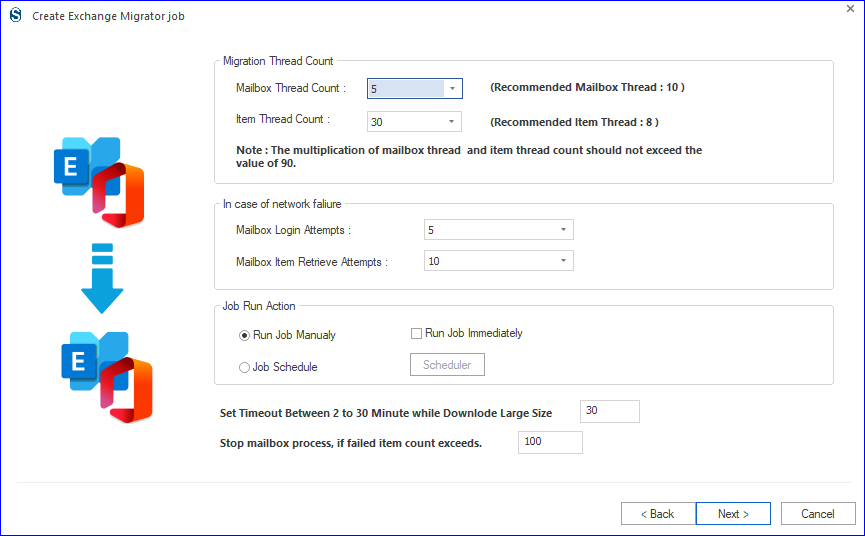
- Here, apply the settings as per the requirement for the task. You also get the option to select if you want to immediately run the job or want to schedule.
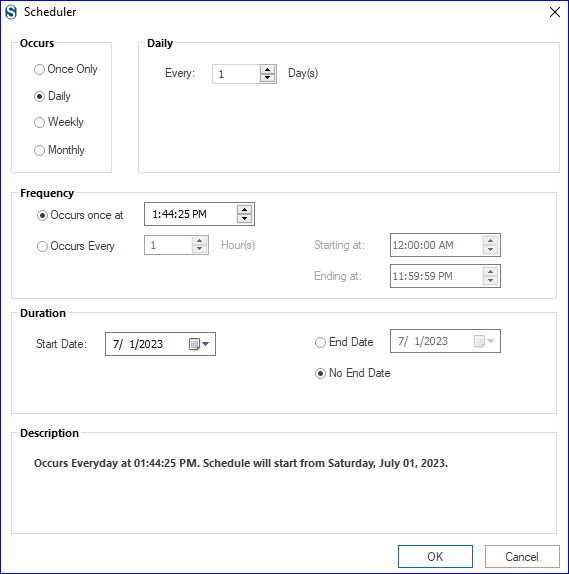
- If you schedule for the future, then set scheduler settings and click OK.
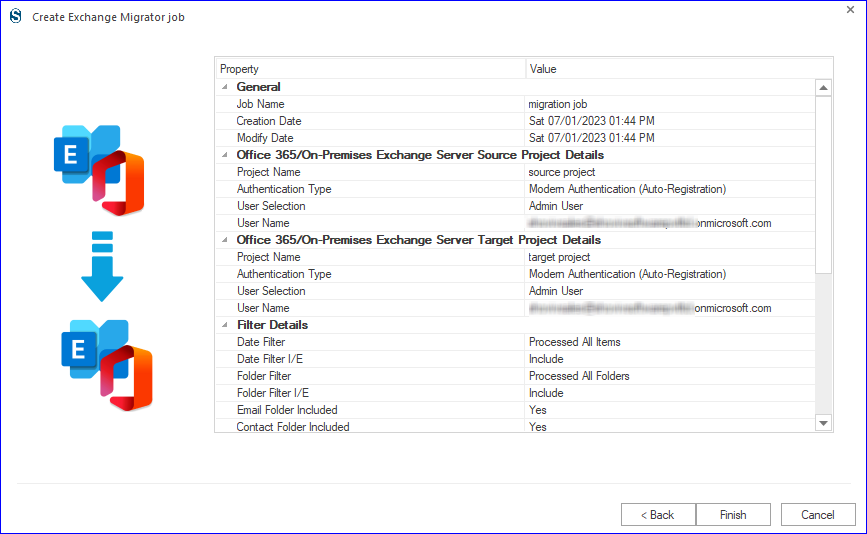
- In the end, you will get a preview of all the settings of the migration job. If satisfied, then click Finish and run the migration job. If you want to edit the job, then click Back.
By following the above steps, you can easily migrate and upgrade to Exchange 2013 to 2019. It is recommended to install the free Exchange Migration tool by Shoviv and pursue the process to learn the skills and capabilities of the tool.
Over to You!
Above, we discussed the manual and third-party automation to migrate from Exchange 2013 to 2019. At the end of this blog, we conclude that the Shoviv third-party automation is the best choice for users that you can use to make this migration task effortlessly. This tool does migrate mailboxes between any versions of the Exchange Server. But still, it all depends on the user’s understanding of which method they want to go with. Before deciding anything, download its free trial version and explore its features.


Frequently Asked Questions:
A. Yes, you can directly migrate from any Exchange Server to another version. There is no such restriction as double-dip migration.
A. There is no need to start from scratch if the process gets interrupted in between. Shoviv Migrator is boosted with an advanced facility called incremental Export that resumes the process. As well as it prevents duplicity in the target.
The demo version is restricted and allows processing the first fifty items/ folder. On the other hand, there is no such restriction with the fully licensed version. In working, both are the same. Even the demo version gets upgraded to full after entering the activation key.
A. Microsoft has ended the Exchange Server 2013 life, so there will be no further updates, bug fixing, or support from Microsoft’s end. So, if you encounter any error in the future, there shall be no support from Microsoft.