This is a special edition of the series of blog on how to Migrate Exchange Server 2013 to 2016 Using Step by Step Guide? For migration of user mailbox Exchange server 2013 to Exchange 2016, we need to keep this in mind that the process of migration requires ample of time for preparing deployment and upgrade. To avoid these kinds of situation, the need of working with a determine solution i.e. the third-party Exchange Recovery Manager is a must. The third-party Exchange Recovery manager helps flawlessly in the process of migrating mailboxes of Exchanger server 2013 to 2016 and overcomes factor like time consumption, lengthy process, etc. without any Exchange downtime.
Notes:- Continue reading this blog for Exchange 2013 to Exchange 2016 migration; for Exchange 2013 to Exchange 2019 migration, read this…
Download a trial version of Exchange Server Suite Tool to know in a better way.

Shoviv Exchange Recovery Manager is a proficient and trust-worthy solution which facilitate to perform the migration of Exchange between two same and cross environment.
For other parts of the series follow the links below:-
Migrate from exchange 2013 to 2016 (PART-1)
Migrate from exchange 2013 to 2016 (PART-2)
Migrate from exchange 2013 to 2016 (PART-3)
Migrate from exchange 2013 to 2016 (PART-4)
Migrate from exchange 2013 to 2016 (PART-5)
Migrate from exchange 2013 to 2016 (PART-6)
Process to Migration of Mailboxes from Exchange 2013 to Exchange 2016
- Download and install Exchange Recovery Manager into your respective system.
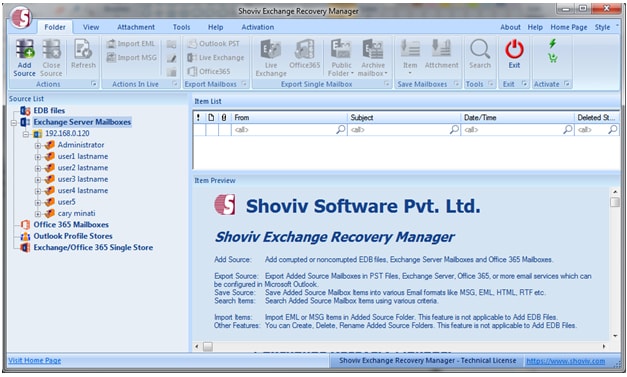
- After the installation has been done. Open the setup and go to Add Source mailbox. When click on Add Source mailbox a source wizard box will pop up in which the user are required the select exchange server mailboxes option.
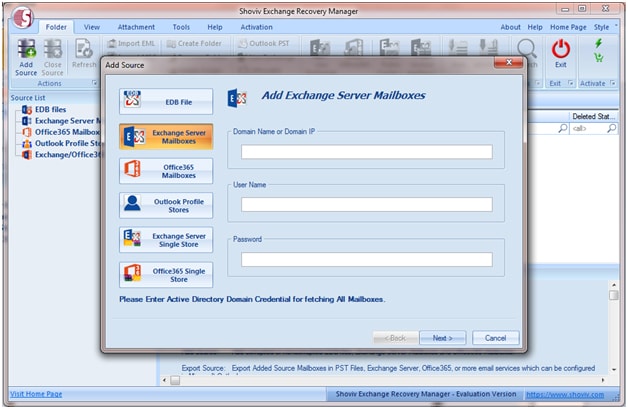
- After selecting the exchange server mailbox option kindly fulfil the Domain name, Username and Password as shown in below image. After which select next to continue with the process.

- Now all the mailbox names and e-mail address will be displayed. The user can now select the mailboxes as shown in the image below according to their preference. When the selection process is done Finish and proceed further with the process.
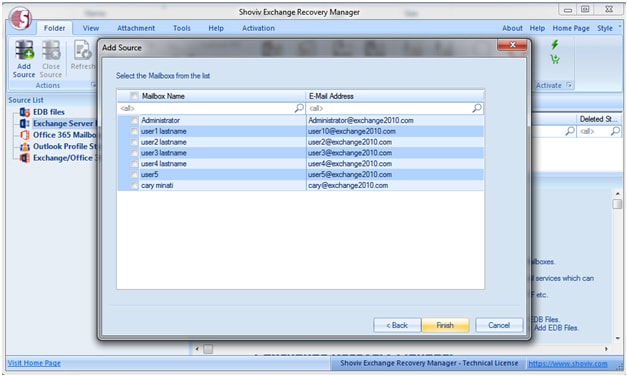
- The user will return back to the original display screen of the software in which all the select mailbox has been added in the folder list for the process of migration.
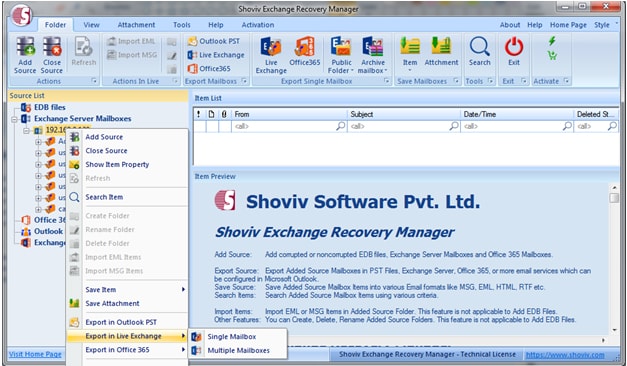
- Now, right click on the Exchange mailbox the user want to migrate to Exchange 2016. A context menu will appear in which the user need to select the option of “Export in Live Exchange”. This option will provide the user to export “single mailbox” or“ multiple mailbox” in Exchange.
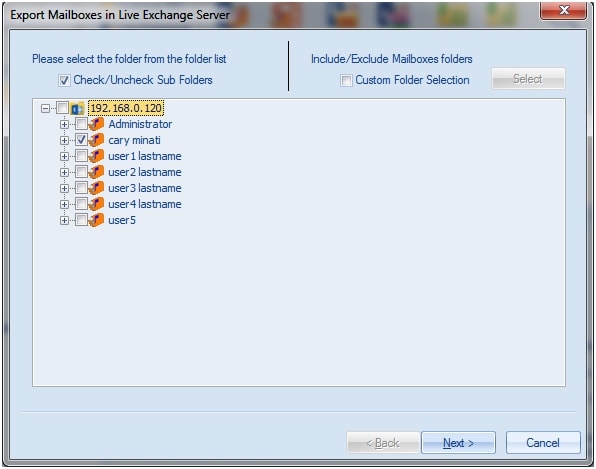
- As soon as the option to export in Single mailbox or multiple Mailboxes is selected. A wizard box is pop-up in which user can check and uncheck the folder and sub folder. As shown below.
The user is also given another option to select the custom folder selection. By selecting the custom folder selection the user can include and exclude mailbox folder.
- Click “Next” and continue with the process.
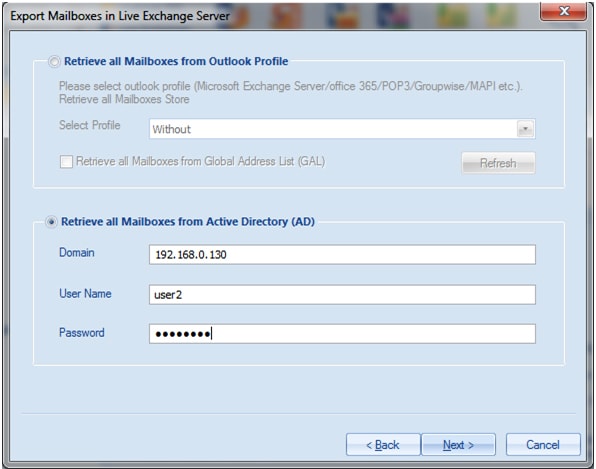
- Now, Option has been provided to retrieve all mailboxes from “Active Directory” or from “Outlook Profile”. User can choose any of the following option as per preference as shown in the image below. Exchange ReSelect next and move forward with the process.
- After clicking Next there will be report view in which the list of Exchange server migration Files will show. As shown in figure 1 below
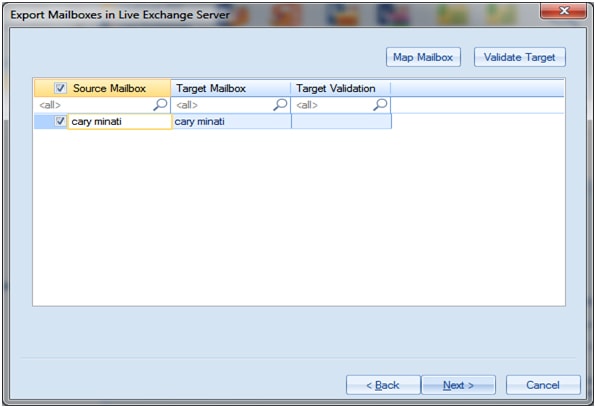
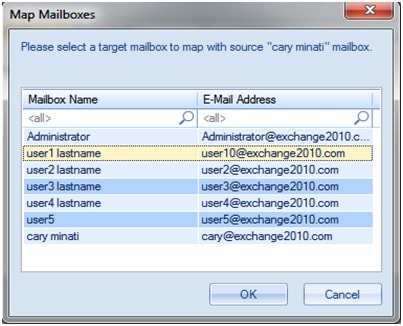
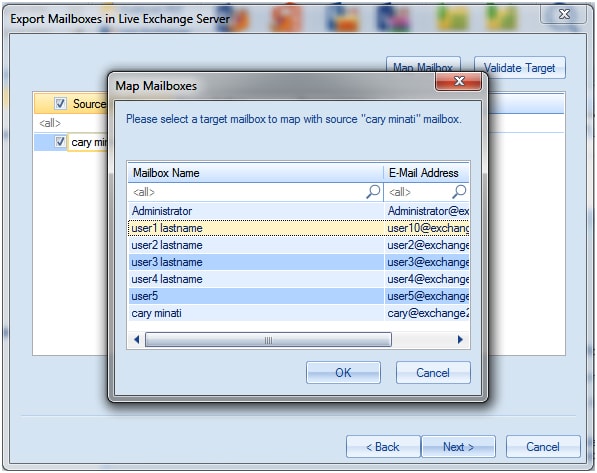
- The user can select each individual exchange files and map it with respective live exchange mailbox profile by clicking on map mailbox button, user can also validate Live Exchange profile to find out whether it exist or not. Click Ok after the mapping is done. As shown in figure 2 and figure 3.
- Click Next to continue with the process
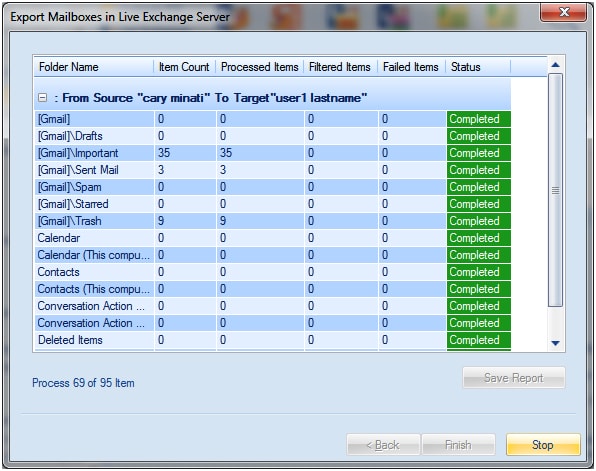
- Now, the process of migrating mailboxes from Exchange 2013 to Exchange 2016 will start. The status will be shown as given below. The Status wizard shows Item Count, Filtered Items, Process Item, Failed Items and status in this report. Wait until the process is completing after which click Finish to end the process.
Final verdict
Though one can easily achieve migration goal following this step by step guide however, it does not guarantee of data security during the process and demands a good technical expertise to accomplish the job successfully. Shoviv Exchange Migration tool is an emerged solution which helps to migrate from Exchange 2013 to 2016 swiftly and flawlessly.