Office 365 is a subscription-based service offered by Microsoft. Office 365 is used by millions of companies worldwide, with more than 650,000 companies in the United States. Because of its user-centric features, many organizations are also planning to shift into Office 365 as the business operates in the cloud organizations more frequently. Due to the reasons like acquisitions, merging, etc., users of Office 365 execute tenant to tenant migration.
The primary purpose of this article is to lighten how to migrate mailboxes between Office 365 tenants using Shoviv Exchange Server Suite?
Download a trial version of Shoviv Exchange Server Suite Tool to know in a better way.

How to Migrate Office 365 Tenant to Tenant?
The migration of tenants is not an easy task if you go manually. Even Microsoft suggests a third-party tool to accomplish this migration. Before Office 365 tenant to tenant migration, the user has to follow pre-migration steps:
Pre-migration steps for Office 365 Tenant to Tenant Migration:
- Domain Preparation:
- Ensure that you have enough Office 365 licenses that you may need for target Office 365.
- Create an admin account in both target and source.
- In the target tenant, create a user mailbox, resource mailbox, and distribution groups.
- Use the AD DS tool to perform AD DS consolidation. After that, synchronize both the target domain and the source domain.
- Verify the Domain
- Verify the target tenant domain in Office 365.
- Add source domain in the target admin center to create TXT records. (Tenant domain will take 72 hours to show the alteration).
Note: Ensure that the domain is only used in one tenant.
- Schedule the Tenant to Tenant migration
- Firstly, create a list of users’ mailboxes that you need to migrate.
- Secondly, create a CSV file for mapping.
- Now note down the bottom value of the TTL on the MX record. (For the primary domain).
- Then disable the synchronization for the source tenant (Disable from Office 365 admin center).
- Now Facilitate the migration
- Change/Alter the primary MS record to restrict the inbound mail flow. (Bottom value of TTL comes in handy here).
- Erase all objects from the primary domain in the source tenant.
- Wait for half an hour and then verify the source tenant in the target domain.
- Use Active Directory Federation Service (ADFS) to configure a new domain in the target for ADFS.
- Now activate the new user account in the target tenant and assign them new licenses.
- After that, make the source domain a primary email address for new users. Besides this, decide the communicating password end users.
- Change the mail routing and MX record to the new Office 365 email address.
- Test the mail from the target and source tenant.
The above-given steps are to accomplish the pre-migration task. Below are the steps of migrating tenant to tenant using professional third-party software; Shoviv Exchange Server Suite.
Steps of Shoviv Exchange Server Suite for the hassle-free Tenant to Tenant Migration:
- Download and open the Shoviv Exchange Server Suite.
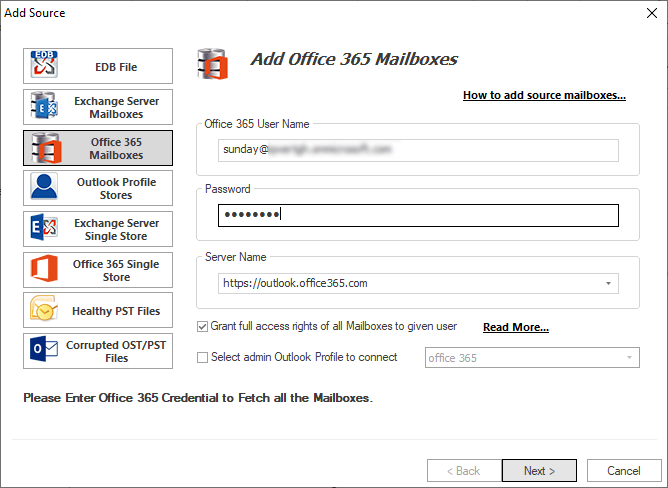
- Click on the Add Source button and then choose Office 365 mailboxes option. After that, provide credentials and click on the Next button.

- Now choose the Office 365 option available on the ribbon bar.

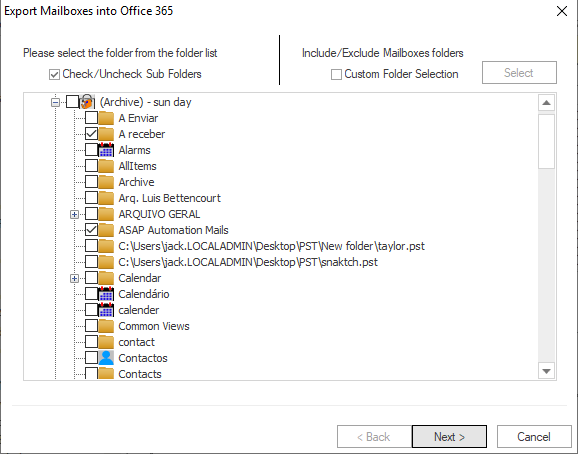
- In the next step, check/uncheck subfolders according to your requirements and also can select the custom folder, then click on the Next option.

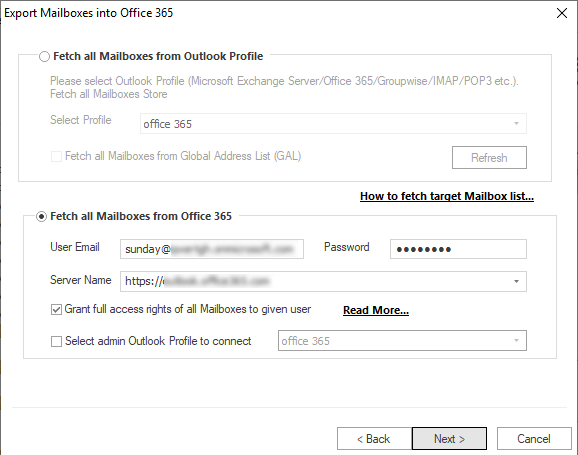
- Now in the next window, check Fetch all Mailboxes from Office 365 option and provide Office 365 credentials. After that, click on the Next button.


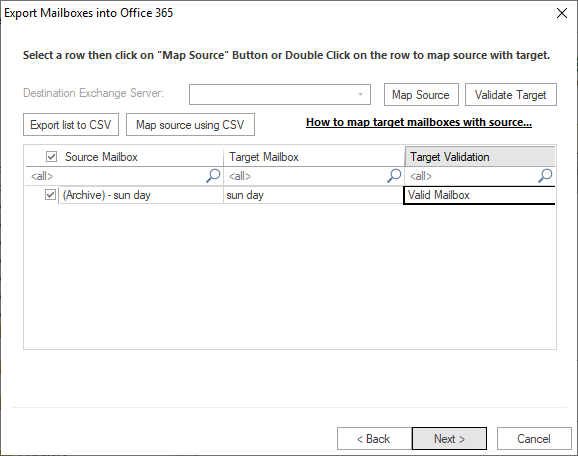
- The user also can map mailboxes according to their ease and after that, click on the Next
 7. Now the filter dialog box will appear. The filter option is based on message class and message date.
 7. Now the filter dialog box will appear. The filter option is based on message class and message date.
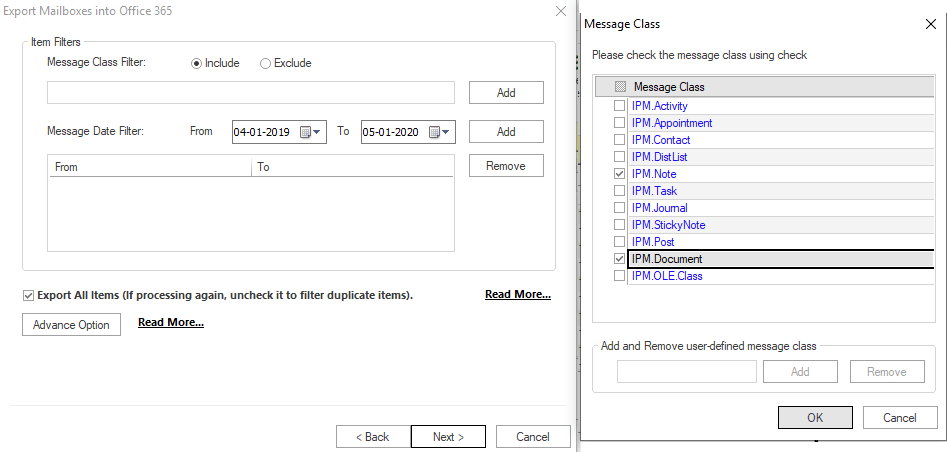
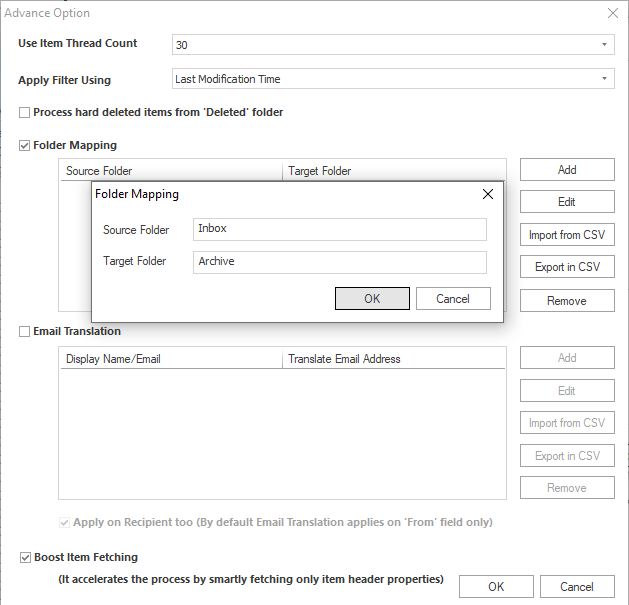
- Click on the Advanced option for folder mapping, email translation, and to process hard deleted folder, and to boost item fetching and click Ok and then make a click on the Next.

- Now the actual tenant to tenant migration process gets started, the user can see the log report. At last, make a click on the Finish

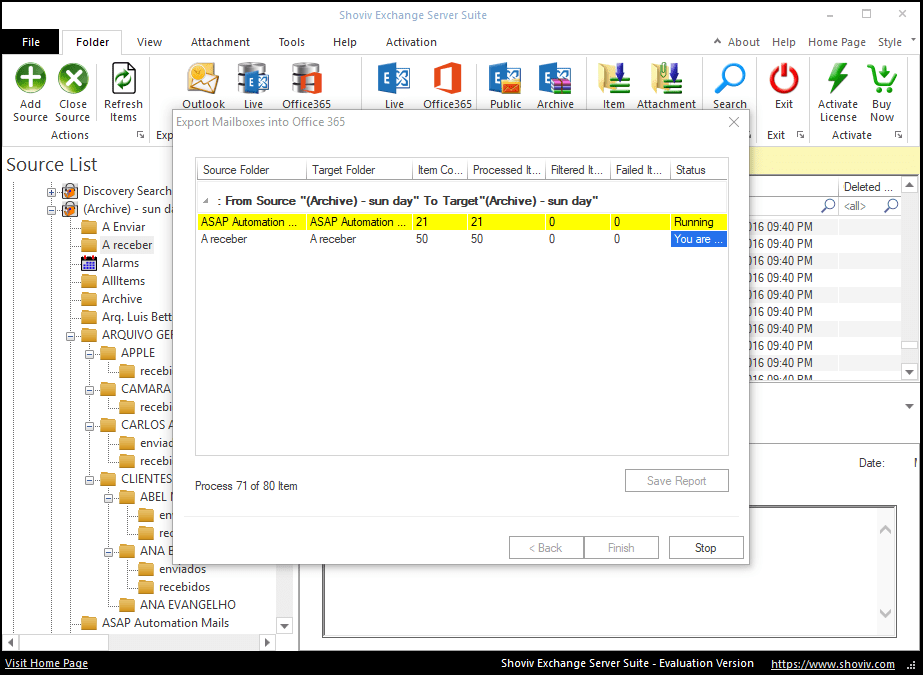
Using Shoviv Exchange Suite for the tenant to tenant migration will provide you many user-centric features. It will make the tenant migration process easy and hassle-free. Like user can map folder, preview Office 365 data before migration Email Translation feature is also given. Besides this, if you want to test the software before purchasing it, you can try it out first. It is free. The trial version is provided for users that allow migrating the first fifty items per folder. Once you decide to purchase the full version, simply activate the trial version with the license key you have received during the purchase and continue with the tenant to the tenant migration process.
Wrapping Up:
Migration of Office 365 tenants is not an easy task if go manually. Manually a little misstep and all your data will get inaccessible. Here in this article, we discuss Shoviv Exchange Server Suite for effortless tenant to tenant migration. A free demo version of the software is also available that allows migrating the first fifty items per folder.