One thing is clear; the cloud is the future. Microsoft’s cloud-based service “Office 365” is ruling the email niche nowadays, and several organizations are preferring it to improve productivity. Here, in this write-up, we’ll import MBOX to Office 365 using two ways so you can also get Office 365 cloud features over your existing email client.
MBOX files are commonly used to store email messages on Unix-based systems, and importing them into Office 365 can be a challenging process for many users. However, with our step-by-step guide, you can easily transfer all your emails to Office 365 without any hassle.
Understanding MBOX files
Before we delve into the details of importing MBOX files into Office 365, it is essential to understand what they are. MBOX is a mailbox file format that stores email messages in a concatenated format. This means that all messages are stored in a single file, and the header of each email message specifies its start and end.
Why import MBOX files into Office 365?
There are several reasons why you may want to import MBOX files into Office 365. Firstly, Office 365 provides a range of advanced features that are not available in many other email clients. These features include enhanced security, data loss prevention, and improved collaboration.
Secondly, importing MBOX files into Office 365 allows you to consolidate all your email accounts in one place. This makes it easier to manage your emails and ensures that you never miss an important message.
Top Office 365 Features: is it worth a professional switch?
As I have said earlier, the cloud is the future, and the main reason behind this is its features that other email services don’t even think of. Some of the cloud (Office 365) features are as follows:
- Accessible from Everywhere:It is one of the primary features of the cloud. It is accessible from everywhere; no matter whether you’re on a flight or having a jog if you need to access your data, you can even on Android.
- No Downtime: Being a cloud service, Office 365 remains always up to date. Hence, you don’t have any need to go through the server downtime to update your apps.
- Microsoft’s Support: Undoubtedly, Microsoft is a leading tech giant worldwide. And Microsoft does provide support for Office 365 users in case they face any issues regarding Office 365.
- No Maintenance: As said earlier, it’s a cloud service and always auto-updated, so you’ve no need to spend money on its maintenance and upgrades.
- Improved Productivity: Office 365 offers several applications, which almost fulfill every need of an organization. Like it has teams for the collab and communicate, Microsoft Office for office works, SharePoint, etc. Hence, it is a one-stop for businesspersons and students.
- Pay for what you use: Microsoft offers Office 365 subscriptions for all types of users. It doesn’t matter if you’re a single user or a business organization, you can opt for a plan according to your need. Also, you’ll only pay what you use.
So these are a few advantages that I think are the primary reasons to import MBOX to Office 365 or any other email client to Office 365. Here, I am giving the MBOX file’s example as this file format is supported and used by several email clients. Hence, by understanding a single method, you can import several email clients’ data to Office 365 to get a seamless experience.
Now the big question is how to import MBOX file to Office 365 mailbox effectively and quickly.

Two ways for you to import MBOX to Office 365
Here, we’ll discuss two ways by pursuing which you can get access to Office 365 with all your MBOX files.
- Manual solution: By creating an Office 365 profile in any MBOX-supported email client.
- Automated solution: By using a third-party MBOX to Office 365 importer tool.
Manual solution to import MBOX file to Office 365
Here, I’ll configure my Office 365 account to Thunderbird and then import all my MBOX files. Below is the step-by-step process.
Phase1: Create Office 365 profile in Thunderbird
- Firstly, open the Thunderbird in your system. (If not installed, you can install it from here).
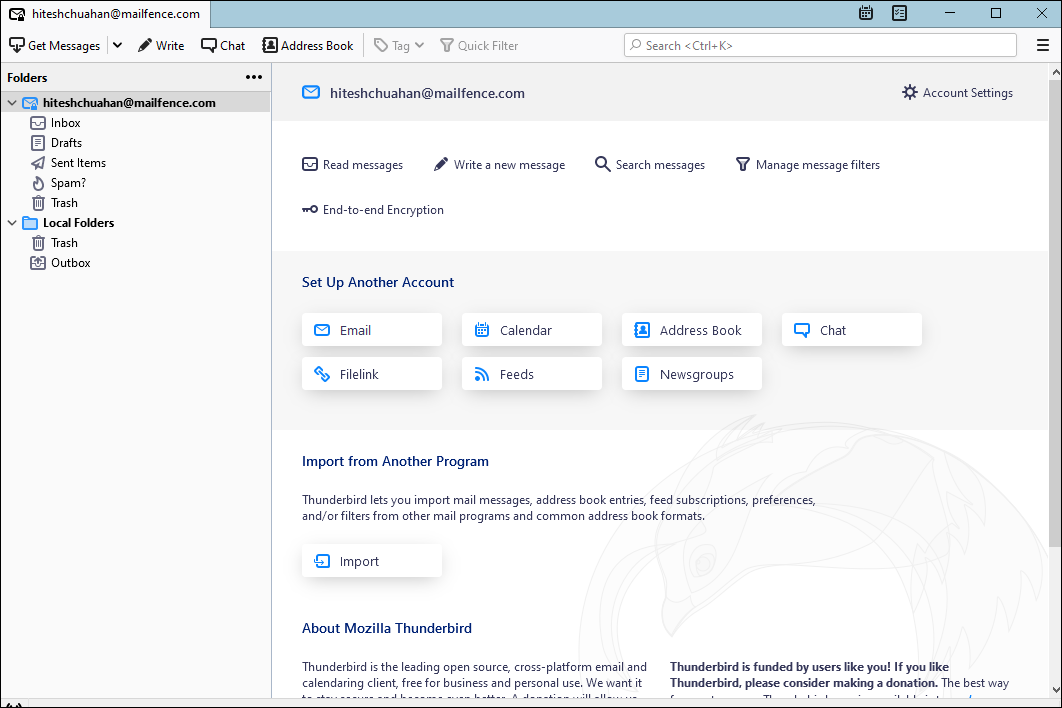
- Now go to the Thunderbird Menu option and click on the Account Settings from the dropdown menu.
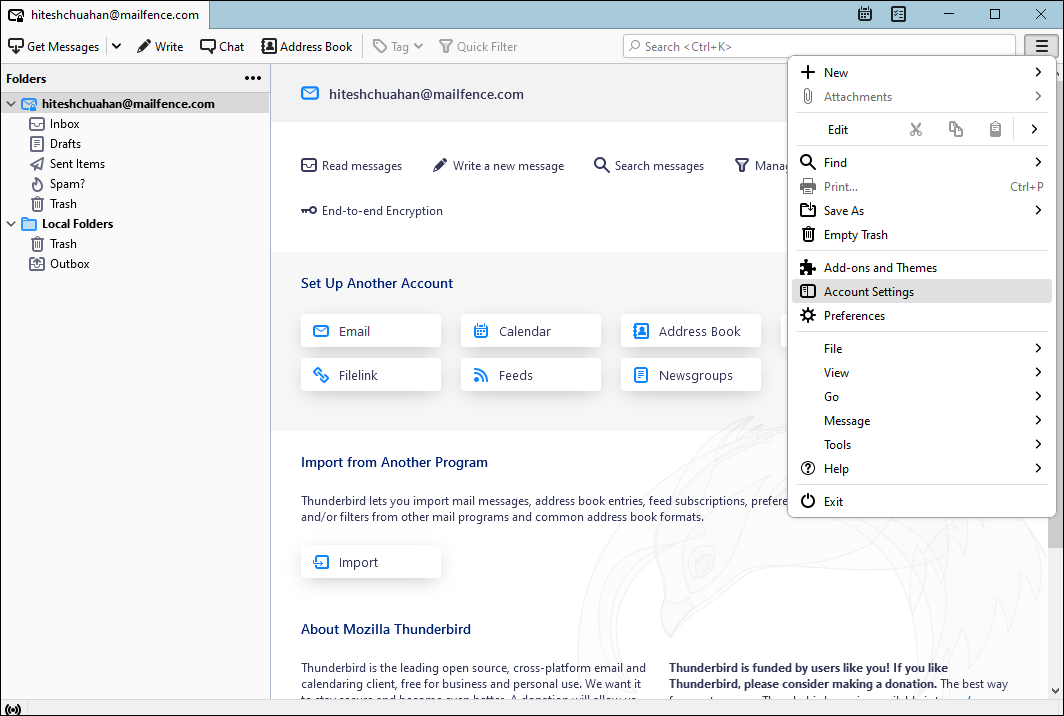
- Then, click the Account Actions button and click the Add Mail Account.
- Now, enter your full name, Office 365 email address, and password in the following wizard. After that, click on the Continue option.
- Next, select the configuration settings and click the Done option.
Phase2: Import MBOX files to Office 365 profile
- First, we’ll create a new folder where we need to import MBOX files and Add the ImportExport plugin to Thunderbird.
- Make a right on the left pane and click on the New Subfolder option.
-
- Enter a name for the Subfolder and click Ok.
-
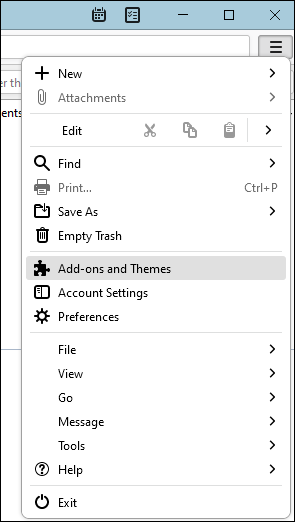
- Now go to the Menu option and click on Add-on & Themes option.
-
- Now search for ImportExportToolNG and add it to the Thunderbird.
-
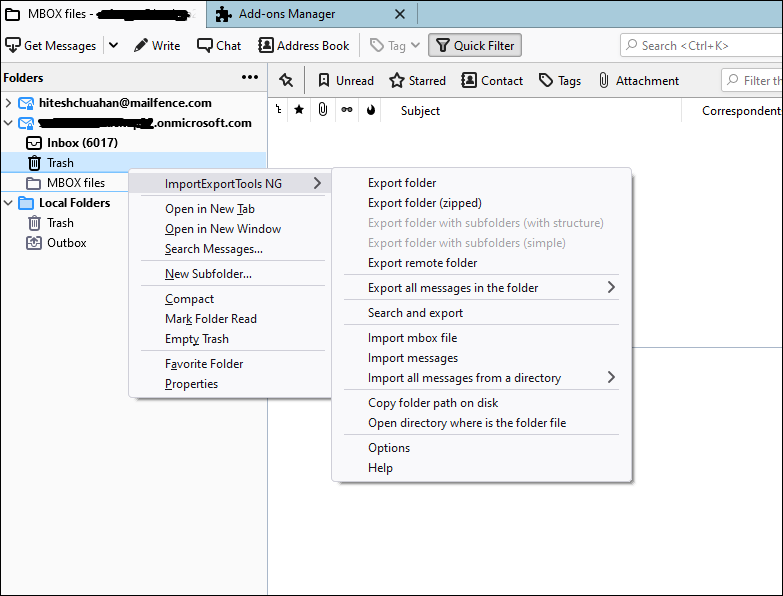
- Following, make a right-click on the left pane, click the ImportExportToolNG option and select Import MBOX files from the dropdown list.
- Select the Import directly one or more mbox files option and click Ok.
- Now browse the MBOX files to import and click Ok.
Here the manual process to migrate MBOX to Office 365 gets completed. As you can see, the process is easy but lengthy. Also, there are a few drawbacks of this process which are mentioned below:
Drawbacks of the Manual Method
- Firstly, you cannot filter unwanted MBOX files; there is no such option.
- You cannot import MBOX files to Office 365 mailboxes in batches.
- There is no MBOX files preview facility in the manual solution. Hence, high chances of importing unwanted files.
- If you want to import the MBOX files in multiple Office 365 mailboxes, you’ve to repeat the account configuration task several times.
If you’ve any of the above scenarios, the only way that’ll work for you is an automated tool, such as Shoviv MBOX to Office 365 migration tool.
A Professional Way to Import MBOX to Office 365 Mailbox:
Shoviv MBOX to Office 365 migration tool is convenient and can be used without technical knowledge or assistance. Also, the tool allows to directly import MBOX files to Office 365 mailboxes with advanced features. Some of this tool’s features are as follows:
- You can add several MBOX files and process them to Office 365 mailboxes in a single batch.
- The software has a filter option by using which you can include/exclude Mbox emails on the Subject, From, and To-based criteria.
- It offers an option to import MBOX files to Office 365 Public folder, user mailbox, and archive mailbox. You can choose any as per your requirements.
- The software displays a preview of added MBOX files’ emails, so you can get assured about the data before importing it into the target mailbox.
- You’ll get a live log report of the process where you can track the live process. If required, you can save the log report in HTML format.
How does the tool work?
With Shoviv, importing MBOX to Office 365 is like a cakewalk. You only need to add your MBOX files and make a few clicks. Below is the step-by-step process to import MBOX to Office 365 using the Shoviv tool.
Note: Install the free version of the tool and process as follows to examine the tool for free.
Simple Steps to Migrate MBOX to Office 365
- Step 1: Run MBOX to Office 365 Migration Tool.
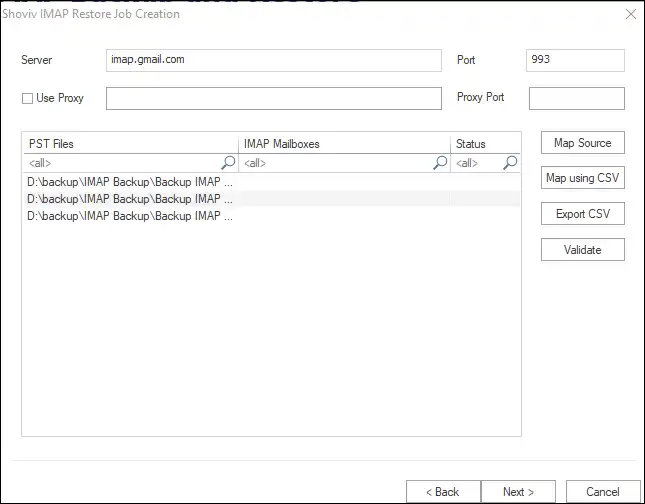
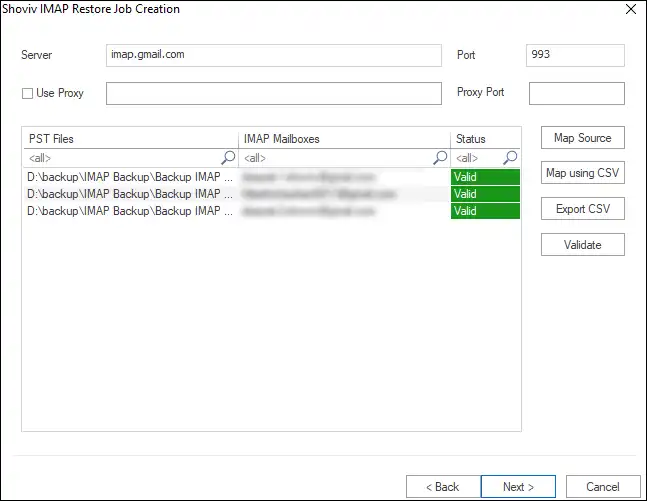
- Step 2: Add MBOX files or Folders to Migrate.
- Step 3: Select Export type as “Export to Office 365”
- Step 4: Enter your Microsoft 365 login credentials.
- Step 5: Click on the Export button to start the migration.
Here the Mbox to Office 365 import using the Shoviv tool gets completed. As you can see, the process is effortless, and the software offers several features to make it desired.
Conclusion:
Shoviv MBOX to Office 365 migration tool is a popular and picture-perfect tool that helps you import MBOX to Office 365 in a more effective and convenient way. It boasts a straightforward approach to completing your task, with a wealth of advanced options for more demanding users. It is easy to use! Just follow the simple steps to import MBOX to Office 365.


Frequently Asked Questions:
Answer: Importing MBOX files into Microsoft Outlook 365 requires an email migrator tool. You can easily migrate your Gmail MBOX emails into Microsoft 365 using the shoviv MBOX File Migrator tool.
Answer: Similar to MBOX emails to Microsft 365 Migration, only one step will change when you select export types. For MBOX to Exchange choose Export types as “Export to Live Exchange” in the selection menu.
Answer: Outlook 365 does not natively support the import of MBOX files. However, there are third-party tools available that can convert MBOX files into a format that Outlook can import, such as PST or MSG.
Answer: The best MBOX to Microsoft 365 migration tool depends on your own preference. We recommend, rather than test every third-party tool; once try the Shoviv MBOX file migrator and decide for yourself.