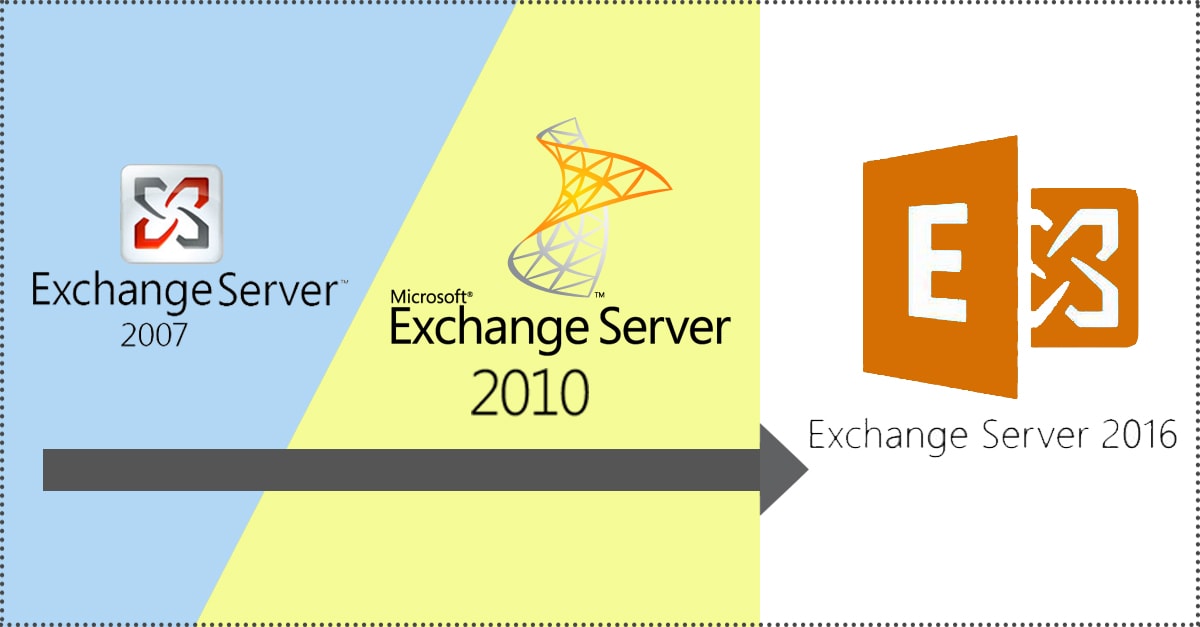
For the users, Exchange Server 2007/2010 to 2016 migration move is an important task. If go manually, they need to upgrade from server Exchange 2007 to 2010/2013 and then again from 2010/2013 to Exchange server 2016.
The manual method is here –
1- Upgrade from 2007 Exchange Server to 2010 Exchange Server- Make sure that your system has the minimum configuration required to meet the expectation of the migration program.
For easy installation of Exchange Server 2010 and upgrade it from server 2007, make sure that you have the minimum system requirements. You also need Exchange 2007 Service Pack 3 for each server to make it smoothly functional.
Download a trial version of Shoviv Exchange 2007/2010 to 2016 Migration to know in a better way.
To make disjoint namespace run in Exchange, follow the instructions-
Make use of GPMC and configure the DNS suffix search list. After that, you need to set a DNS suffix search list and for this, the use of GPO is a suggestion.
- Now, create a list that will include the allowed DNS suffixes. After that, modify the relevant attribute value- “MSDS-AllowedDNSSuffixes” of the domain object container by using the Active Directory Service Interfaces editing option. You need to verify these settings in order to make your server respond quickly.
- Install the Client Access Role. It is the primary server role to a role that needs to be installed. It facilitates the working of Exchange email clients. This can be installed from the Exchange 2010 DVD by running the setup exe.
- For Exchange Server 2010 installation, the user must accept the agreement of license, and follow the given instructions in the dialogue box.
Steps you need to follow while going through different installation wizard pages-
- Firstly, Enable the error reporting feature
- Secondly, Choose Custom Exchange Server Installation (Change path accordingly)
- Go with ‘Client Access Role’ on the Server Role Selection page
- Install Exchange. Verify it using Get-ExchangeServer. Add digital certificates and configure MS Outlook Anywhere along with virtual directories after the installation.
- Install the Hub Transport Role
- Unified Messaging Role Installation
- Install the Mailbox Role
At the next step, you can migrate offline address book generation to Exchange server 2010. ‘Move Offline Address Book wizard’ can be used to perform this task.
After installing Client Access Role, it is likely to install Unified Messaging and Mailbox Roles along with Hub Transport on a similar server. But, the method for doing this is somewhat different.
This can be done by the process given here-
- Firstly, Choose Microsoft Server Exchange 2010 from Control Panel – Programs and Features, and go with Change.
- Click Next.
- Pick the required role in Server Role Selection
- Proceed it and complete the process.
- And finally, reboot the PC/laptop.
Now, you need to install the ‘Edge Transport Role’.
Move public folder data and mailboxes from Exchange server 2007 to 2010.
- The user needs to create a request for a local move in Exchange for migrating mailboxes from Exchange server 2007 to 2010.
- The user needs to replicate them using the Exchange Management Console for migrating public folder from Exchange server 2007 to 2010.
Final task
Make use of Get-ExchangeServer cmdlets. This will help you verify the installation of the Exchange Server. Now, proceed with the configuration of accepted domains, MS Outlook Anywhere, internal mail flow, safelist aggregation, and internal SMTP server list.
Migration of Exchange server 2010 to 2016
You need to Migrate from Exchange 2010 to 2016 in the second stage of Migration.
- Firstly, Install the 2016 Exchange server into your 2010 organization.
- Make the configuration valid for the 2016 and 2010 Exchange server coexistence.
- Migrate mailboxes, public folders, data, and other crucial components from 2010 to 2016 Exchange server.
- Now remove and discharge all 2010 Exchange servers.
Migration move of Mailboxes from 2010 to 2016 server.
Users can make use of Exchange Deployment Assistant to get the process of deployment completed.
Restriction– The restriction of using the manual method for the migration from Exchange 2007/2010 to 2016 are mentioned here-
- It is not a very reliable method for the move.
- The process is very complex and can’t be handled carelessly else the motive wouldn’t be completed.
- The process is time taking.
If you are looking for a sure-shot solution for the migration from Exchange 2007/2010 to 2016, try Shoviv Exchange Migration Tool. It is one of the perfect solutions for exchange server migration. Try this tool and perform the task impeccably.
Conclusion:
In conclusion, we can say, the above discussed operational method is pretty helpful in making you understand the process. But the manual method is a long and unprofessional way; many limitations and drawbacks. For the instant, direct and perfect migration, go with the professional third-party tool. Shoviv Exchange Server Migration Tool is a mastered tool and comes with various user-centric features. It can directly migrate Exchange 2007/2010 to Exchange 2016/2019. A free trial version of the Shoviv Exchange Migration Tool is also available; must try the demo version.