Exchange Online is one of the most admired and used email services in the world. It is a fundamental part of the Office 365 suite consequently considered suitable for enterprise email management. In this article, we will discuss a manual method as well as an automated method to backup Exchange Online mailboxes to PST.
Manual Method To Backup Exchange Online Mailboxes to PST
The eDiscovery Export method to export mailbox items to PST
The eDiscovery export method is not a straightforward method for the backup of Online Exchange into the PST file. But to protect Office 365 mailboxes’ data by migrating Office 365 data to PST, this is the only manual method you have.
To proceed with the method using the eDiscovery export tool, follow the below-given steps:
- You should have the eDiscovery manager permission to perform the process.
Step 1: Firstly, log in to Office 365 portal, and open the Office 365 Admin Centre.
Step 2: Secondly, click on the Admin Centre and go to Security and Compliance.
Step3: In Security and Compliance, go through the Search and investigation and Click on the Content Search.
Step 4: After that select the Search Everywhere and then select Exchange. However, for the export of particular mailbox data, use Custom Location Selection. By clicking the (+) plus button, add the mailbox from where you want to export data.
Step 5: Now, filtering options will come, if you want to export all data, do not modify the default set filters. When you are done, click Search.
Step 6: After completing the background search by search wizard, click Start Export.
Step 7: After clicking Start Export, a pop window will appear and will give some options. Select the option and click “Start Export” after going through settings.
Step 8: Now, click on Download exported results when the data export wizard is done.
Step 9: Now, you will receive a special export key which is generated by the system. Copy the Key using Copy to Clipboard as it will be used in the next step.
Step 10: Now, paste the copied key in the provided space and also browse the location where you want to store the downloaded PST files. Click Start and begin the export. Close the application after completing the export.
As by manual way, you can export Exchange Online mailboxes to PST but the manual method has some drawbacks too. Let’s know about them:
- To export Exchange Online Mailboxes to PST manually, the user should be expertise and should have a technical hand.
- The risk of data loss is too high because this is not a secured method for all-time.
- Most importantly, the chances of human error are always possible.
- The process of export Exchange Online mailboxes to PST is very long and very time-consuming.
Automated Professional Method
To resolve the problems of manual method and to backup exchange online mailboxes to PST, we have an easy and professional automated method; Shoviv Office 365 Backup and Restore Software.
- Install the Shoviv Office 365 Backup and Restore Software setup in your system.
- Open the software.
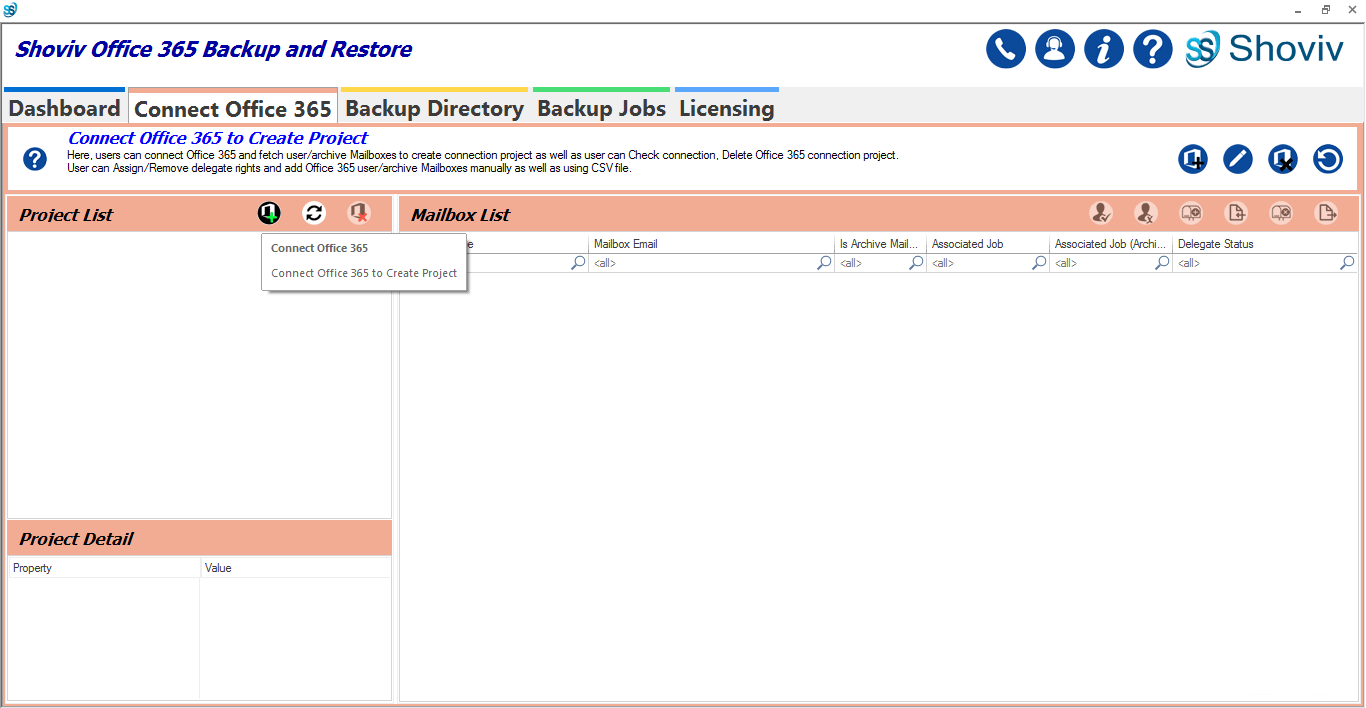
- Create a connection between the software and Office 365 mailboxes. On the other hand, click Connect Office 365 button from the ribbon bar of the Connect Office 365 window.

- Now a dialog box will pop up, which contains fields, fill the details.

- After creating the connection, you can proceed to the next step.

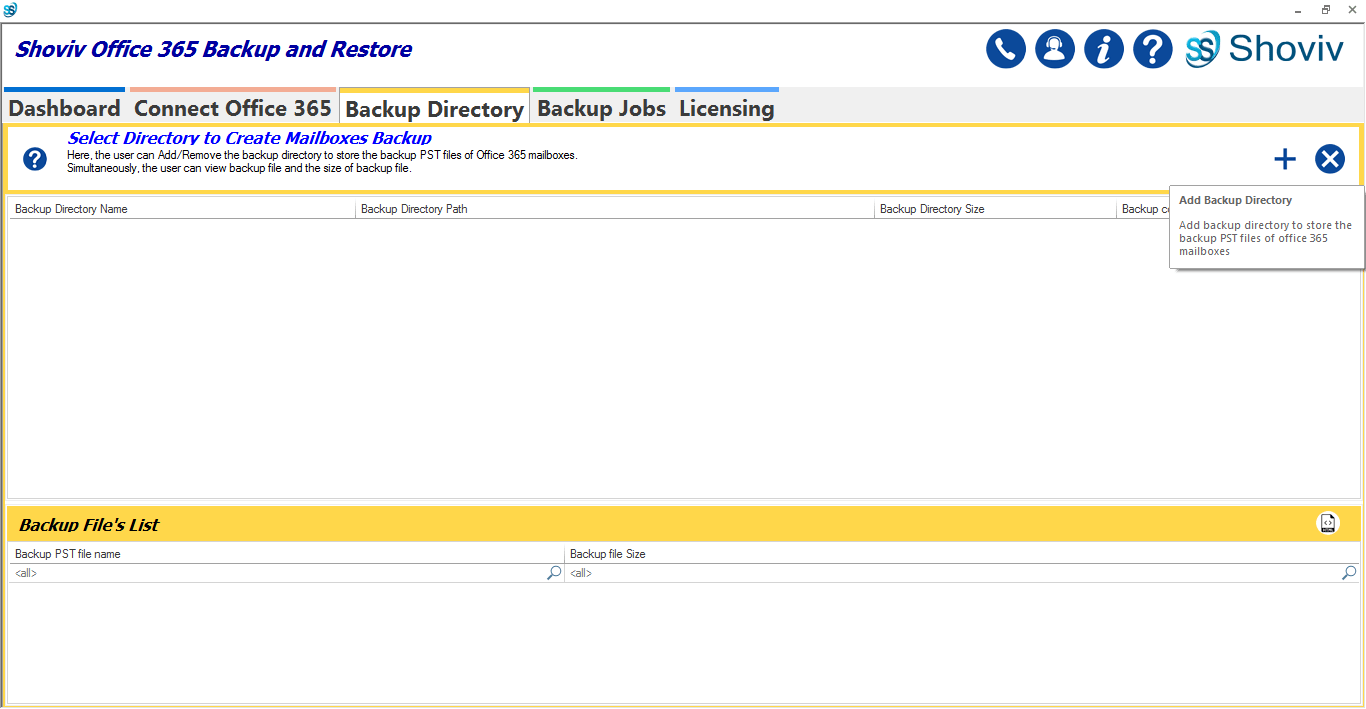
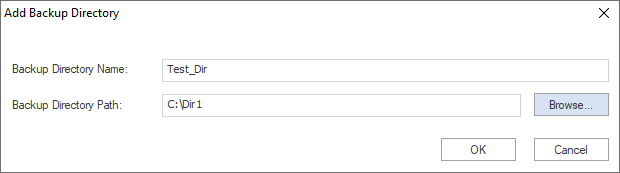
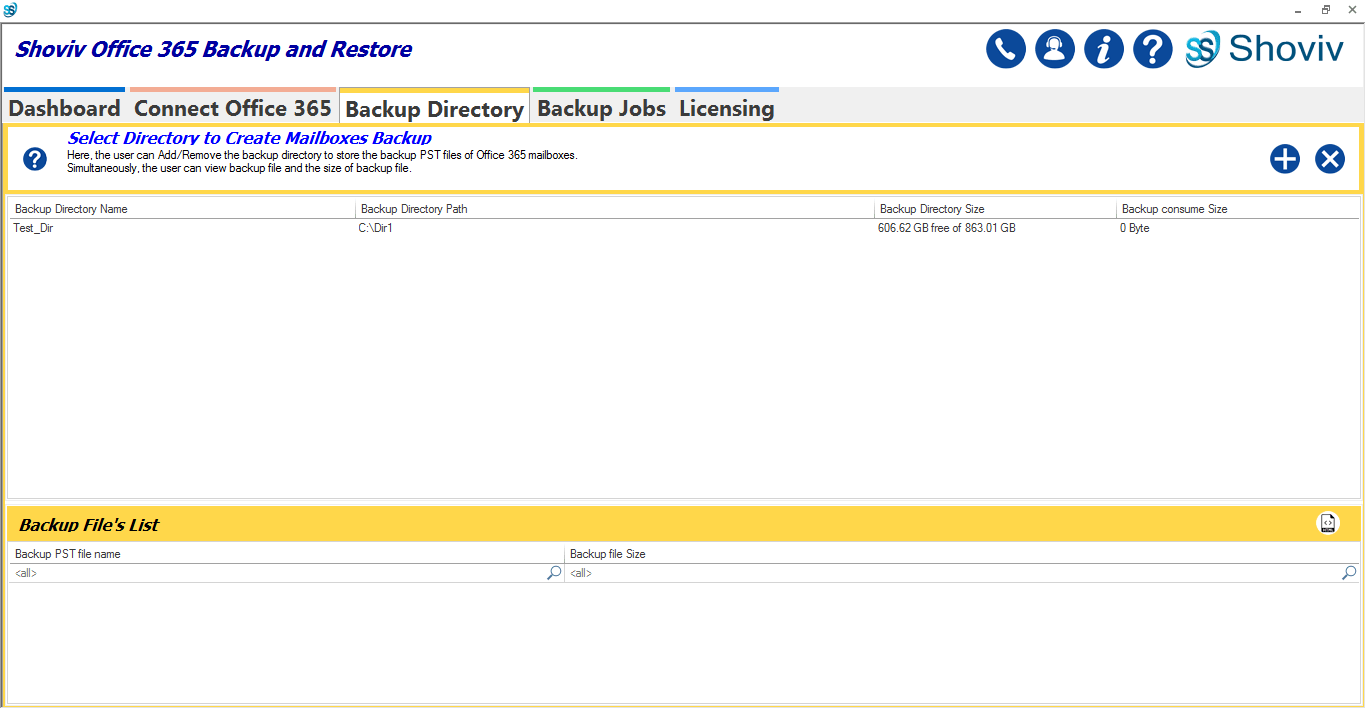
- Now, select the Add Backup Directory button from the ribbon bar of the Backup Directory window. This is to store backup PST files of Office 365 Mailboxes.

- A pop-up will come, certainly enter the Backup Directory Name and Browse its path then click

- With the last step, you created a new backup directory, you can use this to save backup data while creating backup jobs for Office 365 mailboxes.
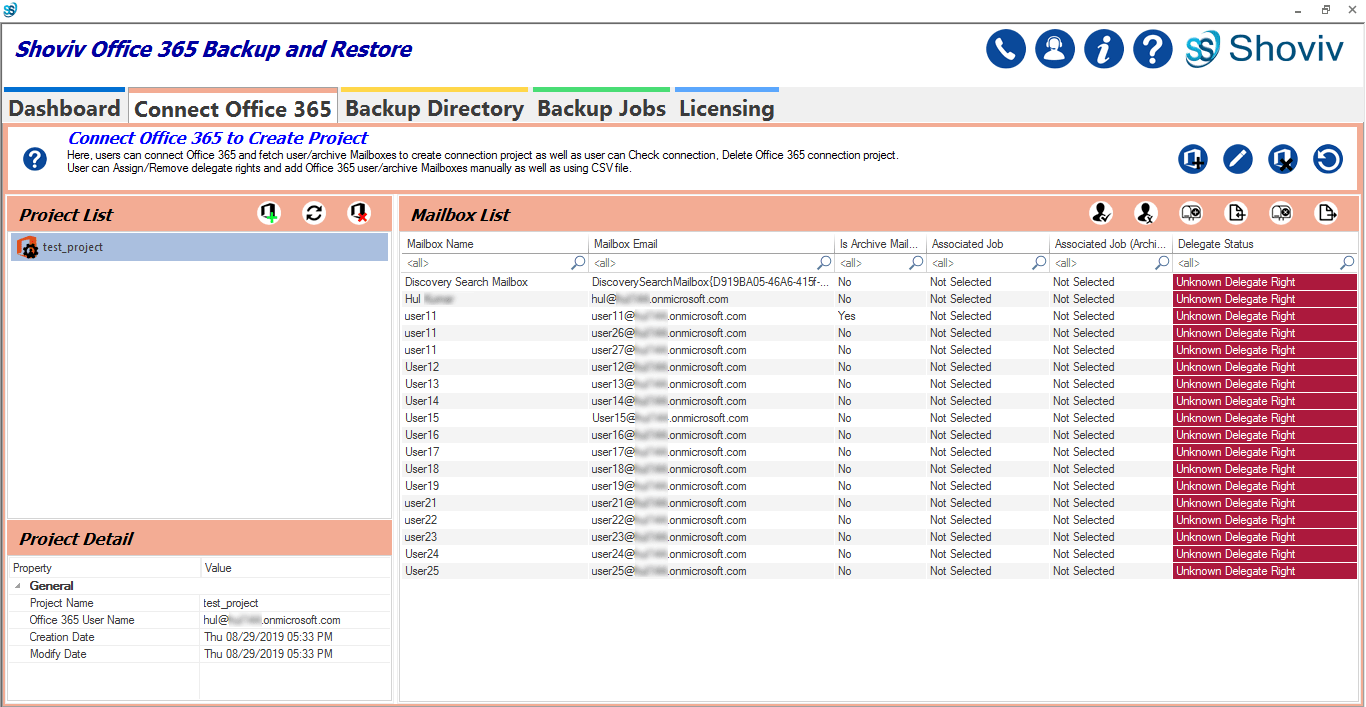
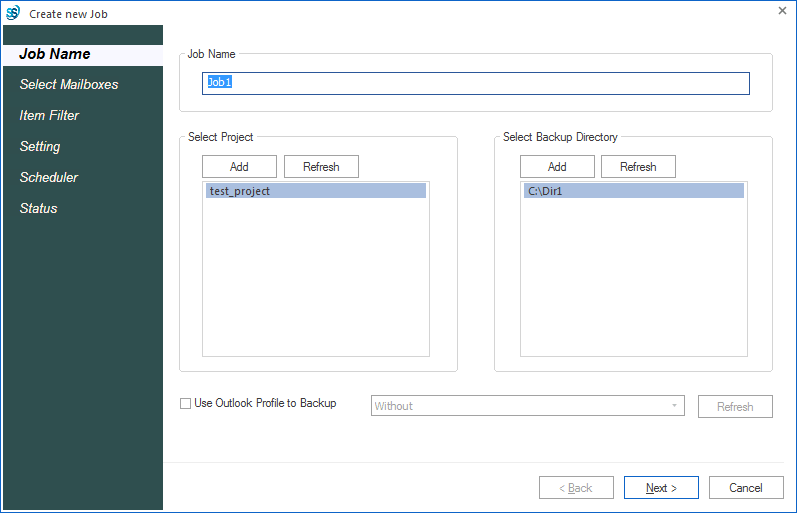
- Now, go to the Backup Jobs window, click on the Create Job button of the ribbon bar. Clicking this will open a new backup wizard to create a new backup job.

- Here, you will get options on the left-pane, proceed with the instruction, Enter the name of a new backup job, choose the required Office 365 connection as well as Select Backup Directory from the list, and select profile to backup. When you have done, click Next to proceed.

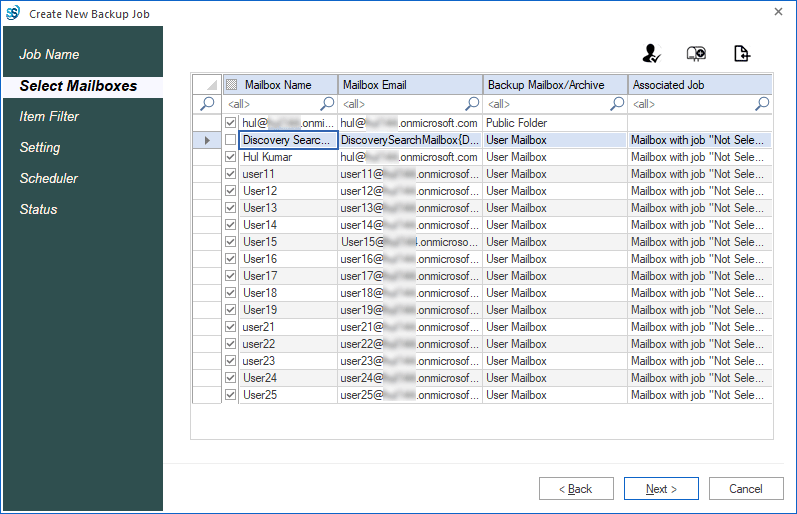
- Now from the Select Mailboxes tab, select the mailbox whose you want backup and also choose whether you want a backup of general or archive mailboxes. After selecting click on the Next.

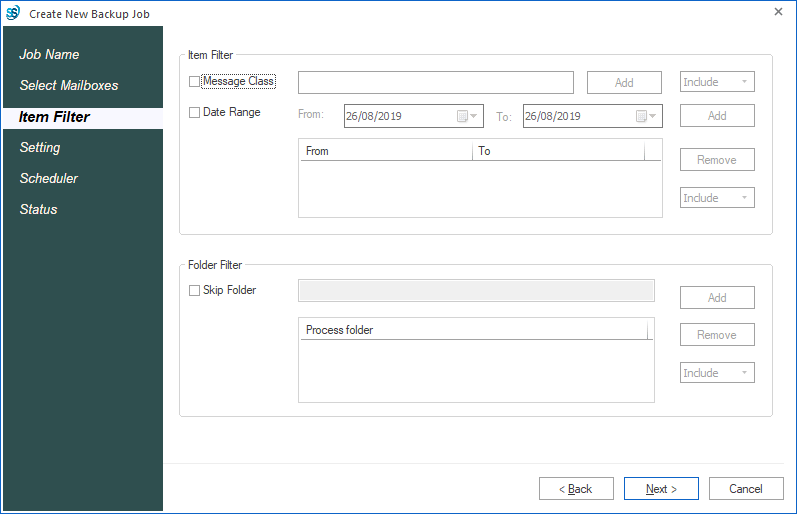
- Now, the Filter page will display. filter the data based on Message Class, Data Range as well as Folder Filter. Click Next once applied filters.
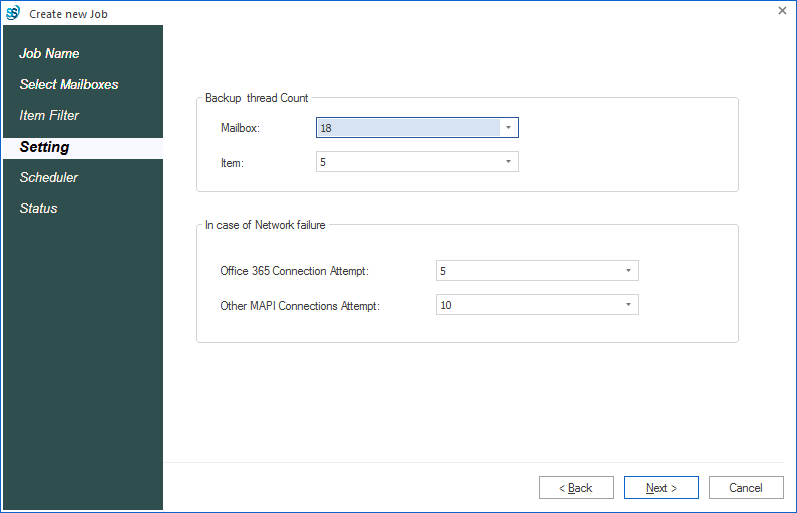
- After filter, you will be prompted to the Setting tab. Here you can set Backup thread count for mailboxes and Items as well as you can choose the attempt for the Office 365 Connection and Other MAPI connections, in case of network failure. Click Next after entering details.
- Now, you will be prompted to the Scheduler. Here, you will get options to schedule the Incremental/Periodically Backup Process. Moreover, after scheduling the software will automatically take backup. Click Next after scheduling.
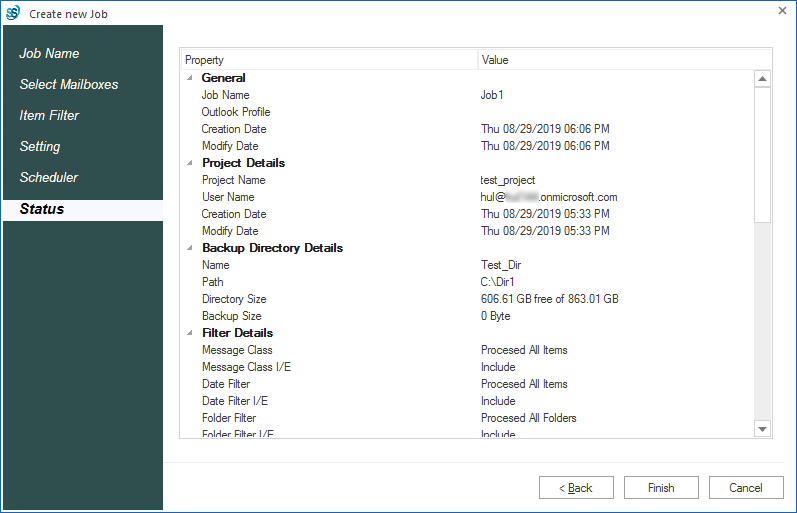
- After clicking next, you will be prompted to the Status tab. In addition, here you can check the report of the process and if want to modify the job, can do it by going back; if satisfied click on “Finish”.
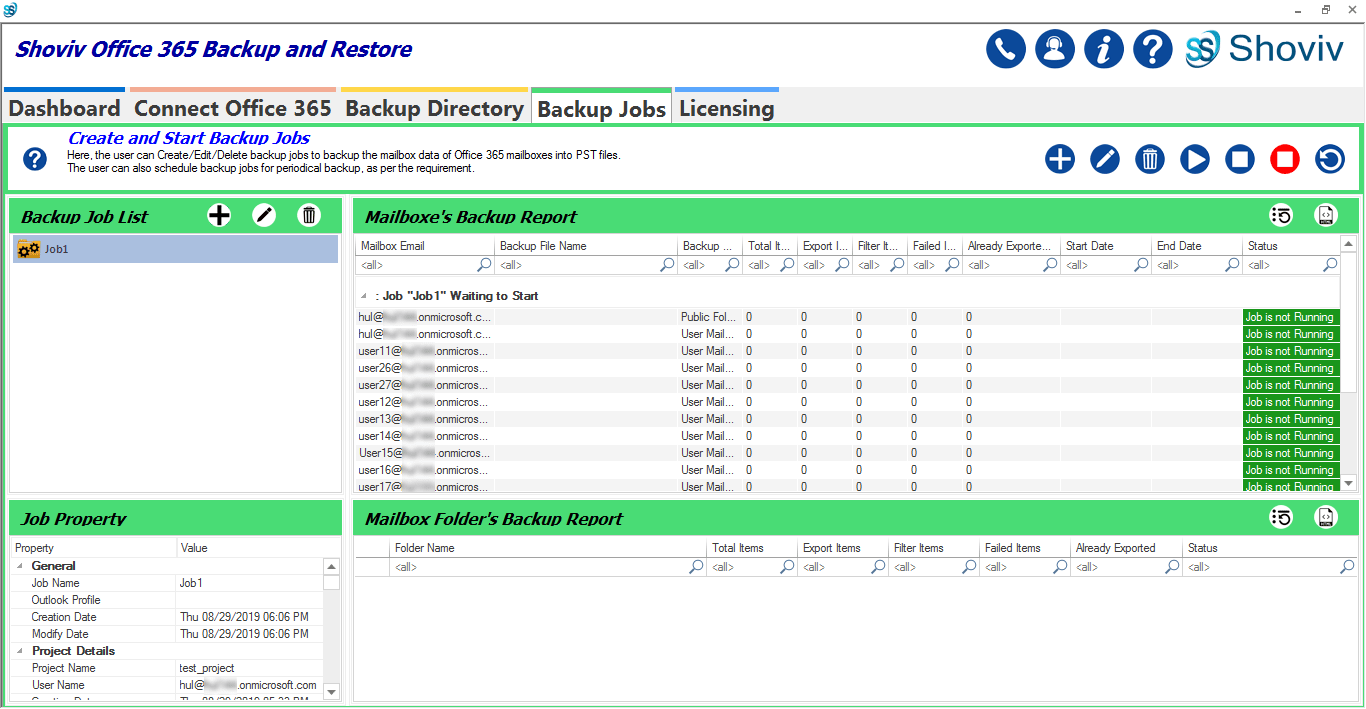
- The backup job creation process is done, if further, you want to start the job, click on Start Job The user can check and save the report.


After going through the Shoviv Office 365 Backup and Restore Software, in conclusion, we can clearly say that it is the best way to back up Exchange Online mailboxes to PST. Because it provides so many user-centric features and it comes with a user-friendly GUI. This is the simple, accurate, and safest way of having a backup of Exchange Online mailboxes to PST.